How To Make Soda Bottle Greenhouses

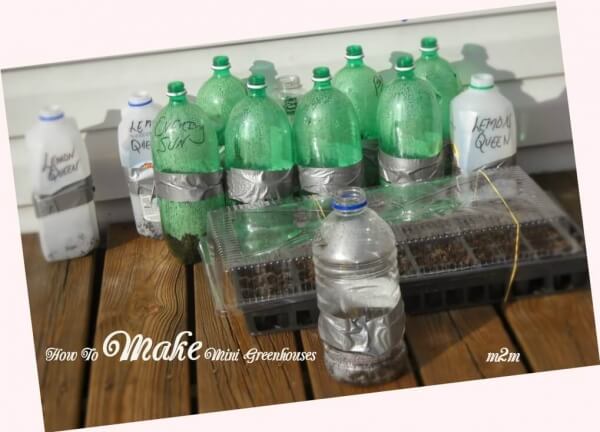
So, today I’ll be showing you How to Make Soda Bottle Greenhouses.  I decided to increase the number of sunflowers for my backyard vegetable garden this season.  You can make greenhouses out of 2 liter soda bottles, and they work great.  Also, milk containers and juice bottles or jugs that are clear can be used.  I love the Gatorade bottles too.  I grew my sunflowers using this method last year and they did great. 
So, I decided to add my vegetables this year.  After I complete adding the soil, seeds and taping, the soda bottle greenhouses on set on my deck so the seeds can germinate. 
sodaa bottle greenhouses


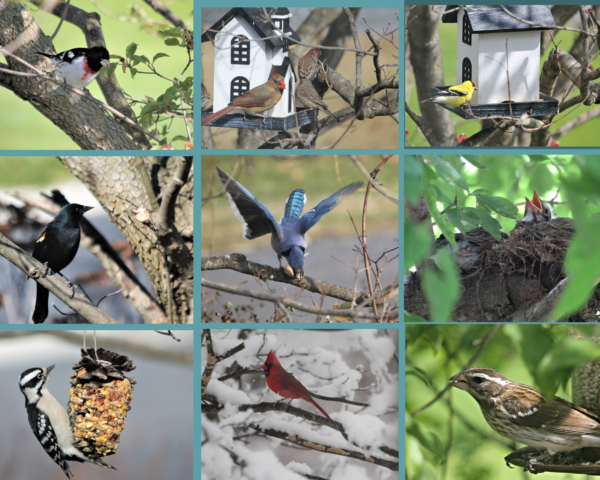
My American Goldfinch and Cardinals picked every sunflower seed off the flower heads last year.  They’re such beautiful birds, I couldn’t get mad.  So, I decided to plant sunflowers for them and some for me.    Marigolds and Blue Buttons are planted in the tray above.


Here’s my list of sunflowers that I plant each year:

  •  Lemon Queen Sunflower  (My fav)
  •  Autumn Beauty Sunflower
  •  Evening Sun Sunflower
  • Mammoth Sunflowers
  •  Mexican Sunflowers


soda bottle greenhouses


This is what y
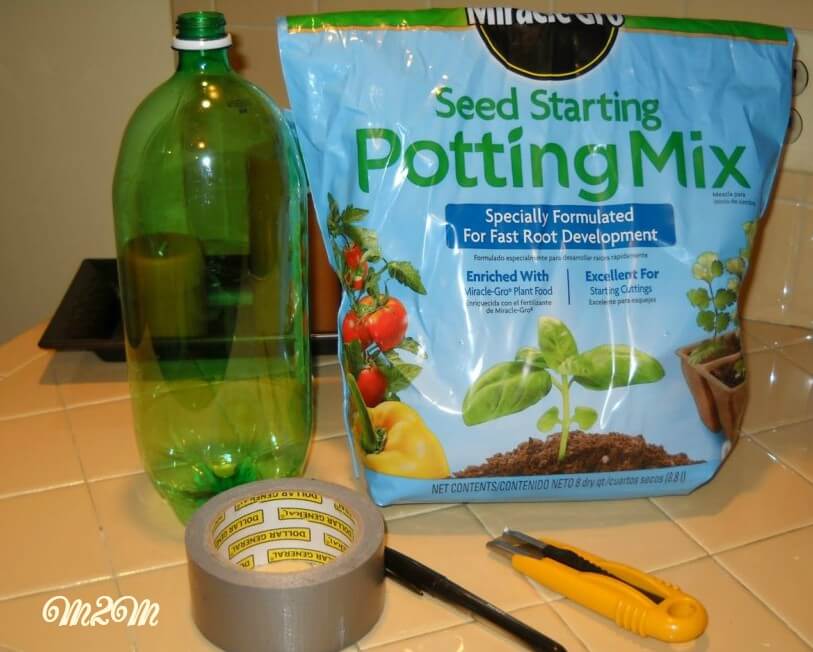
ou will need to make soda bottle greenhouses:

  • 2 liter or other large bottles that are clear
  • a box cutter
  • seed starting mix  ( I use Miracle Gro, just make sure it’s quality)
  • selection of sunflower seeds
  • duct tape
  • permanent marker


soda bottle greenhouses

  • Bleach your bottle greenhouses to ensure all liquid has been removed and the bottle is sanitized.  Rinse thoroughly and allow to air dry.
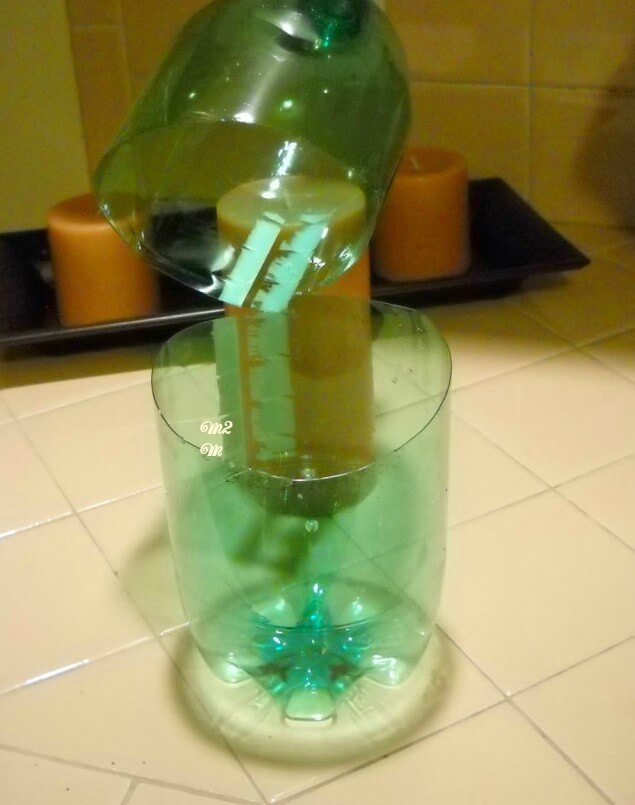
  • Next, cut the bottle at the half way point all the way around with the box cutter leaving a small hinge. Leaving the hinge will make it easier to tape the bottle closed.
  • Once you have your seed starter mix ready, place a few inches of the seed starter in the bottom of the bottle and plant the seed to the depth recommended on the package.
  • Once you complete this task, use the duct tape to close the bottle.  And you will want to mark the bottle with the name of the sunflower with  the permanent marker.
  • Place the bottle in a location where it will receive sun, rain and close to your house to help shield from wind gust.   You may have to gently water the seeds if you don’t receive enough rain.
  • Last, once the seeds germinate and reach the height of the cut, remove the duct tape and top from the bottle by cutting the hinge.
  • You may need to add potting soil to the bottle once the plants takes off to ensure that the roots are covered.  Just remove the tape and add the soil to the bottle.


Finally, make sure the last frost has passed before removing the top of the soda bottle greenhouses permanently.  The tops serve as protection from those cold, frosty nights. I’m in Zone 6B, so the last frost date is usually at the end of April in my area.  I hope that you have been inspired by my soda bottle greenhouses.  Save your bottles throughout the year, and start your seeds in them next growing season.

You may also like How to Build a Bottle Greenhouse.
 

10 Benefits of Vegetable Gardens

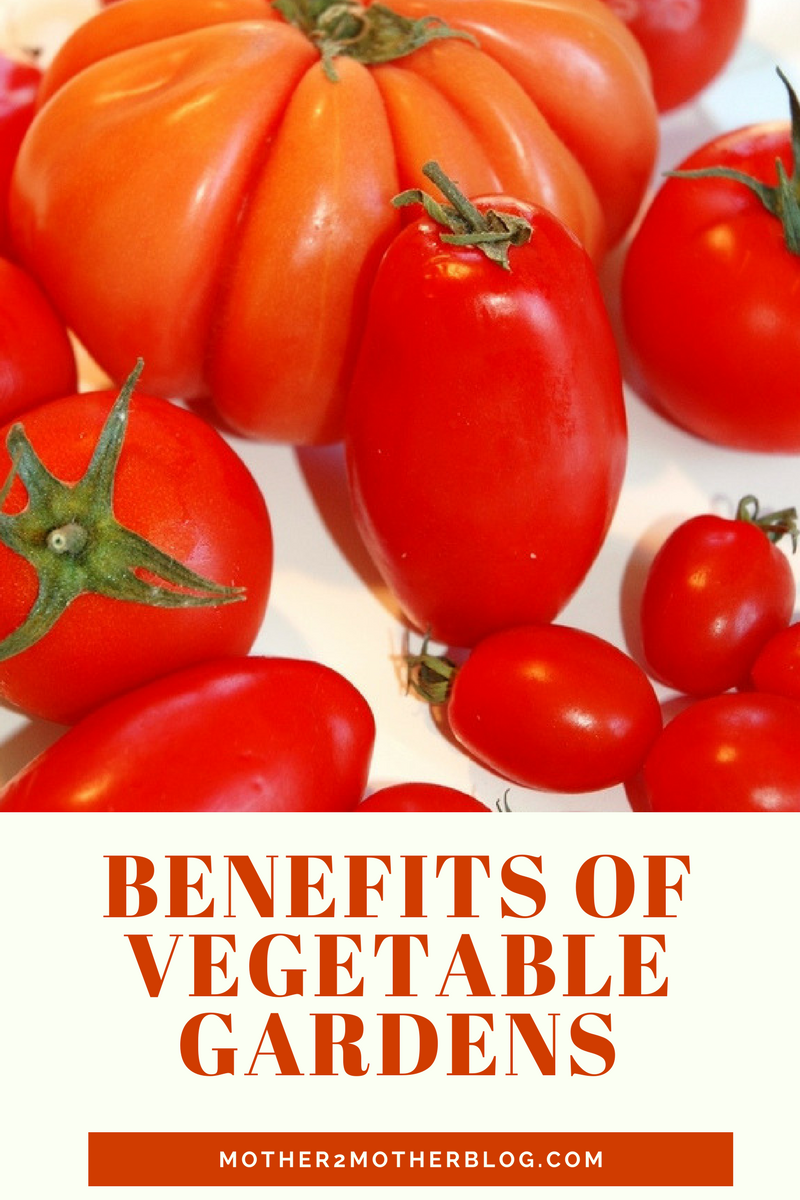
Today, I’m sharing gardening tips on the benefits of vegetable gardens.  Backyard gardening is a rewarding experience.  And, there’s nothing better than fresh vegetables in the summer and throughout the winter months.  My grandfather had huge gardens when I was growing up. He planted enough vegetables for his kids and their kids. There was a catch, the grandchildren had to help weed the field, I mean garden.  It looked like a field and felt like one when we had to walk it and pull weeds. But, backyard kitchen gardening becomes a part of your soul.  You connect with nature and the earth.  


benefits of vegetable gardens


I remember the garden holding tons of tomato plants, green beans, peas, onions, corn, greens and the list goes on. The garden became a part of my soul. For as long as I can remember, I thought about my own vegetable garden.  I decided to finally put one in several years ago, and I look forward to digging in the dirt each spring.

It’s time for me to decide what I want to grow this season.  I planted garlic in the fall, and I saw green sprouts yesterday.  I was unsuccessful last year, so I’m really excited.  My freezer is full of squash, peppers and, zucchini now, so I was thinking that I wouldn’t plant any. It dawned on me that others aren’t as fortunate, they would love to have fresh veggies this summer.  So, for the veggies that I don’t use or give to my family, I can take to a food bank.


benefits of vegetable gardens


Benefits of Vegetable Gardens:

  1. Saving on your food bill.
  2. Having delicious vegetables for summer gatherings and snacking.
  3. Making your own tomato sauce for pizza and pasta.
  4. Freezing vegetables for use during the winter.
  5. Sharing your bounty with neighbors, family and friends.
  6. It’s a great way to exercise and get fresh air.
  7. It’s a great way to relieve stress.
  8. Learning to grow a variety of vegetables is educational.
  9. Provides an opportunity to bond with my grandchildren.
  10. Growing produce from seed is challenging and rewarding.


Finally, Urban Gardening has become popular too. So, growing fresh vegetables in small places is possible.  A little creativity, and you can have fresh garden vegetables at your door. Fresh vegetables are being grown on decks, patios and balconies. How you ask?  In containers.  Furthermore, the containers can be paint buckets from Lowe’s or Home Depot, planters, or old whiskey barrels. Use your imagination.  Grow lettuce, peppers, tomatoes or herbs.  Herbs can be grown in small flower pots and don’t take up much space.  You can place these in your kitchen window, and they really enhance dishes.  Start small, but start growing your own greens.  See my post on vertical gardening.


Selecting Belle Peppers for Home Cooking

Today, I’m sharing gardening tips on selecting belle peppers.  If you want to experience the true flavor of belle peppers, you must have knowledge of how to select belle peppers for home cooking.

So, each year I plant a combination of belle, cayenne, and jalapeno in my backyard vegetable garden.  At the end of the season, I freeze the belle peppers, dry the cayenne, and pickle the jalapenos.

I love planting a variety of belle peppers.  Furthermore, I try to grow a variety of colors that include green, yellow, red and orange.  I even tried a white variety, but was unsuccessful.  All belle peppers start out green.  With patience, they will turn yellow, red and orange depending on what you have planted.
selecting belle peppers
Belle peppers are great in casseroles, omelets, sauces, chili and other dishes.  I also use my belle peppers in veggie trays,  pasta dishes, jambalaya and anything else I can cook up. The red, yellow and orange peppers make an impact in dishes.  They’re really pretty in omelets and vegetable trays too.  They give dishes a little color as well as flavor.  Presentation is everything when it comes to eating.


Selecting Belle Peppers


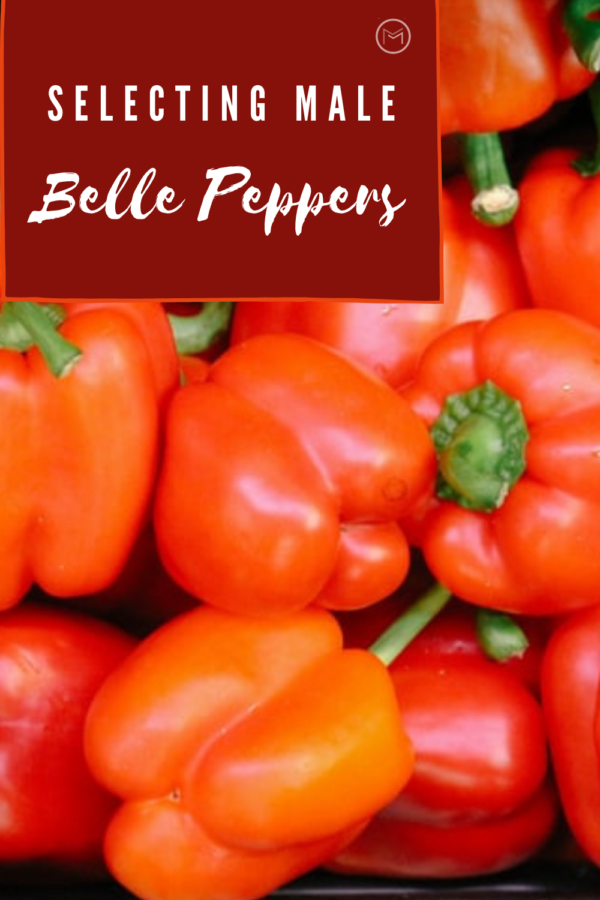
Know the difference between male and female belle peppers?  Using the right peppers will enhance the flavor of your dishes.  Males should be used in certain dishes and females in others.  That is why selecting male and female peppers is important.


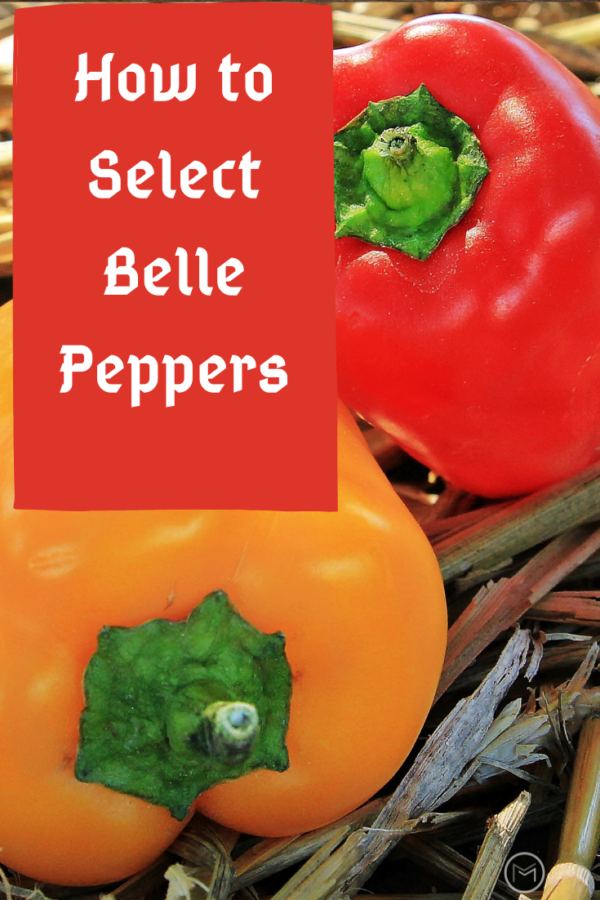
  • Lesson 1 – Male peppers have 3 bumps on the bottom.


selecting belle peppers


  • Lesson 2 – Male peppers are usually a little taller and have less seeds than the female.  Most shoppers go for the biggest peppers; however, they don’t consider the dishes they will be preparing at home.  Male peppers  are better for cooking foods like chili, tomato sauce and other dishes that require heat.


selecting belle peppers


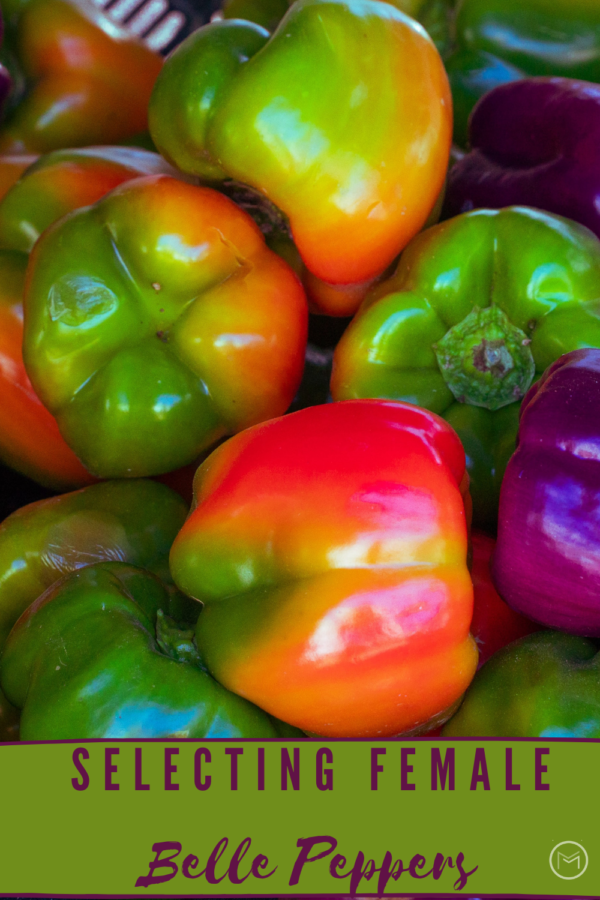
  • Lesson 3 – Female peppers have 4 bumps on the bottom. Females are more round and have a sweeter taste than the males.  I use these for vegetable trays, fresh salads and cold pasta dishes. However, they have more seeds than the male.


Finally, the next time you’re at the grocery store, use your new knowledge on selecting belle peppers.  Simply flip those babies over and check out the bumps.  Most importantly, make your selection according to the dish you’re preparing.


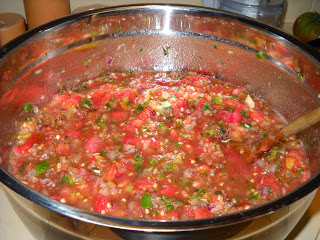
Homemade Salsa Canning Recipe

I decided to make a batch of salsa for the winter.  It was so delicious.  So, today I’m sharing my Homemade Salsa Canning Recipe with you.  This recipe can be eaten fresh or canned for later use.  I thought it would be a great dish during the holidays while watching movies or entertaining. Canning salsa is a big part of my  backyard vegetable gardening  projects.  


gardening, canning, salsa recipes, fresh garden recipes


I used ingredients from my garden to make this batch of salsa, but you find the same ingredients at your local grocery store or Farmer’s Market.  Farmer’s Markets in warmer climates are usually open during the holiday season and still have fresh produce.  So, take advantage of the fresh produce if you’re lucky enough to have a farmer’s market near you.

Here’s what you need:

  • 5  – 6 lbs. tomatoes skinned and chopped  (I used whatever variety I had that was ripe.  I suggest allowing them to drain in a colander after chopping to get rid of some of the water).  Roma and Amish Paste are great tomatoes to use for canning salsa.  Check out my post on How to Blanch Tomatoes.  
  • 3 cups chopped onion (I used yellow, red and white from my garden)
  • 1 1/4 cup chopped peppers (You can use a combination of Belle Peppers. I like my salsa spicy so I used a combination of chili, jalapeno, and belle)
  • 1 cup chopped cilantro
  • 2 heaping tablespoons garlic
  • 1 cup white vinegar
  • 1 tablespoon Kosher salt


  • Combine all ingredients in a large pot and bring to a boil.
  • Reduce the heat and simmer for about 10 minutes.  I like mine chunky. If you don’t like yours chunky, cook it longer.
  • Water batch for 15 minutes if you have a  canner. This recipes makes about 8 pints of salsa.  It can be served fresh, and it’s just as delicious too.  I couldn’t resist eating the salsa while I was trying to get it into the jars.  So, I only managed 7 pints.


Finally, grow your own tomatoes, peppers and onions next season.  You can use paint buckets or tubs on your patio, balcony or deck.  Either is a great way to garden if your space is limited.  Buckets and tubs are great ways to grow tomatoes and peppers during the summer.  I will doing a post on how you can start your seeds inside to give you a head start on the growing season.  I hope you enjoyed my salsa canning recipe, and you will be putting up a few pints for the winter.

You may also like: How to Pickle Peppers and Heirloom Versus Hybrid Tomatoes


Holiday Gift Ideas for Gardeners

Today, I’m sharing holiday gift ideas for gardeners.  Any gift that I can use in my backyard vegetable garden is a great gift to me.  They will help you select the perfect gifts for your gardening friendsI’ve found that my most memorable gifts have been homemade items and gift baskets that I’ve put together for my family and friends.  Furthermore,  I’m a huge garden and birding lover.  I assure you, if your family and/or friends are garden and bird lovers, they will love these gifts too.


gift ideas for gardeners


 We have put together a list of holiday gift ideas for gardeners:

  • Packets of seedsYou can’t go wrong here.  Sunflowers, flowers for borders, and vegetable seeds are great gift ideas.
  • Garden ToolsEvery gardener needs tools.  Pruners, hand trowel, hand rake, hand shovel, and a bulb planter are ideal.
  • Kneeling PadI use mine regularly.  Helps protect the knees when planting and pulling weeds.
  • Gardening GlovesI go through several pair each season.
  • Gardening Hat and Sunblock Protecting yourself from the sun is a most for the gardener.
  • Gift Certificate to a Local NurseryWe love to browse any place that has vegetables and flowers for sell.  I’ve found that nurseries have unique items that you can’t find at most garden centers such as Lowes, Wal-Mart and Home Depot.


  • Tool CaddyWe love organization, a tool caddy keeps our gloves and tools in one place.
  • Garden Cart It’s easier on the back when you can sit and pull weeds.  Check out the Garden Hopper at Amazon, I’m sure this item is on every gardener’s wish list.
  • Flower potsWe love to place geraniums in clay or decorative pots. I also love large pots on my deck for petunias.  They won’t fit into a gift basket, but they will look wonderful with a pretty bow.  My favorite pots came from Big Lots and Dollar General.
  • Indoor Heat Pad and Grow Lights I sow my seeds indoors to get a jump on the growing season.  For successful germination, heat is a most.  Seed germination heats pads and indoor grow lights will make excellent gifts.
  • Peat Pots or Seed Starting Kits Gardeners love to germinate their seeds in peat pots.


Last, we hope that you find one or two selections from our holiday gift ideas for gardeners beneficial.  Also, check out my ideas for a bird lovers gift basket.

Freezing Green Tomatoes

Today, I’m sharing tips on freezing green tomatoes.  My mother and sister loved fried green tomatoes.


fried green tomatoes

Fried Green Tomatoes anyone?  They’re delicious.  I had a ton of green tomatoes left in my garden, and decided to freeze them for use during the winter.  Yes, you can freeze them or water bath them in the canner in wide mouth pint jars.

I decided to slice and freeze mine.  The easy way to prepare them for the freezer is to slice and than place individual slices on a cookie sheet or pizza pan.  Make sure slices are completely frozen, otherwise, they will stick together.  Place individual slices in freezer bags.  When you’re ready to prepare them, place the frozen slices into an egg and flour batter and drop them into hot oil until golden brown on both sides.  Season to taste.

Reasons To Garden In Your Backyard

Today, I’m sharing gardening tips on reasons to garden in your backyard. I started gardening years ago, and it quickly became a passion.  Planting a vegetable garden was something that I always wanted to do, but never made the time.  I love fresh vegetables, especially tomatoes.  The taste and price of tomatoes in my local grocery store sent me into high gear.  They were expensive, hard, and tasted like cardboard.  


reasons to garden


My grandfather had a garden when I was growing up. Picking weeds out of his garden was an expectation when I was visiting.  I also remember all of his children being supplied with fresh vegetables during the summer, and the week-ends spent canning the harvest.  Fortunately, I decided to grow my own vegetables, and I’m so glad I did.  I look forward to each growing season now.  


Reasons to Garden: 


  1. It’s so relaxing. And I’ve learned to appreciate the open country and the quiet that it brings. 
  2. My land wasn’t being using to its full potential.  
  3. Store brought fruits and vegetables are expensive.
  4. I love working with my hands, and making things grow. 
  5. Saving money on my grocery bill is a plus. 
  6. Provides an opportunity to connect with other gardeners.  Connecting with others who grow fresh vegetables and flowers provides an opportunity to learn different techniques and make new friendships.  
  7. My vegetables are better than the stores.  I love walking by the produce in the grocery store smiling because I know mine is better.   
  8. I’ve learned to grow my vegetables from seed.
  9. I love having fresh vegetables, homemade salsa and sauce during the winter.   
  10. I love sharing my harvest with family and friends and the local food banks.
  11. Great exercise without leaving home.  


reasons to garden


Yes, gardening is time consuming, but it’s so rewarding.  It’s a great way to get out of the house and get moving.  I sleep so much better after a day of working in my yard. Furthermore, involve your children.  They can get a sense of how food grows and will make better choices in food selection.  They will also learn how to sustain themselves, and save on the grocery bill.

You don’t need acres of land to garden.  If you lack land, put a few planters on your deck or patio.  You can grow tomatoes, lettuce, carrots, radishes and the list goes on in containers.  Do you currently garden?  If so, do you use containers, raised beds or row garden?  Also, check out my other backyard vegetable gardening tips before you leave.


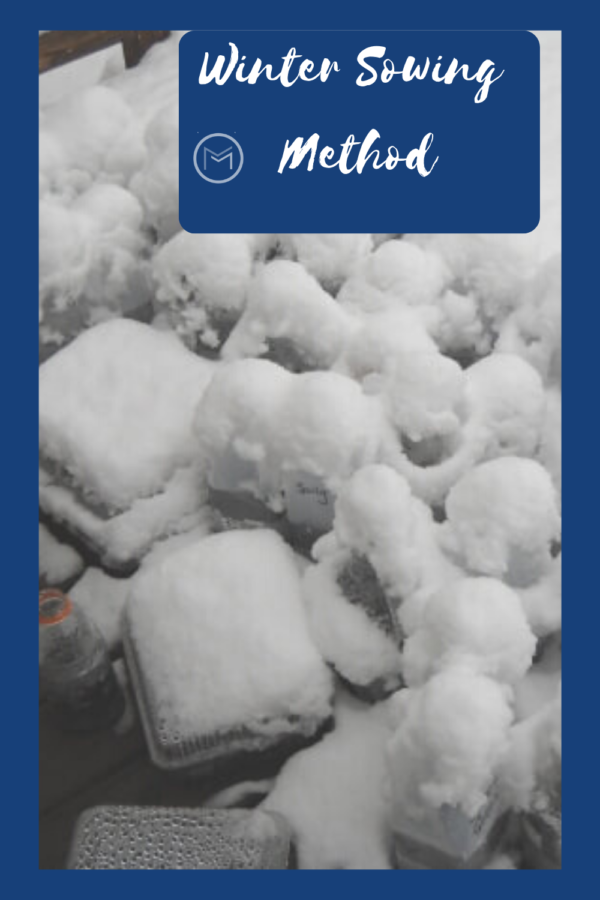
Using the Winter Sowing Method for Seeds

Today, I’m going to share gardening tips on winter sowing vegetable seeds.   Check out my other backyard vegetable gardening tips before you leave too.  I have the winter blues!  So, I decided to start my vegetable seeds for my spring and summer garden.  Planning my garden takes the blues away and gives me a head start on growing strong, healthy veggie plants. 

For the past several years, I have started my seedlings using heat mats and grow lights.  I have about a 90% germination rate with what I sowed.  However, it takes a lot of time and space to nurture the seedlings. Using the winter sowing method eliminates the heat mats, grow lights and chances of growing leggy vegetable seedlings.  You simply place your containers in a location where they will get sunlight and rain water and let them go until spring.  


gardening tips


I decided to use the winter sowing method for the past few years.  It’s much easier than setting up the mats and grow lights.  As a result, I’ve been saving plastic liter bottles as well as  juice and milk bottles.  Anything that I can cut and punch holes in the bottom for drainage is fair game.  I started about 20 bottles over the week-end.  Tomatoes, dill, zucchini, squash, sunflowers and petunias. Yes, you can winter sow flowers too.  I love that dill and petunias reseed for several years after planting.  

I will sow a few tomatoes inside under grow lights, but I’m sold on the winter sowing method.  And, it’s doubtful that I will ever return to to a full fledged indoor sowing setup again.


winter sowing vegetable seeds


Winter Sowing Vegetable Seeds:


  • Wash your bottles in hot soapy water and rinse well.
  • Allow bottles to dry.
  • Use a box cutter to cut around the bottles.  Leave an inch on the bottle for a hinge.
  • Add drainage holes in the bottom of your bottle.  To accomplish this, I used a hot glue gun on the bottom of the milk bottles.  However, I was unsuccessful using the glue gun on the liter and juice bottles.  The glue gun wouldn’t penetrate.  So, I used the box cutter to make slits on the bottom.  You could also use a drill on the bottom.  If you have another method of punching holes, bring out your equipment and punch holes in the bottom of your bottles.


winter sowing method


Next prepare your seed starter mix:


  • Mix your seed starting mix as directed on the package.  I use warm water when mixing the soil Mix it thoroughly.  You want it wet; however, not soggy.
  • Add 2 – 3 inches of the mix to the bottom of each of the bottles or container.  I use Miracle Gro Seed Starting Mix.  I have a great germination rate each year with the mix.   I have also used Miracle Grow potting soil, and my seeds germinated as well.
  • Plant your vegetable or flower seeds according to the directions on the package.  Once you have the seed planted, wrap the bottle with duct tape.  I purchased my duct tape from the Dollar Store.
  • Mark the bottles with a permanent marker, which I also purchased from the Dollar Tree.
  • You can discard the bottle tops.  I moved the bottles and containers to my deck to ensure they get rain. Let them go until spring.  At that time you should have sprouts that will need water.  As they grow, you will have to remove the top of the bottles. Just remove the duct tape and remove the top.  You can use a pair of scissors to cut the hinge on the bottle.
  • You can place your bottles in trays for a little more organization, but it’s not necessary.  My are placed randomly on my deck.  Once I remove the tops, I organize them so I can tgrans
  • Your seedlings will already be hardened off.  Which is a step you will have to take if you start seedlings indoors.


Finally, if you are a gardener and use the winter sowing method, please share your experience.  You may also like My Winter Sow Seed List.

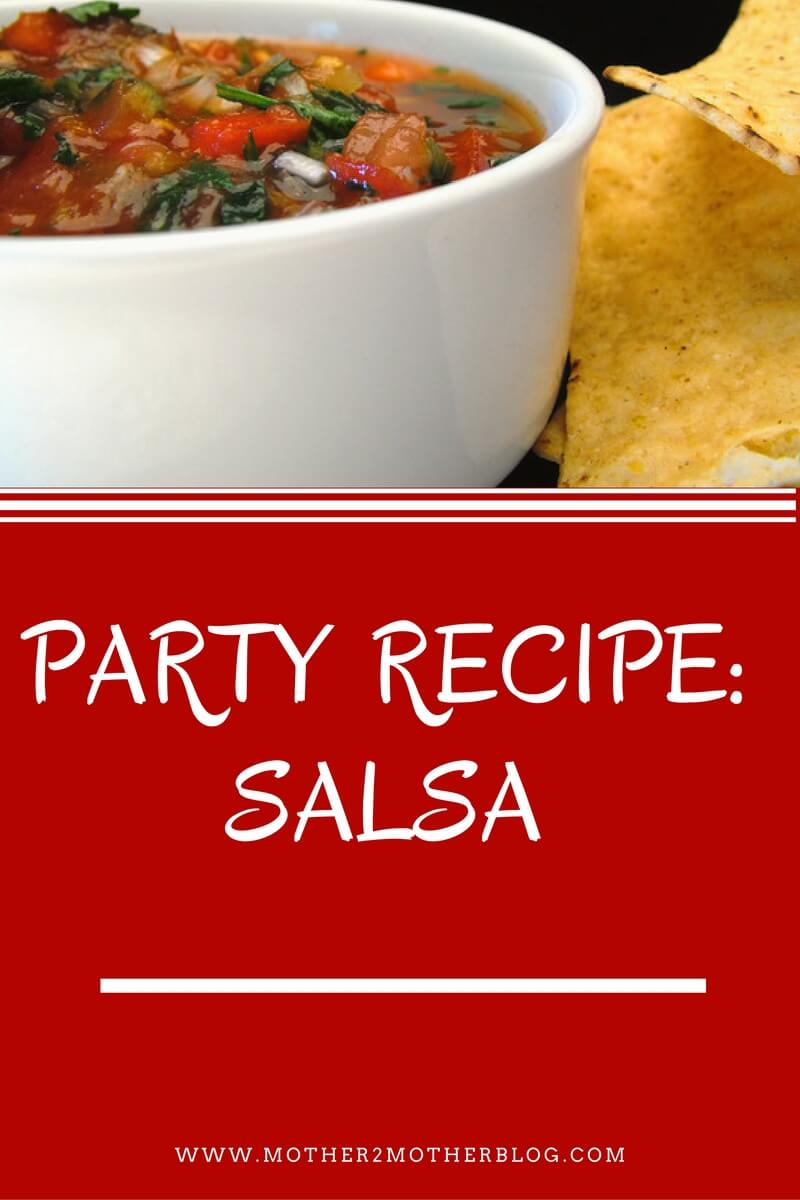
Easy Recipe – Fresh Salsa Recipe

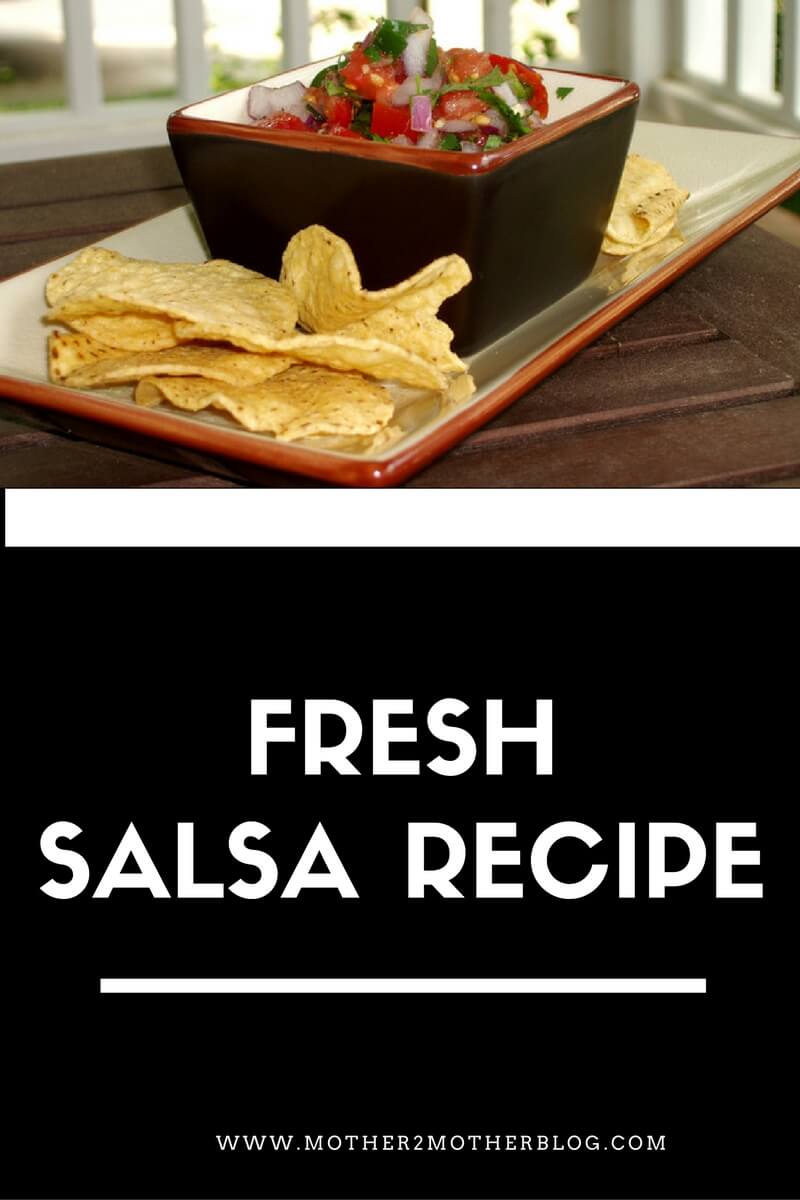
Today, I’m sharing gardening tips on my fresh salsa recipe.  So, I’m sharing my fresh salsa recipe with you.  This recipe is great served fresh with chips. Be warned, you’ll have a hard time stopping once you start.  It’s a great summer dish.  Just chill it for several hours before serving it.  This fresh salsa recipe is one of my favorite backyard vegetable gardening dishes.  


recipes, party recipes, salsa recipe


Next, if you have fresh tomatoes, peppers and onions that you want to use, I urge you to try this recipe.  This recipe is addictive. If you don’t have a backyard garden, this recipe is a good reason to start one.  Until than, head to your local farmer’s market for the ingredients.  I make this recipe for parties or if I have company and want to serve light snacks.

I’ll let you in on a secret.  Ask for seconds at your local farmer’s market when purchasing tomatoes.  They sell them at discounts because of a blemish, discoloration,  or deformity.  Your recipe won’t know the difference, trust me.

Fresh Salsa Recipe Ingredients:

  • 15 – 20 tomatoes, skin removed and chopped (I used a mix of yellow, purple and red tomatoes)
  • 2 large red onions finely diced
  • 5 jalapenos with the seeds if you like spicy.  (If not remove them).
  • 2 green belle peppers
  • 2 cups chopped fresh cilantro
  • 6 – 8 cloves of garlic
  • 1 teaspoon salt
  • 2 teaspoons lime juice


 *NOTE:  Also, see my tips on how to remove the skins from fresh tomatoes.

salsa recipes, fresh salsa

Directions

  1. In a large bowl, stir together tomatoes, onion, chili peppers, cilantro, salt, and lime juice. Chill for one  – two hours in the refrigerator before serving.


If you want a smaller batch, cut the recipe in half.  I recommend Roma, San Marzano or Amish Paste tomatoes for salsa and sauces.  However, whatever is available will work for this recipe.  I used a mixture of San Marzano and slicers this time.  As a result, the salsa was quite watery.

Fortunately, the problem can be solved by placing the salsa in a colander and allowing it to drain for about 30 minutes. You can gradually add the liquid back in until you reach the desire consistency if you would like.  I don’t add any liquid back into mine.  When I’m serving salsa for a party, I like for it to be chunky and to have very little water.  I don’t want my guest having salsa dripping down their clothes.