Tree Maintenance for Homeowners

Today, I’m sharing gardening tips on tree maintenance for homeowners.  People often underestimate the importance of taking good care of your trees. Although the trees existed before you moved in, it’s still your responsibility to take care of them.  So, you will want to ensure that they continue to grow big and healthy. However, taking care of your trees can be tough work, especially if you’re not sure how to get started. Lets take a look at how you can take better care of the trees around your home.


Tree Maintenance for Homeowners 

tree maintenance for homeowners


Water Young Trees 


Trees can actually absorb a lot of water.  Especially, if they’re already large and have well-established roots. New trees that have just been planted can actually use several gallons of water every week.  Especially during the first two growing seasons.  

So, if you haven’t had rain for several weeks you’ll want to water your trees to ensure they continue growing. One of the best ways to water trees is to let them absorb water slowly.  Actually, over a long period of time is recommended. Focus watering on the areas beneath the branches or at the trunk if it’s a new tree. A soaker hose is best, especially if you can leave it on a slow setting for a long time and just place it near the trunk. However, a sprinkler or bucket can also work.


tree maintenance for homeowners


Trim Trees

It’s a good idea to occasionally trim your tree to remove dead branches and reduce potential risks. Without tree trimming, your tree may grow in unexpected directions which could damage your property.  Furthermore, not trimming your trees can reduce the amount of sun and air that you get in a particular area.  Tree trimming ensures that you can improve the overall form of the tree which is important over a long period of time.

It’s totally possible to trim a tree yourself.  However, hire a professional especially if the tree is rather large. Climbing large tree requires safety precautions that should be performed by professionals.


Deal With Pests

Pests can be a huge problem for trees.  When starting a home garden, it’s important to take note of the potential pests that could invade your garden.  Make sure that you have measures to prevent pests and rodents from damaging or destroying your trees.  Thankfully, trees are resilient and will bounce back from most pest problems, but it’s important to identify potential infestations and other problems as early as possible.



Ideas for Large Backyards With Small Budgets

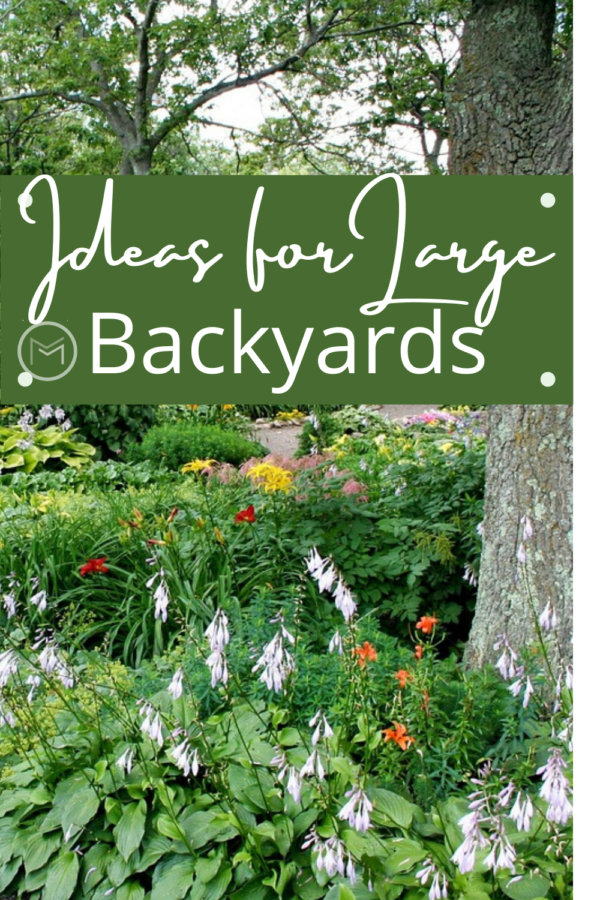
Today, I’m sharing gardening tips on ideas for large backyards.  Having a larger garden can be excellent. Not only will you be able to have a larger outdoor space to fully enjoy, you’ll have a chance to add animals, spend time with family, grow crops, and be more self-sufficient with your outdoor space. You can have fun with a large garden, though maintaining it may seem like the hardest thing that you could possibly do! 

A large garden gives you space to have a barbecue area, a patio, even a play area for your children.  You can even hire someone with AKRS Equipment to help keep it running smoothly if you have extensive acreage which is farmland.


  • ideas for large backyards


When you have a large backyard, you have lots of ways to use your space and and increase the value of your home. Maintaining a large backyard so that it stays looking good and healthy is important, and here’s how you can do it.


Ideas for Large Backyards: 


  • Use the right tools –  The larger your garden is, the more tools you’ll need to maintain it. You may need to look at things like tractors and large trailers.  You will need them to help you to clear some of the fields. The right equipment is a must.  For example, a riding mower will be a necessity too.  And, a wagon to haul compost and garden soil to various areas on your property should be added to your list.   
  • Establish a Routine – Your garden will constantly need upkeep.  You will need to mow the lawn, tend to plants and flowers, and clean up any mess at all times.  You will need to be able to maintain the interior of your home as well.  As a result, you won’t be able to get every single thing done in one day.  So, make sure that you get into a routine of keeping up with all of the clearing and keeping the place healthy. 


ideas for large backyards


  • Feature the Wild and Native Plants – If you have wildflowers or native bushes and plants growing on your property, make a beautiful garden where you can feature them. Keep large shrubs and trees trimmed and the area tidy.  They can become conversation pieces. 
  • Add Path Ways – A large garden is much easier to maintain when you add paving and paths to the space. It add way to stroll the property and admire the flowers and plants in the gardens and borders.  It also makes watering much easier.  
  • Weatherproof Benches and Seating – There will be some areas of the garden that require you to weatherproof it. For example, wooden benches, tables and chairs need to be protected from the weather.  


A large garden is going to take some time to install.  Call for assistance if you get too far behind in maintaining your property.  Solicit family, friends and other gardeners to help install and maintain your property if needed.  

Lawn Repair Tips for Homeowners

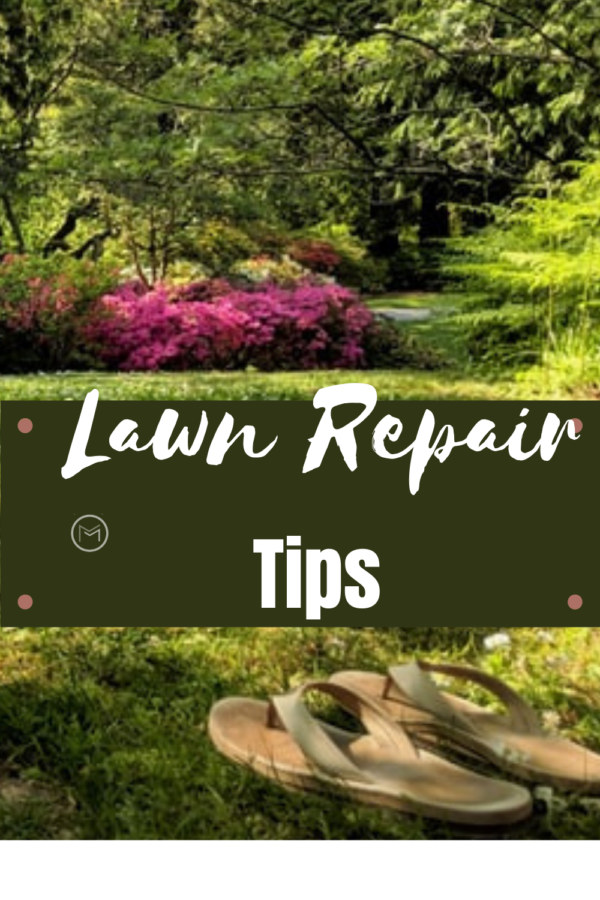
Today, I’m sharing gardening tips lawn repair tips for homeowners.  If you’re wondering how to create the perfect lawn, then you’re in the right place. In this post, we’re going to take a look at some lawn repair tips for homeowners that won’t break the bank, and will have your lawn looking good in not time.  


lawn repair tips


Lawn Repair Tips for Homeowners


Feed And Water Your Lawn Regularly 

While grass is hardy, it does better when you water and fertilizer it regularly.  Unfortunately, the underlying soil rarely contains all the nutrients that your soil needs.  Just like your flowers and vegetables need nutrients, so does your grass.  

You can pick up fertilizers from most garden centers and nurseries.  Be sure to read the packing.  It provides information on how to best use the product and when to combine it with watering.

Not only should provide food for your lawn, a lawn lacking sufficient water will turn yellow then brown. So if you want your grass to look verdant year-round, you’ll need to water it continuously. Look into a sprinkler system for a well maintained lawn.  


Only Remove A Third Of Your Grass’s Length When Mowing

Some gardeners can overdo their landscaping and lawn care. They adjust the blade on their mower so that they completely scalp the lawn, making it difficult for the grass to recover. So, think about it this way: you wouldn’t prune back a tree to the base of the trunk, right?  So you shouldn’t do the same with your lawn.

When mowing, set the blade so that it only removes a third of the length of the grass on your lawn. This way, you can keep the grass viable and healthy. During the height of summer when it is dry, you may wish to only remove a small fraction of the grass’s length.   


Start Over Seeding

If feeding your grass and regularly mowing it isn’t helping, then you can try over seeding. Over seeding involves scattering grass seed on your lawn.  This is a great way to fill in bald areas or areas that have lost thickness.  

Check out the varieties of grass seed available, and determine what areas in your lawn you want to overseed.  

Before you overseed, you’ll first need to mow, scarify (remove debris), aerate the lawn and provide a top dressing. Taking these steps will provide new seeds with the maximum chance of germinating.  Once you seed the lawn, you’ll need to keep it watered and do a top dressing.   


lawn repair tips


Remove Debris

So, you’ll want to remove any debris from your lawn. Things like leaves and twigs can prevent grass from accessing natural sunlight, leading to thinning patches, especially during the winter months. 

Use a lawn rake remove any clumps of grass, twigs and leaves.  Rake over as many areas as you can to keep your lawn looking healthy and beautiful. 


Top Dress Your Soil 

Next, top dressing is to improve the quality of existing soil, enhance draining, and build up your soil can it can help get rid of any imperfections. With regular top dressing, you can provide your grass with an optimal habitat in which to flourish and grow year-round. 

Before you buy any top dressing, however, you’ll need to check the soil type in your garden. Understanding your soil type, will ensure you add the appropriate nutrients for your lawn.  Your soil type can be loamy, sandy or clay.  You’ll need to match it to the top dressing to ensure that you can maintain your lawn sufficiently. 


Regular maintenance of your lawn will help keep it in good condition.  Mowing at the correct height, fertilizing, aerating, and regular watering should become a part of your lawn care routine.  


Garden Patio Ideas for Every Budget

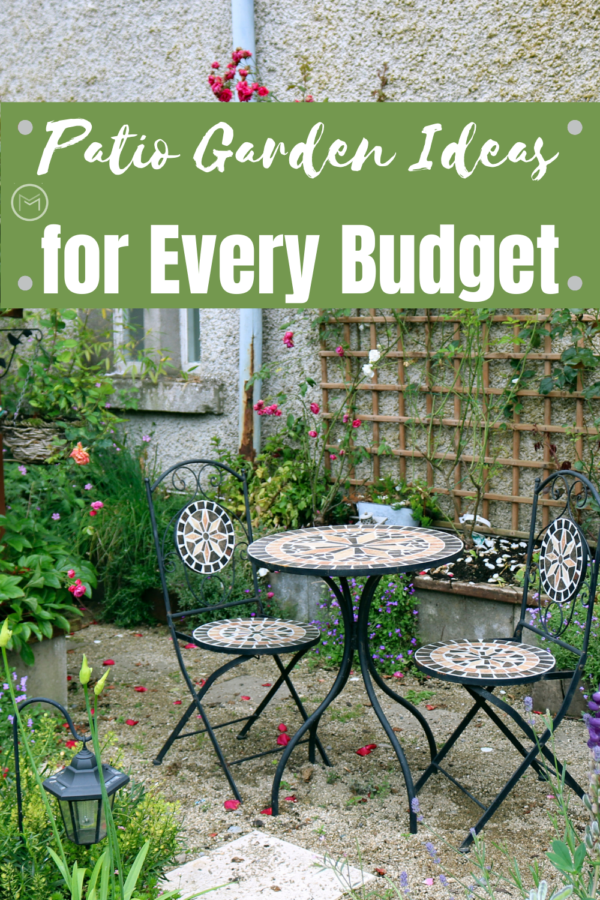
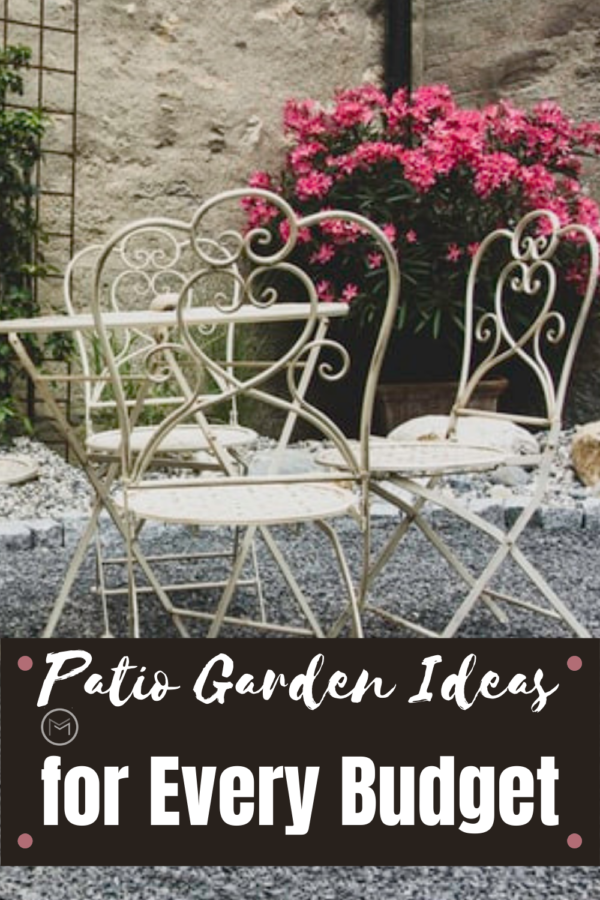
Today, I’m sharing gardening tips on garden patio ideas.  If you have been thinking about remodeling your garden,  you may be worried about how much it’s going to cost.  Remodeling your garden patio can make it look fresh and more appealing to you and your guests.

However, remodeling can get expensive if you are not careful. Thankfully, there are a few ways in which you can reduce the cost.  Here is a look at some of the best garden patio ideas for every budget.  


garden patio ideas


Garden Patio Ideas for Every Budget


Renovate Instead of Removing

It can be tempting to remove everything in your current landscape and purchase everything new.  However, this is something that should be avoided if you want to operate within your budget. 

Instead repurpose what you have.  Repurposing what you have will save money and cut down on the cost of your renovationYou’ll be amazed at how you can transform your garden patio with what you have.  


Add Fresh Mulch to Patio Garden Beds

So, get out your spade or half moon edger and give your garden beds a fresh outline.  Work within the natural contours of your garden.

If your soil is eroding, that’s a sign you need to add crushed stone, wood chips or shredded mulch to your beds.  Adding mulch will help stabilize the soil in your garden, and maintain a healthy moisture level for your plants.  Furthermore, it will help keep weeds down and reduce the amount of work you spend weeding.

Check with your local recycling center.  Many centers give away free mulch throughout the summer.  


Refresh Flower Garden Beds   

Consider adding more flowers to your garden to enhance its look.  Adding more flowers with beautiful colors, height and texture will bring your garden to life. 

I recommend that you join a plant or flower swap group.  It’s a great way to meet other gardeners, exchange flowers and plants and get ideas. You may have too much of one flower while another gardener has too much of another. Making an exchange is a great way to revamp your garden beds without spending a penny.  

Furthermore, many share photos of their garden space, which will give you ideas for your patio garden space.  


Build Affordable Pathways

If you want to add stone or brick pavements to your garden, but those materials are out of your budget range don’t give up on your dream make over.  

Check with different landscaping companies to see if you can still carve out the pathway by using another material.  Check out the prices for pea gravel, shell or stepping stones as a placeholder. This is often a good substitute until you can afford to buy stone pavers or bricks to make the pathway look finished. 


garden patio ideas


Mix and Match Patio Garden Furnishings

If you want to create a cozy nook in your garden where you can sit and relax but you don’t have the money to buy new furniture, consider getting second-hand furniture that you can mix and match. 

If you do it right you will end up with something that looks unique and interesting. Be on the lookout for vintage pieces that you can remodel yourself as a DIY project.


Shop Yard Sales and Thrift Stores for Garden Patio Makeovers

Shop yard sales and thrift stores for new planters, a bench, pillows and accessories like candles or glazing balls to display.  Old crates, side tables, bistro sets and bright cushions can really bring your patio to life.  A can of paint and new fabric will make your garden patio area pop. 


Embrace the garden patio ideas above, and get creative.  When you are remodeling your garden on a budget the best thing you can do is to work with what you already have and shop wisely. It’s a great way to make your garden beautiful without breaking the bank.

Repelling Dogs From Your Garden

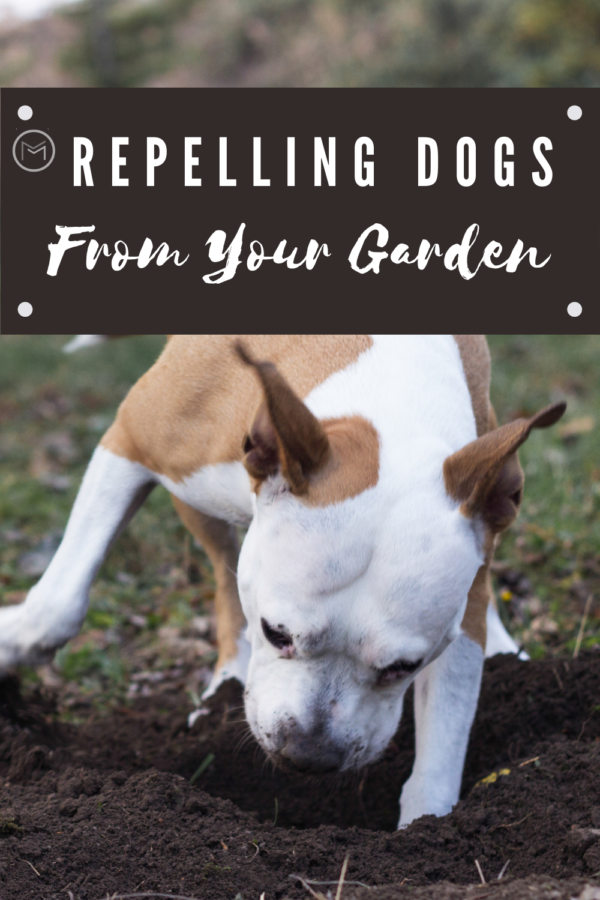
Today, I’m sharing gardening tips on repelling dogs from your garden.  A pet can make your life easier. They are a part of most families, and they not only provide companionship, but can improve your social life, provide emotional support, and reduce blood pressure, anxiety and depression.

Even so, owning a pet has its fair share of the downside. Taking care of one is time-consuming; some pet foods are pretty expensive, you have to take regular trips to the veterinarian, and it can be dangerous if you have an infant.

If you own a garden, you know how strenuous it can be to protect your seedlings and other plants from your pets. Your dog could be digging up your carrots while the neighbor’s cat is using your flower garden as a litter box. 

Fortunately, there are ways to pet-proof your garden to protect it from domestic animals. Read on.


repelling dogs from your garden


Repelling Dogs From Your Garden


Repelling Dogs From Your Garden Using Animal Decoys

Mounting an animal decoy in your garden can make a visual impact with dogs.  This method is most applicable for night visitors such as racoons and bunnies. But, animal decoys can also stop dogs from entering your garden.

You can invest in various types of animal decoys, but most importantly, consider those that can move. A stationary animal decoy can work for a day or two, but if you want to keep pets and birds away from your garden long term, use a bait that can move.  For example, tying a rope to a plastic owl so that it sways can convince pets that the garden is on guard.


Keep Your Pets Occupied

Another effective way to keep pets away from your garden is to keep them occupied. For instance, if you want to prevent your dog from digging up your carrots, you can create a play area with bare soil for them to dig in.  Give them a few toys that they enjoy, and may bury to keep them busy.

Reward them for good behavior with ginger treats for dogs . They will motivate them to continue digging in that area.  Furthermore, having a digging pit for your dog is a surefire way to prevent them from messing up your garden. Also, ensure to enclose it to keep them from moving to your garden.


repelling dogs from your garden


Use Citrus Peels

Citrus peels from fruits such as oranges are unpleasantly bitter to most animals. And, dogs don’t like anything bitter. To keep your dog away, consider scattering citrus peels around the garden. Furthermore, you can also repel cats from your garden by using citrus peels.  They don’t like the smell of citrus either.  

This tip can be more effective if you mix the peels with coffee grounds. It can create an even more powerful and bitter dog-deterrent solution. Also, make it a habit to replace the peels regularly to ensure the method remains effective.


repelling dogs from your garden


Invest in Motion-Activated Sprinklers

Neither cats or dogs like water.  Therefore, this can be an effective way to pet-proof your garden. It would be best to invest in a sprinkler system that activates when your garden is being approached.  If any domestic animal approaches the garden, the sprinklers will activate, rendering them wet, thus fleeing from the garden.

There are probably tons of ways to handle this battle effectively.  Just determine the most effective way of repelling dogs from your garden and stick to it.  If necessary, experiment with a few of my suggestions until you find one that works. 

How to Grow Radishes for Beginner Gardeners

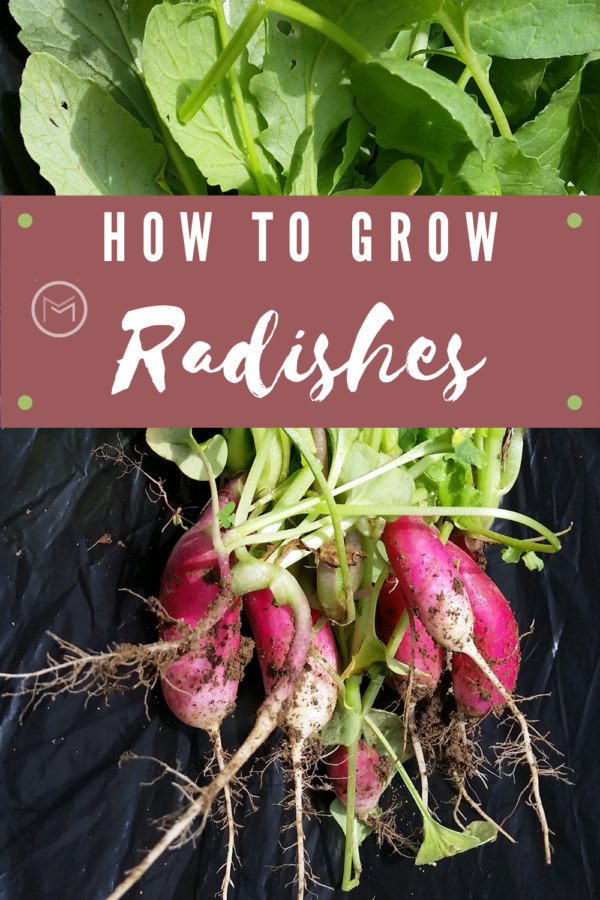
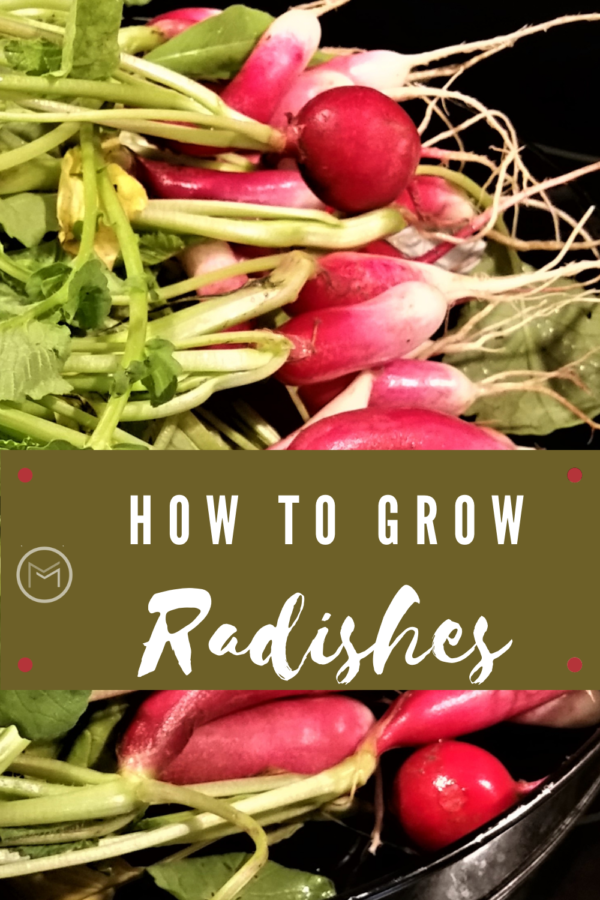
Today, I’m sharing gardening tips on how to grow radishes. Radishes are the perfect vegetable for beginner gardeners.  Actually, they are one of the easiest vegetables to grow.  I love radishes on vegetable trays, in salad or just to snack on.  Spicy radishes are what I crave.  However, there are 35 varieties of radishes for you to choose from to satisfy your taste buds.  

Besides being delicious, another reason to grow radishes is you can reap the benefits from two sowings.  One in the spring and one in the fall.  

Radishes provide great health benefits like antioxidants, calcium and potassium.  Furthermore, they can also help lower blood pressure.  


how to grow radishes


So, radishes are root vegetables and belong to the Brassicaceae family.  The Brassicaceae family includes cabbage, cauliflowers, collard greens, turnips, and beets to name a few.  Radishes originated in Egypt.  It gets it’s name from the Latin word root.  Radishes are loved by many, Americans eat approximately 400 million pounds of radishes each year.  


Varieties of Radishes:  


  • Cherry Belle
  • French Breakfast
  • Gourmet Blend
  • Fire and Ice
  • Pink Beauty
  • Black Spanish
  • White Icicle
  • Easter Egg
  • Purple Plum
  • Daikon


how to grow radishes


These radishes can be grown in a variety of containers.  They can be grown in raised beds, flower pots, baskets, colanders, galvanized tubs or buckets.  Personally, I plant them in rows in my garden.  

If you decide to grow radishes in a container, make sure it is a least 6 inches deep.  


How to Grow Radishes:  


  • Spring and fall are the best time to grow radishes.  Radishes prefer cool weather, so planting in April and or September is the perfect time to sow radish seeds.  
  • Add compost to your soil before you sow your seeds.  
  • Radishes are difficult to transplant; however, some gardeners have good luck transplanting them.  Because they are very easy to grow, I recommend direct sowing your seed as a beginner gardener.   
  • Grow radishes in full sun or partial shade. (They should be get at least 6 hours of sun a day).  
  • Avoid growing radishes next to potatoes, turnips or broccoli  and the herb hyssop.  
  • Not thinning radishes can stunt their growth. So, be sure to thin the radishes so they are an inch apart. You can simply pull or clip the radish seedlings you want to remove.  
  • Hot weather will cause radishes to bolt.  Once radishes bolt, they become bitter, woody and not at all tasty.  How do you know when you plant has bolted?  It will start flowering and attempting to set seed.  You can continue to let the plant bolt and go to seed if your radishes are heirloom plants.  Simply let the plant grow and produce seed pods.  When the pods turn brown and hard harvest the seed and plant them later.  
  • Water regularly.  Make sure your radishes receive at least an inch of water weekly.  When your radishes don’t receive enough water, they tend to crack or split.  You can use a soaker hose to water deeply when you’re pressed for time. 
  • Harvest your radishes timely.  Otherwise, they will become tough because they’ve been left in the ground too long. 
  • Harvest radishes within 30 to 45 days.  Be sure to read the package to ensure they are harvested timely. 
  • If radishes are about an inch out of the ground, they are ready to harvest.
  • When warmer weather hits in June, you should have already harvested your radishes. 


I hope that you enjoyed my post on on how to grow radishes.  Last, if you missed your chance to plant in the spring, plan a fall harvest.  Home grown radishes are so much tastier than store brought varieties.  You may also like: Spring Vegetables for Zone 6B.    Check out the Health Benefits of Radishes too.  


How to Eliminate Peony Blight In Your Garden

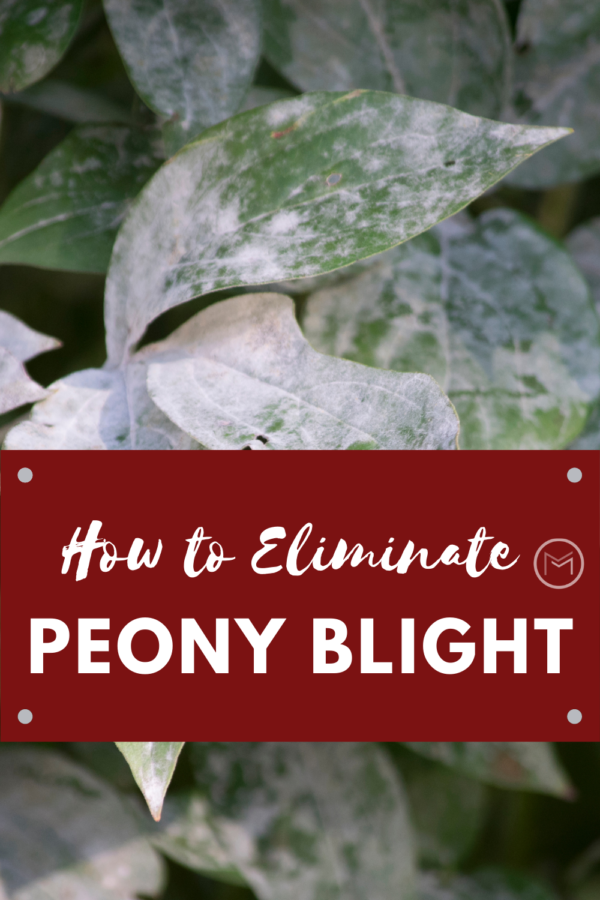
Today, I’m sharing gardening tips on how to eliminate peony blight.  Have you noticed a whitish gray powdery substance on your peony leaves?  What about brown spots on the leaves?  Sadly, your peony probably has Botrytis Blight. Fortunately, your peonies can recover and continue to give you the beautiful blooms as they did before the blight hit.  

Botrytis Blight is also called Gray Mold, and is the most common disease of peonies.  You will usually find it June through September.  There are others, but today we’re going to focus on the Botrytis Blight since it is the most prevalent.  Most gardeners find their peonies are affected with this blight when their area has had a lot of rain or the weather becomes hot and humid.  After a rainy period and than the weather turned hot with high humidity is when the blight appeared in my garden.  Luckily, only one of my peonies was affected.  However, one is too many.  


how to eliminate peony blight


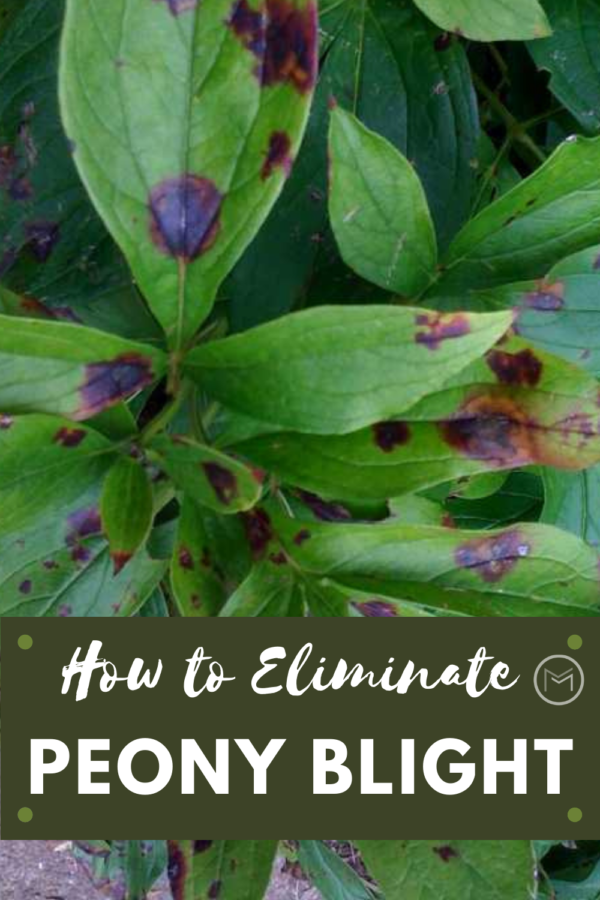
My peonies actually had the gray mildew, as well as brown spots.  Peony leaf blight is what causes the large, brown spots as shown below.  Fortunately, the mildew and leaf blight can both be controlled.  


how to eliminate peony blight


How to Eliminate Peony Blight:  


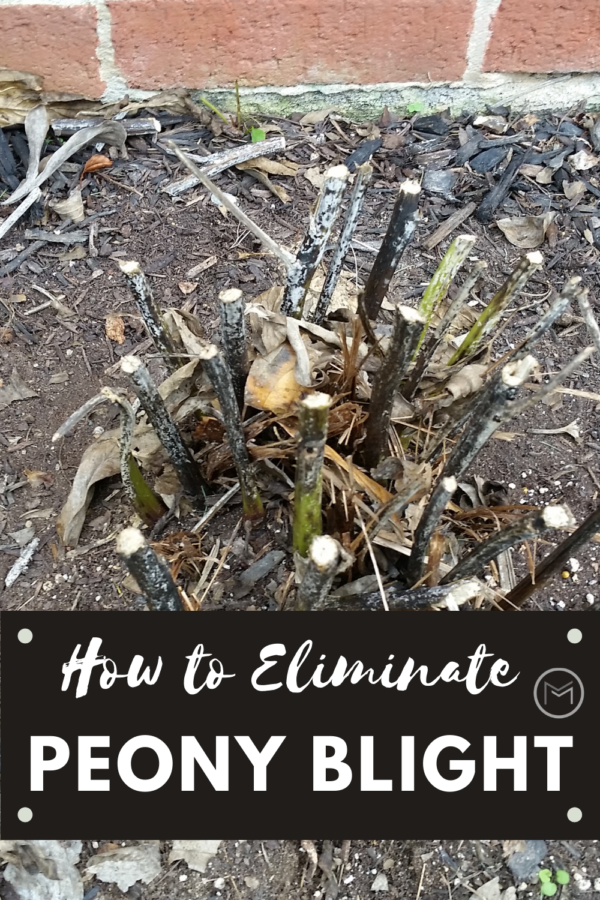
  • Mildewed peony leaves can be treated with Neem Oil.  In the fall, the plant can be cut down to the ground as shown below.  
  • If your plant has a few leaves with brown spots, remove the affected leaves from your shrub immediately.  
  • In the fall, cut your peony plant down to the ground (as shown below).  
  • Remove all cuttings and infected leaves after you cut down your plants.  Place the cuttings in  the trash or burn them.
  • Once your cut your plant and remove the infected cuttings, spray your plant thoroughly with Garden Safe Fungicide3.  
  • Clean your shears or loppers thoroughly after cutting the diseased plant.  


eliminating peony blight


Peony Maintenance:  

  • Deadhead your peonies annually.
  • Make sure plants are spaced at least 3 feet apart. 
  • Plant peonies in full sun or part shade. 
  • Cut peonies down to the ground in the fall. 
  • Spray the Garden Safe Fungicide3 as a part of your maintenance program to keep the blight from hitting. (Spray your plants in the fall after cutting them down and in the spring before blooms emerge).  
  • Water peonies early morning at the base.  


eliminating peony blight


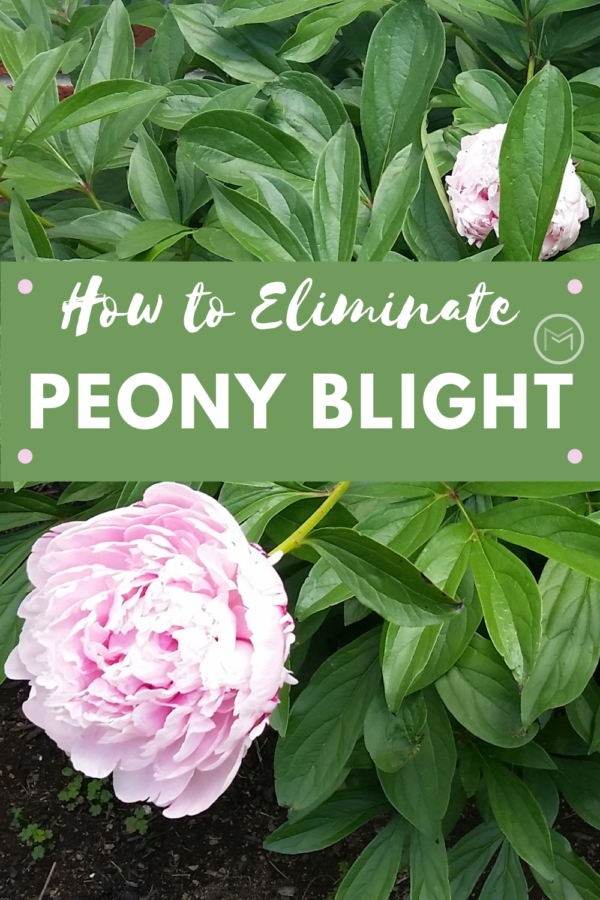
Last, taking these steps will eliminate and prevent peony blight from hitting your beautiful plants.  With these steps you peonies will be a good as new.  This is my Sarah Bernhardt peony.  Sadly, it was affected by the blight. However, re-emerged as beautiful as ever this spring. Preventive maintenance is key to healthy plants.  

Best Companion Plants for Cabbage

Today, I’m sharing beginner gardening tips on companion plants for cabbage.  Are you wondering what companion planting is?  When I first started gardening, I was unknowledgeable about companion plants and their benefits too.  However, I soon learned that plants need help just like humans.  


What Is Companion Planting:


Companion planting is when you grow different plants close to each  other.  The two plants help repel harmful bugs/pests, they can also attract beneficial insects, and help provide shade, support or even improve soil. 

Native Americans mastered companion planting with The Three Sisters.  The Three Sisters are corn, pole beans, and squash.  The corn provided a support for the beans to climb and the squash leaves provided shade to help retain moisture for the plants.  Companion plants for cabbage will work in a similar way.  

So, I plant sunflowers and cucumbers together.  The sunflower stalks are perfect for the cucumbers to wrap themselves around and the leaves of the cucumbers help shade the ground.  This helps the soil retain water.  And, makes these two plants great companions.  


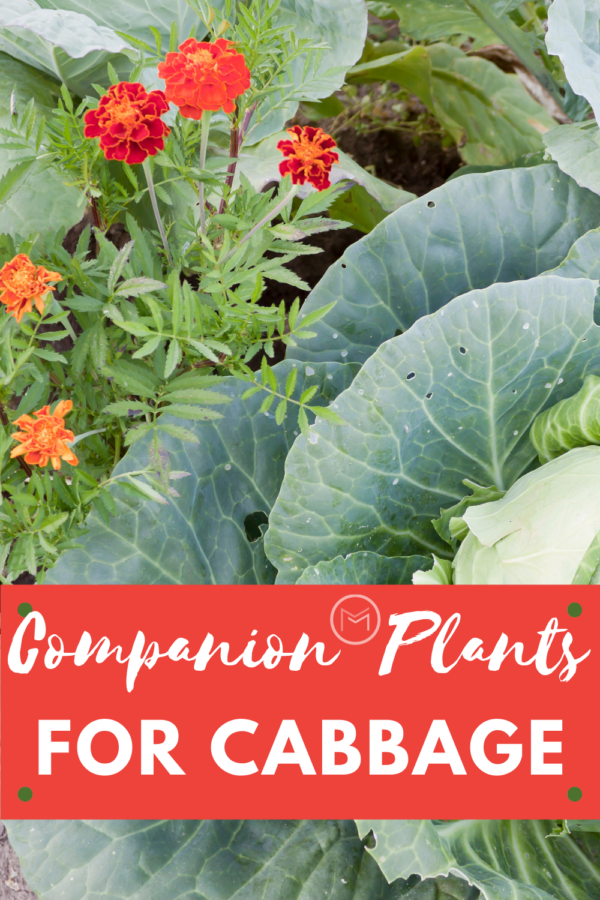
companion plants for cabbage


 Using Flowers as Companion Plants 


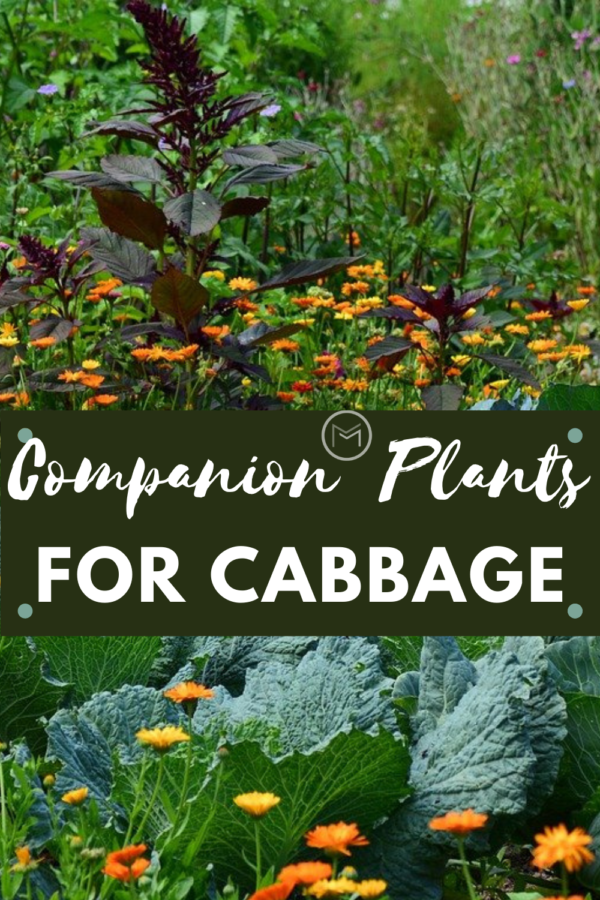
Tomatoes and marigolds are good companion plants as well as tomatoes and basil. Lots of marigolds in your garden will bring insects that will eat pests in your garden.  Furthermore, those insects will enjoy the nectar or pollen of the flowers that you plant. 

So, petunias, zinnia, cosmos, and sweet peas are great flowers to plant in or around your vegetable garden too.  Get creative.  Plant them in circles around the base of your vegetable plants, make borders, use containers that sit close to the companion plants or intersperse flowers in your garden rows.  Those that produce clusters or trumpets are excellent choices to attract pollinators.  


companion planting for cabbage


Companion Plants for Cabbage


  • Dill
  • Chives
  • Beets
  • Yarrow
  • Mint
  • Geraniums
  • Sage
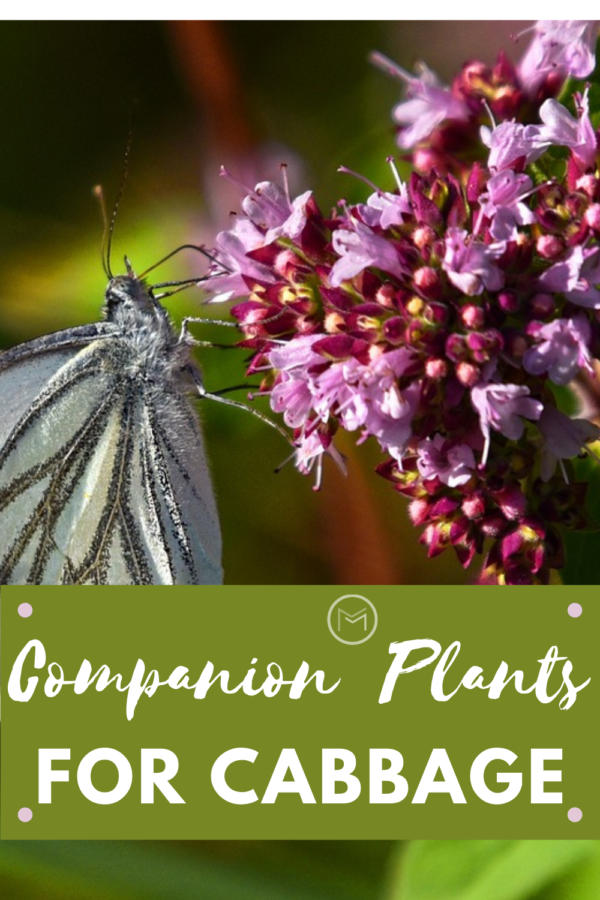
  • Oregano
  • Thyme
  • Onions
  • Marigolds
  • Mint
  • Celery
  • Basil
  • Calendula
  • Peas
  • Nasturtium
  • Bush or Pole Beans


companion plants for cabbage


Avoid Using These Plants with Cabbage:  


  • Tomatoes
  • Grapes
  • Strawberries
  • Garlic


I hope that my list of companion plants for cabbage will help you make a decision on what additional vegetables you want to add to your garden.  Also, adding companion flowers will make a lovely and colorful addition to your garden and backyard.  Last, the companion plants will help increase your yield and keep your produce disease free.  You may also like Understanding Companion Planting.  

What’s Eating My Cabbage and Remedies

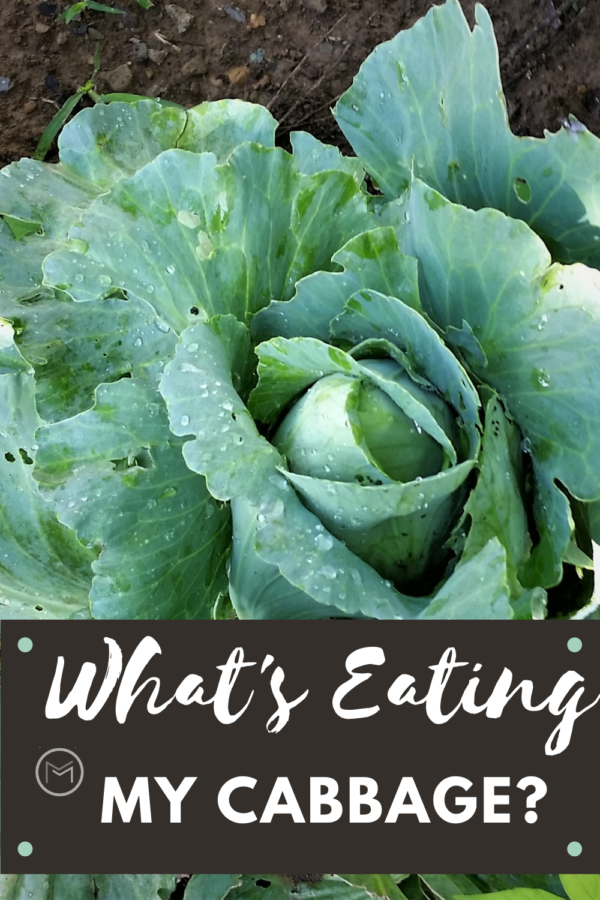
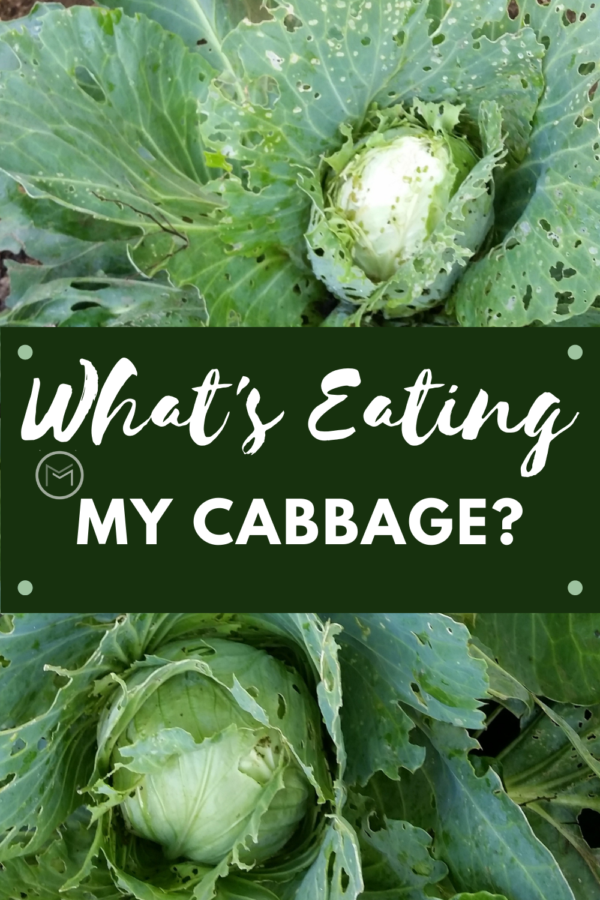
Today, I’m sharing beginner gardening tips on what’s eating my cabbage.  Are you seeing holes in the leaves of your cabbage plants?  Lets discuss the garden pests that put holes in cabbage or other members of the cabbage family; cauliflower, kale and more.  When you see those tiny little holes on your plants, you wonder what’s eating my cabbage, what’s eating my kale or cauliflower?

More likely than not, it’s the cabbage worm. However, there are other culprits.  So, it’s important that you identify what’s eating your cabbage and take action immediately.  Your cabbage plants are the most vulnerable when they are seedlings.  


whats eating my cabbage


What’s Eating My Cabbage:


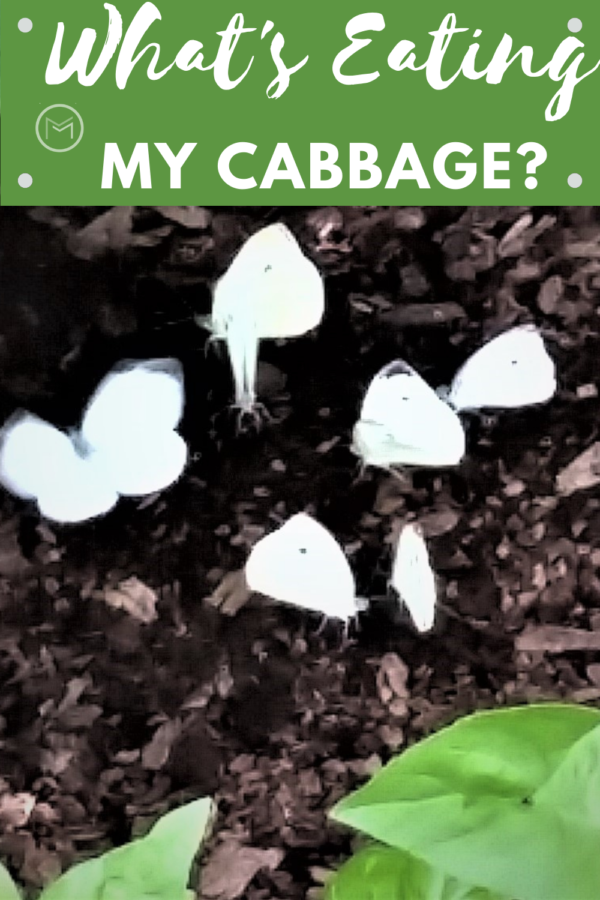
Cabbage Worm  – The cabbage worm is actually the caterpillar of the cabbage white butterfly.  It can create a huge amount of damage in your garden.  First, if you see the Cabbage White Butterfly in your garden, more likely than not it is laying eggs.  Probably hundreds of them.  Cabbage Whites lays their eggs under the leaves of plants.  So, eradicating the eggs should be your first step if possible.  

Turn over your cabbage leaves and look for small yellowish white eggs.  But, be careful because the eggs of ladybugs and Cabbage Whites look similar.  The difference is lady bugs lays their eggs in clusters, Cabbage Whites lay theirs here, there and everywhere.  Simply remove the eggs and squish them.  A pair of garden gloves will be beneficial here.

So, once the worms emerge from the eggs they start eating the leaves leaving small holes.  As they get bigger growing into caterpillars, the holes on the leaves will also get bigger. This process could last for several weeks or until the caterpillar reaches the stage where they prepare to turn into the Cabbage White butterfly.  Once they turn into a butterfly, the cycle will repeats, eggs, worm, caterpillar, and butterfly.   


whats eating my cabbage


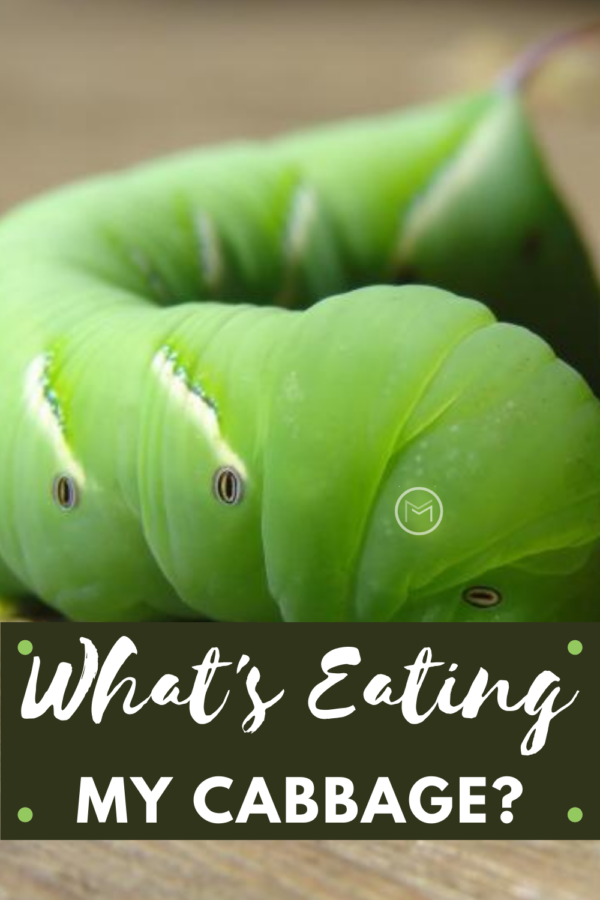
Cabbage Looper – Chubby, little cabbage loopers will devour your cabbages if not removed.  So, removing cabbage loopers is imperative if you want a productive cabbage crop.  Instead of holes, the leaves on your cabbage plant will have jagged edges.


whats eating my cabbage


Slugs and Snails- Slugs and snails prefer cool weather and moist soil. Slugs can be found at the base of your cabbage or between the leaves.  They will be the toughest to eradicate.  Often, they are found deep inside the cabbage plant eating their way outward.  Sadly, when they are found they have pretty much destroyed the cabbage plant.  Unfortunately, removing them manually can be a challenge because they are burrowed deep inside the plant.  Slugs roam when we sleep.  Unlike the cabbage worm and cabbage looper, using an insecticide on slugs is not beneficial since they are not an insect. But, all is not lost.  


whats eating my cabbage


Remedies for Cabbage Pests:


  • Neem Oil – Spray the entire plant with an organic Neem Oil.  Be sure to spray both sides of the leaves for best control.  
  • Monterey BT Spray – Monterey BT is an organic spray as well that will eliminate chewing worms and bugs.  However, it’s safe for good worms, earth worms, and humans.  
  • Soap Spray – Make a mixture of Castile Liquid Soap and water.  You can also add neem oil to your mixture. For an easy mixture, check out this insecticidal soap recipe.  
  • Crushed EggshellsUse crushed eggshells around your cabbage plants and other members of the family including kale, broccoli, collard greens etc.  This the solution for keeping slugs at bay.  
  • Bowls of Beer or Milk – Use bowls of beer and milk throughout your garden to lure snails and slugs.  Dig a hole so the bowl sits at ground level.  This will make it easier for the slugs and snails to crawl into the beer or milk.  
  • Row Covers – Row covers can help save your plants too.  Secure them with landscape pins. 


If you’re planting any member of the Brassica family, preparing for garden pests should be at the top of your list.  So, get suited up and prepare to do battle.   

Best Flowers For Sunny Locations

Today, I’m sharing beginner gardening tips on best flowers for sunny locations.  Knowing your plant’s needs is imperative if you want to be successful growing beautiful flower gardens.  Some garden areas are perfect for full sun flowers, some part sun and shade and some simply shade. To take out the guess work out the plants that you should use for sunny locations.  I’ve put together a list of flowers that love sunny locations.


Know the Requirements for Best Flowers for Sunny Locations

When a plant’s need is full sun, it doesn’t have to be in full sun all day.  However, it must have at least 6 hours of sunshine per day.  If you have part shade in an area near your sun garden, look for and plant flowers that can thrive in full sun or part shade.

Provide mulch for your flowers, it will help them retain moisture.  


Best Flowers for Sunny Locations: 


  • Black-eyed Susans
  • Coreopsis
  • Sunflowers
  • Iris
  • Sage
  • Bee Balm
  • Knock Out Roses
  • Day Lilies
  • Sedum
  • Lavender
  • Shasta Daisy
  • Petunia
  • Moss Ross
  • Geraniums
  • Begonias
  • Salvia
  • Verbena
  • Arnica
  • Roses
  • Lilac
  • Sweet Alyssum
  • Marigolds
  • Zinnia
  • Balloon Flower
  • Salvia
  • Azalea
  • Blanket Flower
  • Crape Myrtle
  • Clematis
  • Hydrangeas
  • Lupines
  • Turtleheads


best flowers for sunny locations


Know Your Gardening Zone for Best Results:  

Know your gardening zone, and look for plants that will thrive in your area.  Furthermore, make sure they can survive the heat and drought you may encounter doing the summer.  You will need to provide water during these stressful times and ensure they still receive the nutrients needed.  Native plants are very good options, they are already accustomed to your area.  


Plant Perennials and Annuals for Best Flowers for Sunny Location:

Additionally, you can plant annuals with your perennials.  They are perfect for containers and pots or filling in gaps in your borders.  Just make sure they are suitable to you gardening zone and have the same sun requirements.

Last, play with colors and height to create interest in your garden.  I love combining purple, pink and white petunias in my containers and window boxes.  The hummingbirds and butterflies love them.  If you’re interested attracting butterflies, hummingbirds and other pollinators, be sure to plant flowers that will do just that.  

You may also like Gardener’s Guide to Sun Expose.