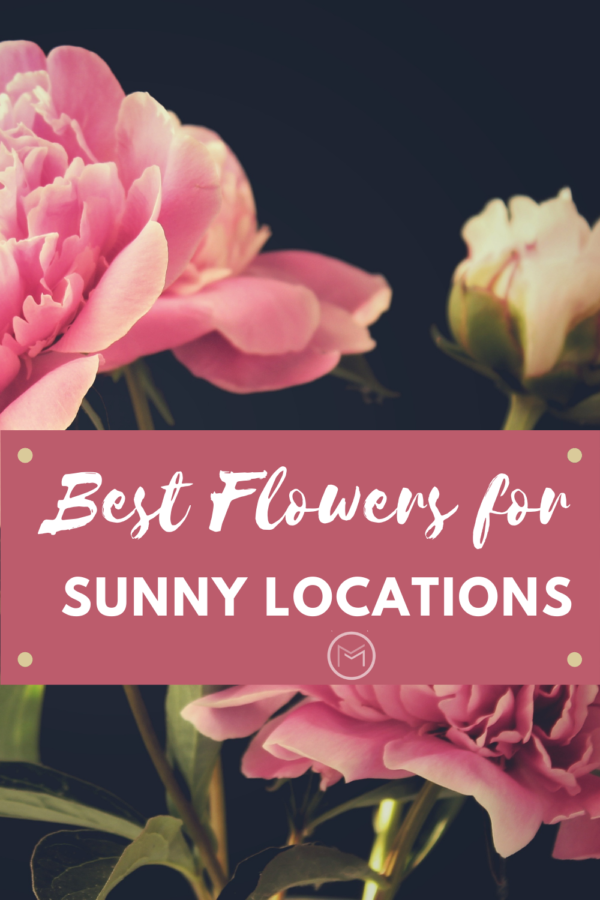
Today, I’m sharing beginner gardening tips on best flowers for sunny locations. Knowing your plant’s needs is imperative if you want to be successful growing beautiful flower gardens. Some garden areas are perfect for full sun flowers, some part sun and shade and some simply shade. To take out the guess work out the plants that you should use for sunny locations. I’ve put together a list of flowers that love sunny locations.
Know the Requirements for Best Flowers for Sunny Locations
When a plant’s need is full sun, it doesn’t have to be in full sun all day. However, it must have at least 6 hours of sunshine per day. If you have part shade in an area near your sun garden, look for and plant flowers that can thrive in full sun or part shade.
Provide mulch for your flowers, it will help them retain moisture.

Best Flowers for Sunny Locations:
- Black-eyed Susans
- Coreopsis
- Sunflowers
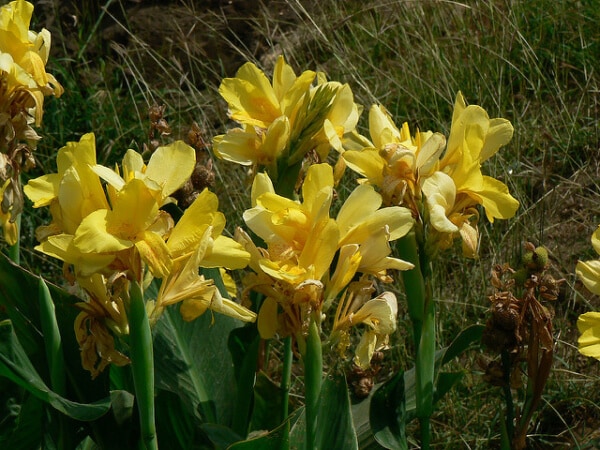
- Iris
- Sage
- Bee Balm
- Knock Out Roses
- Day Lilies
- Sedum
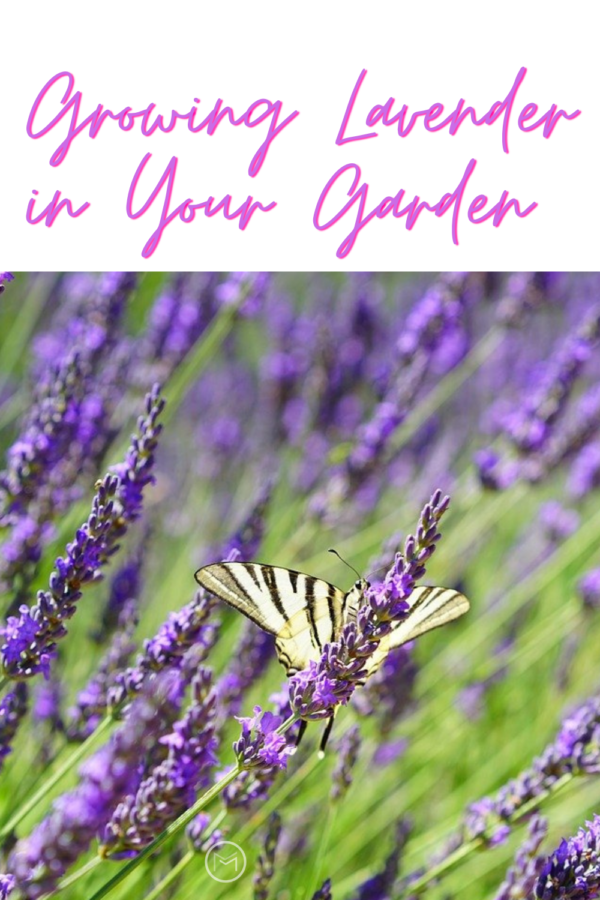
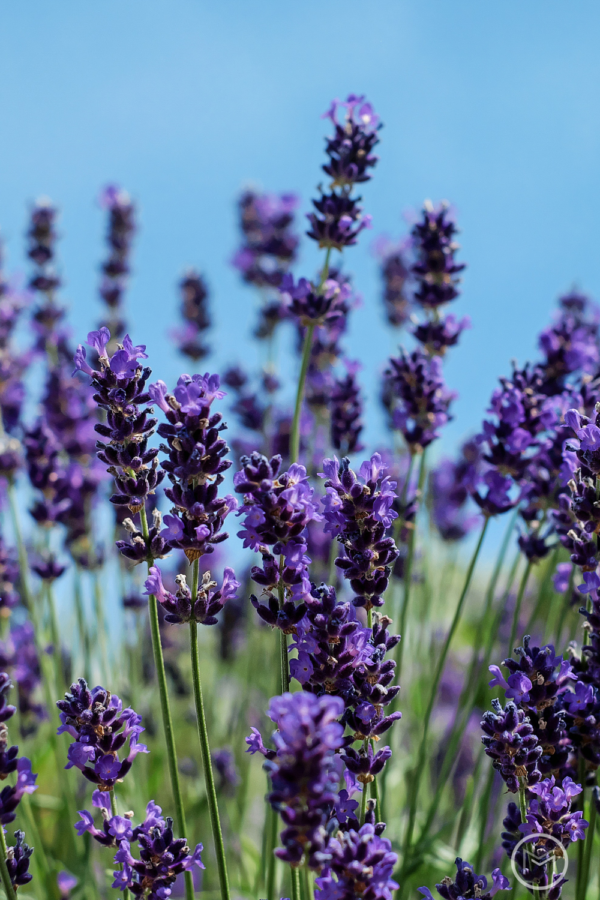
- Lavender
- Shasta Daisy
- Petunia
- Moss Ross
- Geraniums
- Begonias
- Salvia
- Verbena
- Arnica
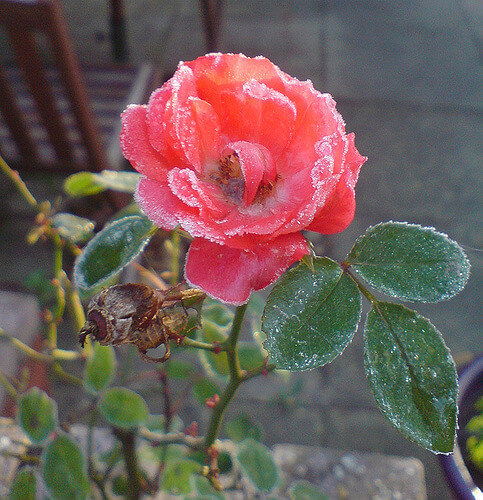
- Roses
- Lilac
- Sweet Alyssum
- Marigolds
- Zinnia
- Balloon Flower
- Salvia
- Azalea
- Blanket Flower
- Crape Myrtle
- Clematis
- Hydrangeas
- Lupines
- Turtleheads
Know Your Gardening Zone for Best Results:
Know your gardening zone, and look for plants that will thrive in your area. Furthermore, make sure they can survive the heat and drought you may encounter doing the summer. You will need to provide water during these stressful times and ensure they still receive the nutrients needed. Native plants are very good options, they are already accustomed to your area.
Plant Perennials and Annuals for Best Flowers for Sunny Location:
Additionally, you can plant annuals with your perennials. They are perfect for containers and pots or filling in gaps in your borders. Just make sure they are suitable to you gardening zone and have the same sun requirements.
Last, play with colors and height to create interest in your garden. I love combining purple, pink and white petunias in my containers and window boxes. The hummingbirds and butterflies love them. If you’re interested attracting butterflies, hummingbirds and other pollinators, be sure to plant flowers that will do just that.
You may also like Gardener’s Guide to Sun Expose.


