Today, I’m sharing gardening tips on Zone 6B plants for spring gardens. March is the time to clean up your garden and start cool weather vegetable crops. This includes removing any weeds and adding compost. Decide what you want to plant in your spring garden and prepare to purchase your plants or sow your seeds. April is a great time to start planting spring vegetables.
Know Your Garden Zone
So, I garden in Zone 6B. The lower the number on the zone map, the colder the climate is in that particular area. It’s important that you know your gardening zone. Please, take some time and look up your zone now. This will help you determine what you can plant in your area and when you should sow your seeds or plants in your garden or containers.
Zone 6B Plants for Spring Gardens:
- Carrots
- Swiss Chards
- Beets
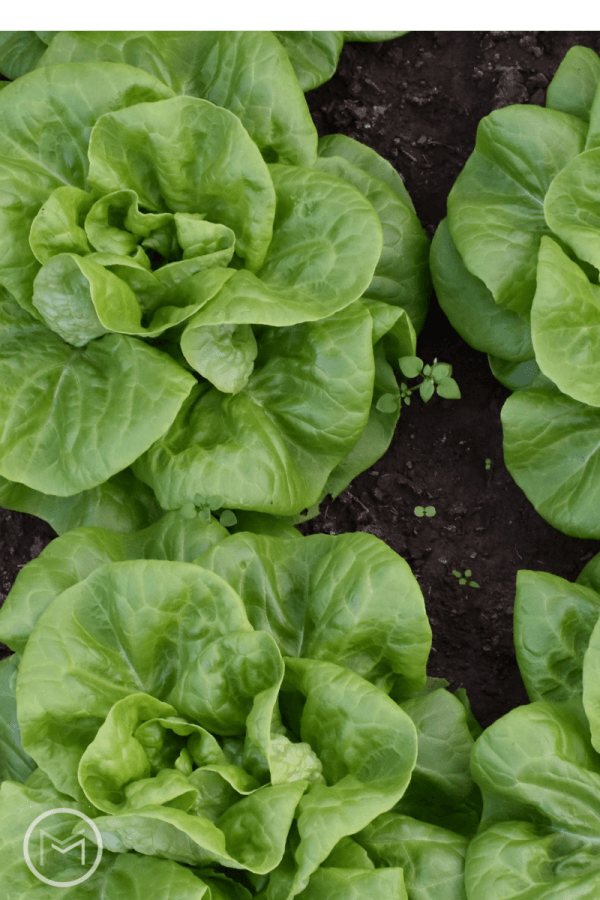
- Lettuce
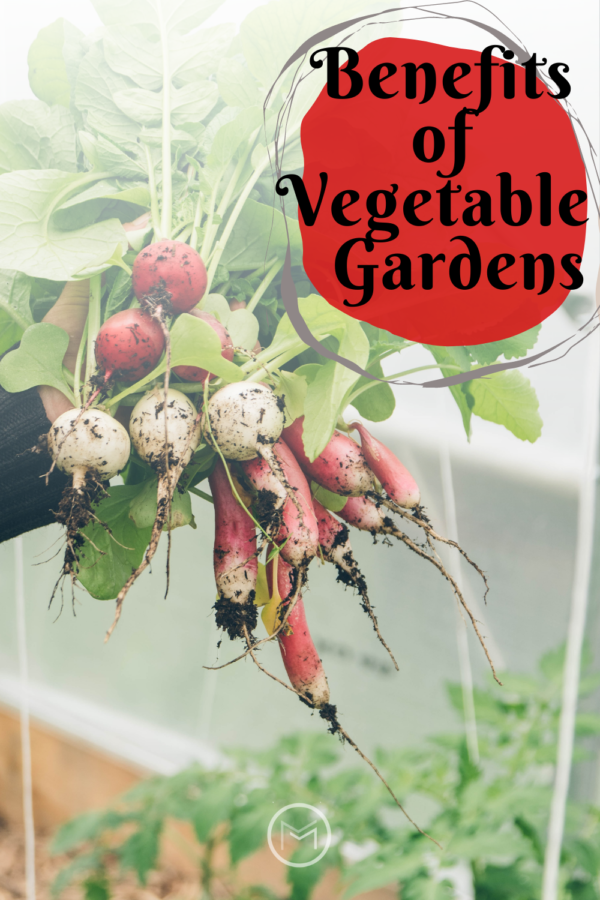
- Radishes
- Peas
- Potatoes
- Onions
- Spinach
- Collards
- Kale
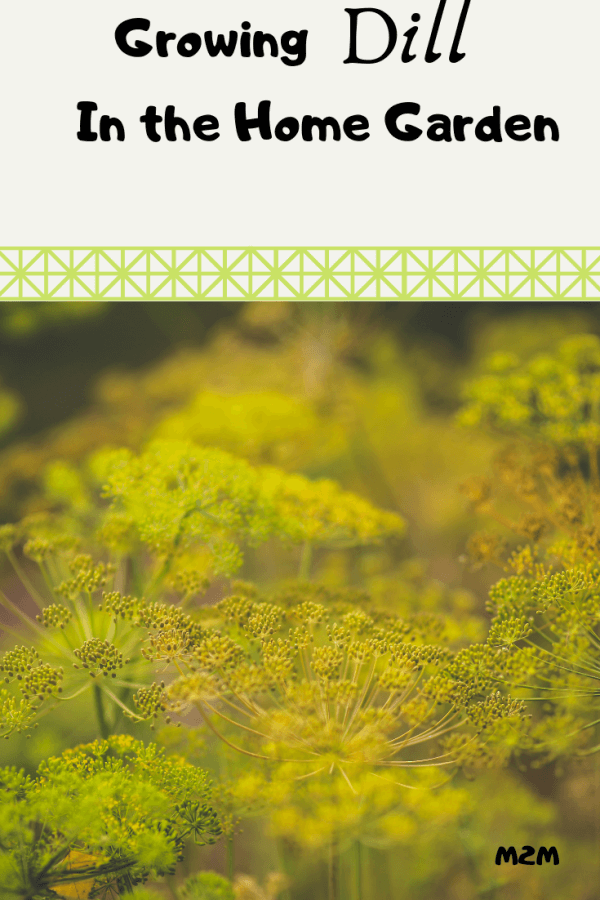
Understanding Cool Weather Crops
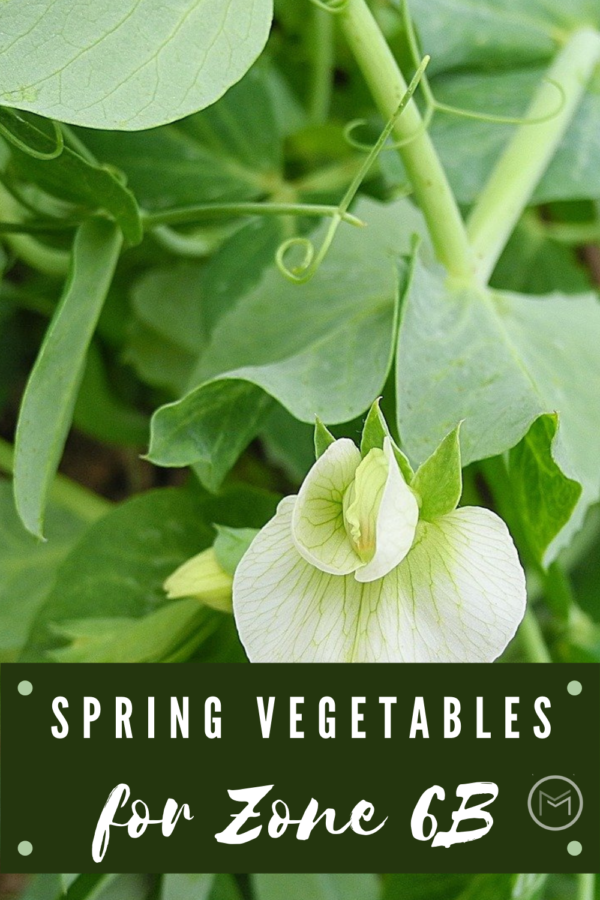
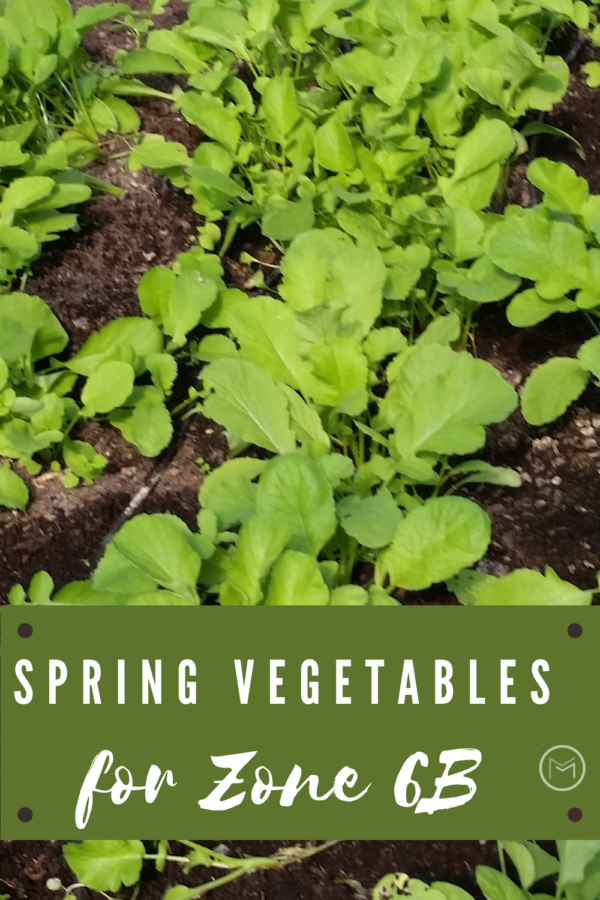
These vegetables are considered cool weather crops. Cool weather crops can germinate in cold soil and grow in cooler weather like spring and fall. So, make that you direct sow your seeds in a timely manner. You want your seeds to germinate and the plants to mature before hot weather sets in. So, sow your seeds or plants as soon as the ground is workable. Cool weather crops will wilt or bolt in the hot summer heat. Although, I have had luck with keeping a good crop of lettuce going throughout the past two summers. I plant it under a ladder close to my tomatoes plants that provides lots of shade.
I have direct sown peas, lettuce, carrots and radishes and they have done great in the timeframe that I allowed for my spring garden. It’s important that you allow time for the plant to mature and harvest your produce before you need the space for your summer crops.
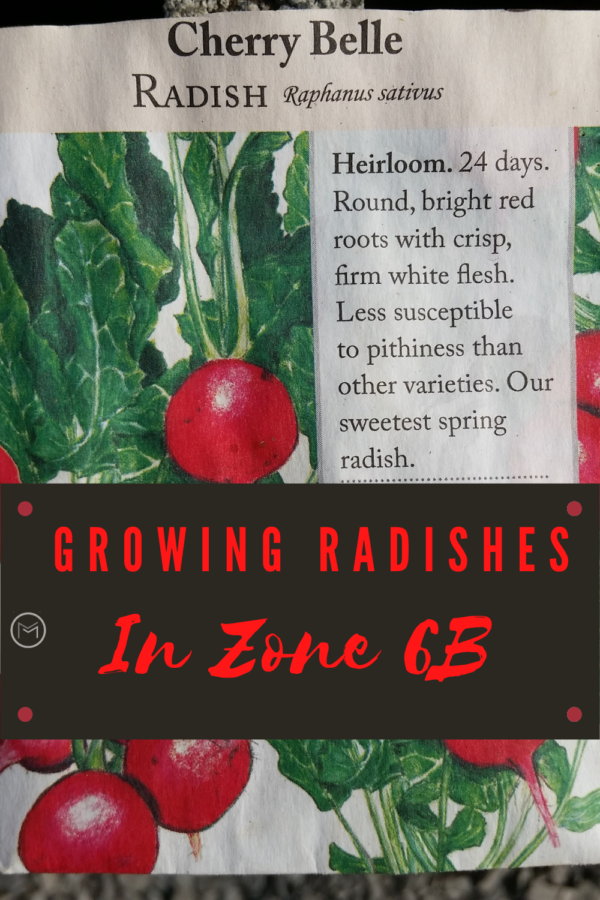
The picture directly above are Cherry Belle Radishes that were planted in April and are maturing in May. Belle means beautiful in French. The germination timeframe is approximately 25 days, and they are perfect for beginner and experienced gardeners. This radish has been around for many years, and has been tried, tested and true. It’s a great plant for a fall planting too.
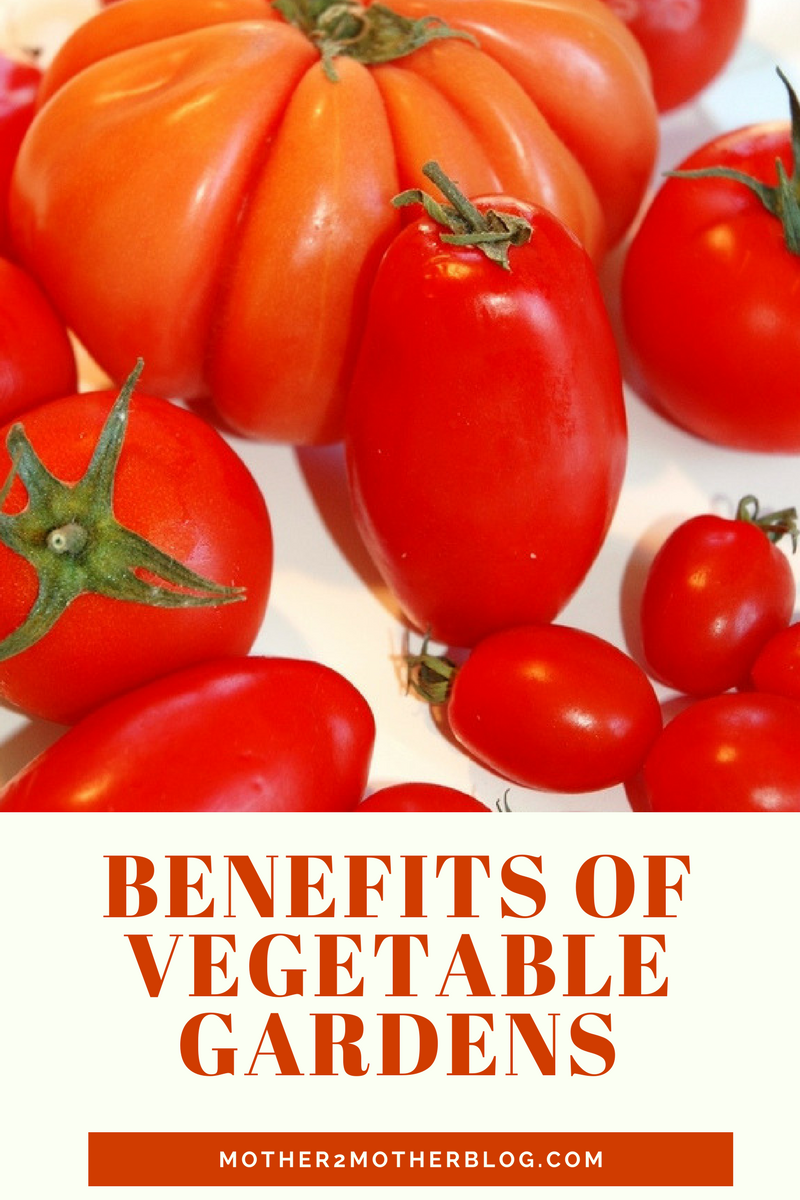
So, pick a few Zone 6b plants for spring and get them in your vegetable garden. You can plant in containers, raised beds or in a garden plot.