How to Grow Radishes for Beginner Gardeners

Today, I’m sharing gardening tips on how to grow radishes. Radishes are the perfect vegetable for beginner gardeners.  Actually, they are one of the easiest vegetables to grow.  I love radishes on vegetable trays, in salad or just to snack on.  Spicy radishes are what I crave.  However, there are 35 varieties of radishes for you to choose from to satisfy your taste buds.  

Besides being delicious, another reason to grow radishes is you can reap the benefits from two sowings.  One in the spring and one in the fall.  

Radishes provide great health benefits like antioxidants, calcium and potassium.  Furthermore, they can also help lower blood pressure.  
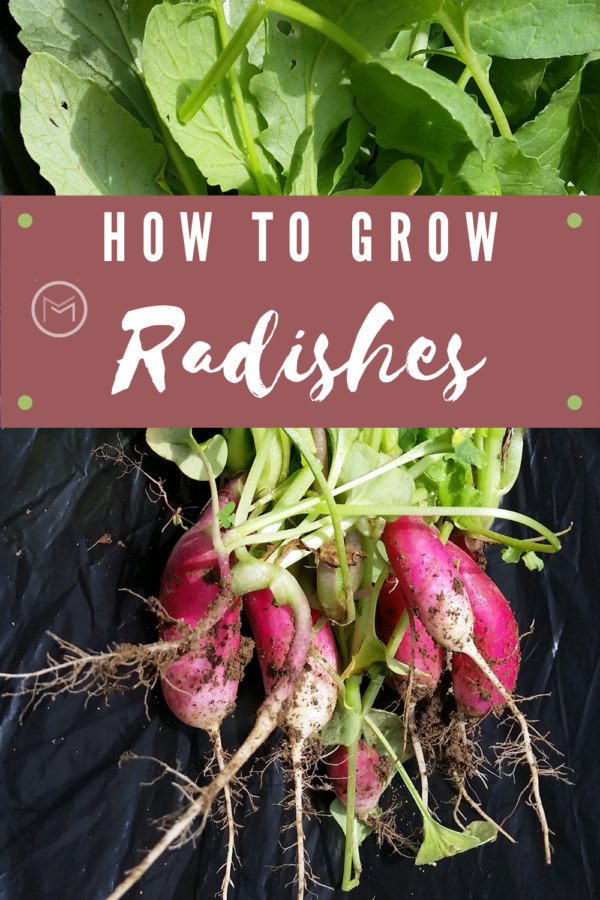


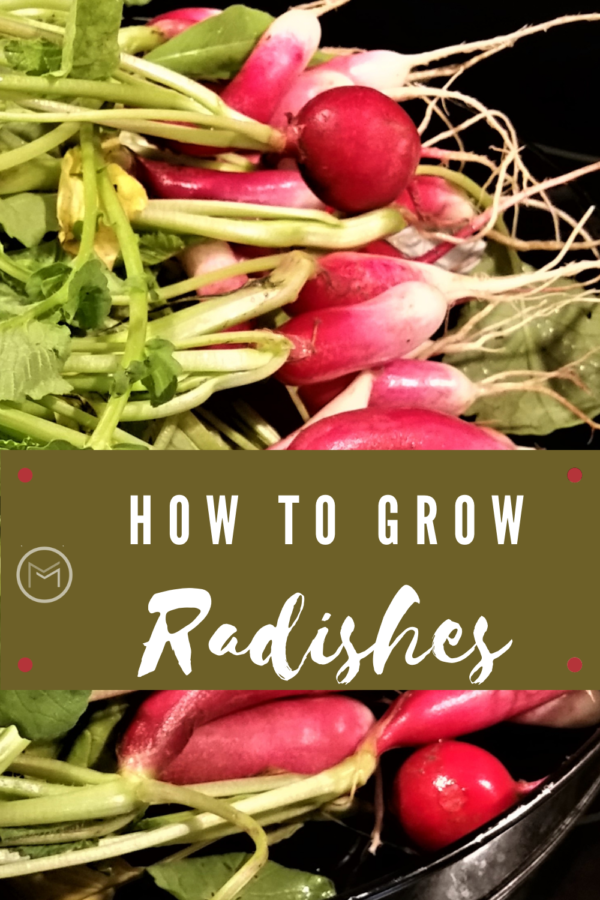
how to grow radishes


So, radishes are root vegetables and belong to the Brassicaceae family.  The Brassicaceae family includes cabbage, cauliflowers, collard greens, turnips, and beets to name a few.  Radishes originated in Egypt.  It gets it’s name from the Latin word root.  Radishes are loved by many, Americans eat approximately 400 million pounds of radishes each year.  


Varieties of Radishes:  


  • Cherry Belle
  • French Breakfast
  • Gourmet Blend
  • Fire and Ice
  • Pink Beauty
  • Black Spanish
  • White Icicle
  • Easter Egg
  • Purple Plum
  • Daikon


how to grow radishes


These radishes can be grown in a variety of containers.  They can be grown in raised beds, flower pots, baskets, colanders, galvanized tubs or buckets.  Personally, I plant them in rows in my garden.  

If you decide to grow radishes in a container, make sure it is a least 6 inches deep.  


How to Grow Radishes:  


  • Spring and fall are the best time to grow radishes.  Radishes prefer cool weather, so planting in April and or September is the perfect time to sow radish seeds.  
  • Add compost to your soil before you sow your seeds.  
  • Radishes are difficult to transplant; however, some gardeners have good luck transplanting them.  Because they are very easy to grow, I recommend direct sowing your seed as a beginner gardener.   
  • Grow radishes in full sun or partial shade. (They should be get at least 6 hours of sun a day).  
  • Avoid growing radishes next to potatoes, turnips or broccoli  and the herb hyssop.  
  • Not thinning radishes can stunt their growth. So, be sure to thin the radishes so they are an inch apart. You can simply pull or clip the radish seedlings you want to remove.  
  • Hot weather will cause radishes to bolt.  Once radishes bolt, they become bitter, woody and not at all tasty.  How do you know when you plant has bolted?  It will start flowering and attempting to set seed.  You can continue to let the plant bolt and go to seed if your radishes are heirloom plants.  Simply let the plant grow and produce seed pods.  When the pods turn brown and hard harvest the seed and plant them later.  
  • Water regularly.  Make sure your radishes receive at least an inch of water weekly.  When your radishes don’t receive enough water, they tend to crack or split.  You can use a soaker hose to water deeply when you’re pressed for time. 
  • Harvest your radishes timely.  Otherwise, they will become tough because they’ve been left in the ground too long. 
  • Harvest radishes within 30 to 45 days.  Be sure to read the package to ensure they are harvested timely. 
  • If radishes are about an inch out of the ground, they are ready to harvest.
  • When warmer weather hits in June, you should have already harvested your radishes. 


I hope that you enjoyed my post on on how to grow radishes.  Last, if you missed your chance to plant in the spring, plan a fall harvest.  Home grown radishes are so much tastier than store brought varieties.  You may also like: Spring Vegetables for Zone 6B.    Check out the Health Benefits of Radishes too.  
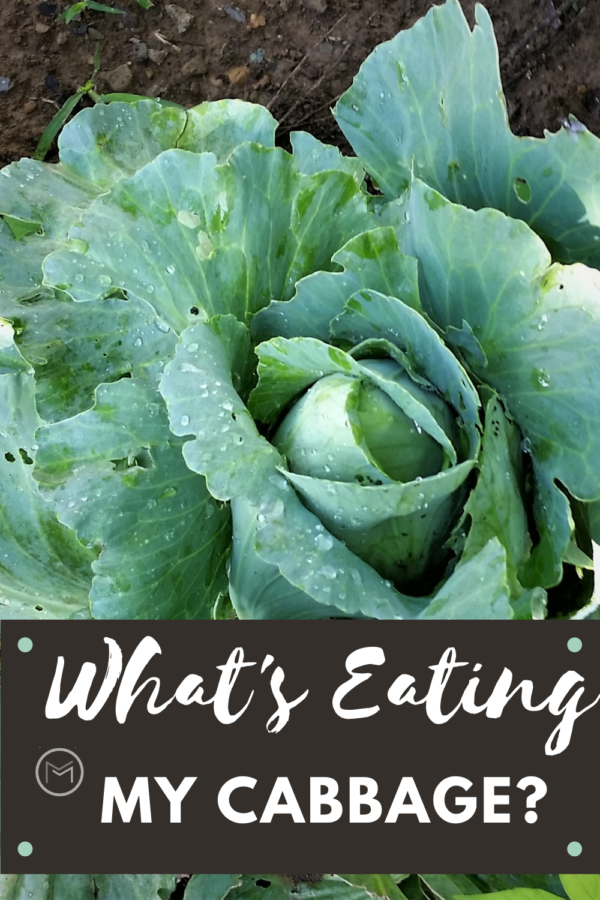


What’s Eating My Cabbage and Remedies

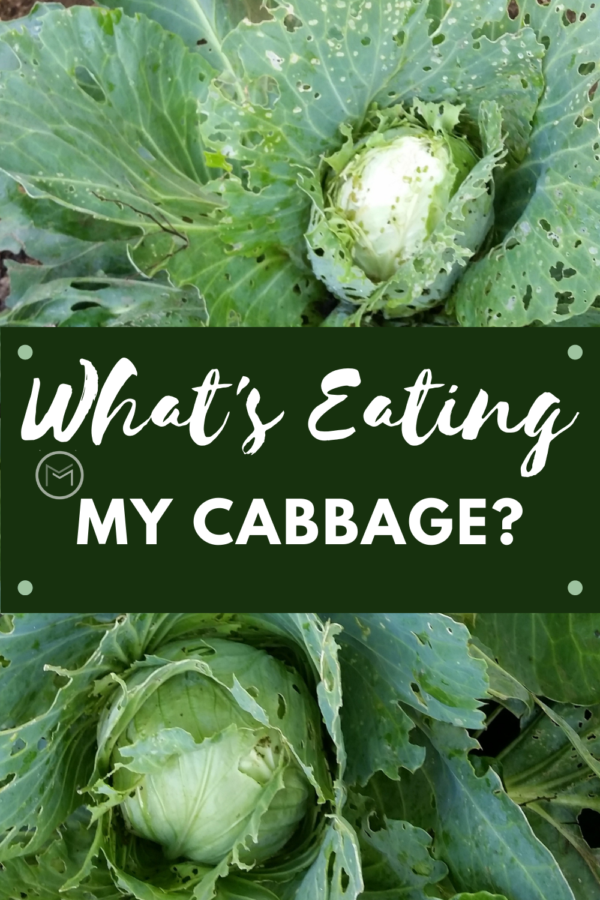
Today, I’m sharing beginner gardening tips on what’s eating my cabbage.  Are you seeing holes in the leaves of your cabbage plants?  Lets discuss the garden pests that put holes in cabbage or other members of the cabbage family; cauliflower, kale and more.  When you see those tiny little holes on your plants, you wonder what’s eating my cabbage, what’s eating my kale or cauliflower?

More likely than not, it’s the cabbage worm. However, there are other culprits.  So, it’s important that you identify what’s eating your cabbage and take action immediately.  Your cabbage plants are the most vulnerable when they are seedlings.  


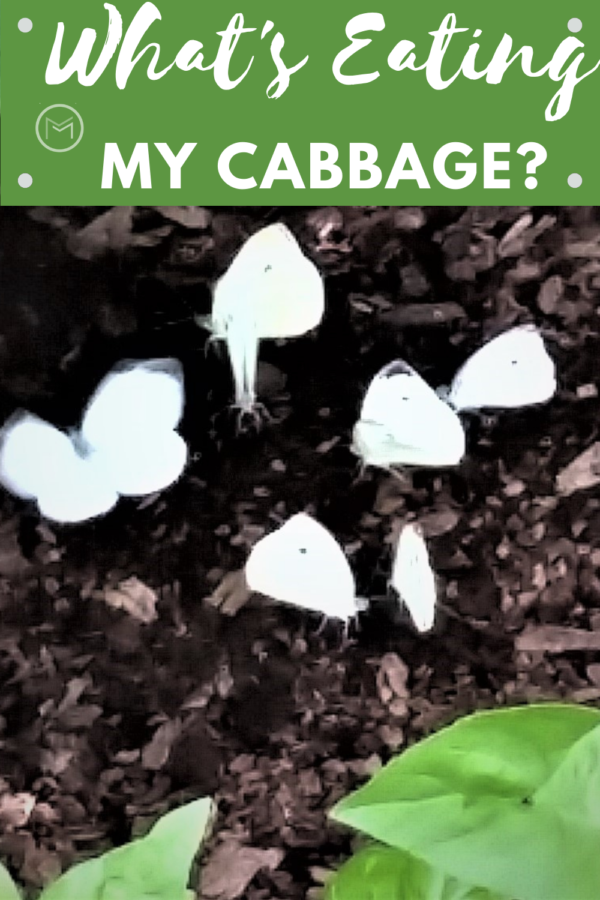
whats eating my cabbage


What’s Eating My Cabbage:


Cabbage Worm  – The cabbage worm is actually the caterpillar of the cabbage white butterfly.  It can create a huge amount of damage in your garden.  First, if you see the Cabbage White Butterfly in your garden, more likely than not it is laying eggs.  Probably hundreds of them.  Cabbage Whites lays their eggs under the leaves of plants.  So, eradicating the eggs should be your first step if possible.  

Turn over your cabbage leaves and look for small yellowish white eggs.  But, be careful because the eggs of ladybugs and Cabbage Whites look similar.  The difference is lady bugs lays their eggs in clusters, Cabbage Whites lay theirs here, there and everywhere.  Simply remove the eggs and squish them.  A pair of garden gloves will be beneficial here.

So, once the worms emerge from the eggs they start eating the leaves leaving small holes.  As they get bigger growing into caterpillars, the holes on the leaves will also get bigger. This process could last for several weeks or until the caterpillar reaches the stage where they prepare to turn into the Cabbage White butterfly.  Once they turn into a butterfly, the cycle will repeats, eggs, worm, caterpillar, and butterfly.   


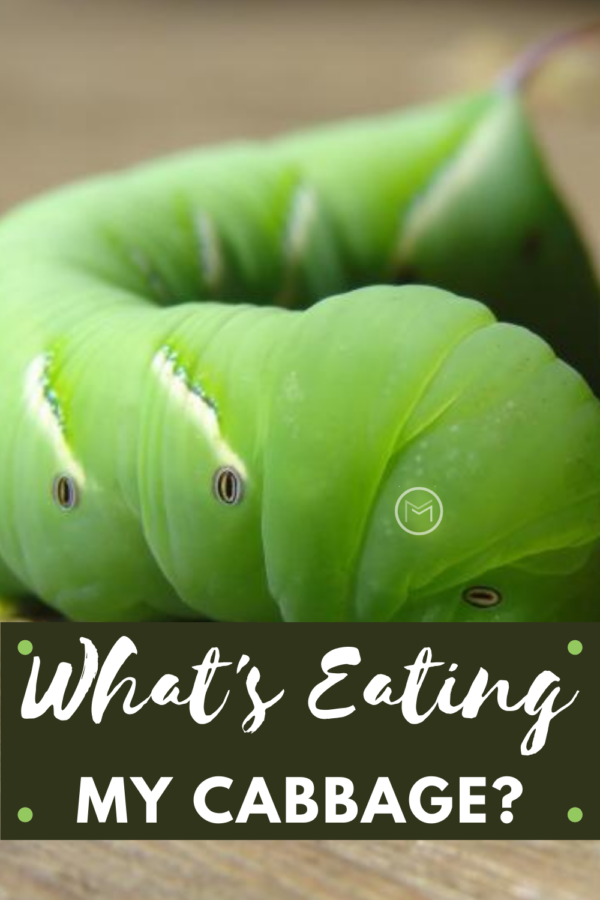
whats eating my cabbage


Cabbage Looper – Chubby, little cabbage loopers will devour your cabbages if not removed.  So, removing cabbage loopers is imperative if you want a productive cabbage crop.  Instead of holes, the leaves on your cabbage plant will have jagged edges.


whats eating my cabbage


Slugs and Snails- Slugs and snails prefer cool weather and moist soil. Slugs can be found at the base of your cabbage or between the leaves.  They will be the toughest to eradicate.  Often, they are found deep inside the cabbage plant eating their way outward.  Sadly, when they are found they have pretty much destroyed the cabbage plant.  Unfortunately, removing them manually can be a challenge because they are burrowed deep inside the plant.  Slugs roam when we sleep.  Unlike the cabbage worm and cabbage looper, using an insecticide on slugs is not beneficial since they are not an insect. But, all is not lost.  


whats eating my cabbage


Remedies for Cabbage Pests:


  • Neem Oil – Spray the entire plant with an organic Neem Oil.  Be sure to spray both sides of the leaves for best control.  
  • Monterey BT Spray – Monterey BT is an organic spray as well that will eliminate chewing worms and bugs.  However, it’s safe for good worms, earth worms, and humans.  
  • Soap Spray – Make a mixture of Castile Liquid Soap and water.  You can also add neem oil to your mixture. For an easy mixture, check out this insecticidal soap recipe.  
  • Crushed EggshellsUse crushed eggshells around your cabbage plants and other members of the family including kale, broccoli, collard greens etc.  This the solution for keeping slugs at bay.  
  • Bowls of Beer or Milk – Use bowls of beer and milk throughout your garden to lure snails and slugs.  Dig a hole so the bowl sits at ground level.  This will make it easier for the slugs and snails to crawl into the beer or milk.  
  • Row Covers – Row covers can help save your plants too.  Secure them with landscape pins. 


If you’re planting any member of the Brassica family, preparing for garden pests should be at the top of your list.  So, get suited up and prepare to do battle.   

Growing Pepper Plants From Seed for Beginners

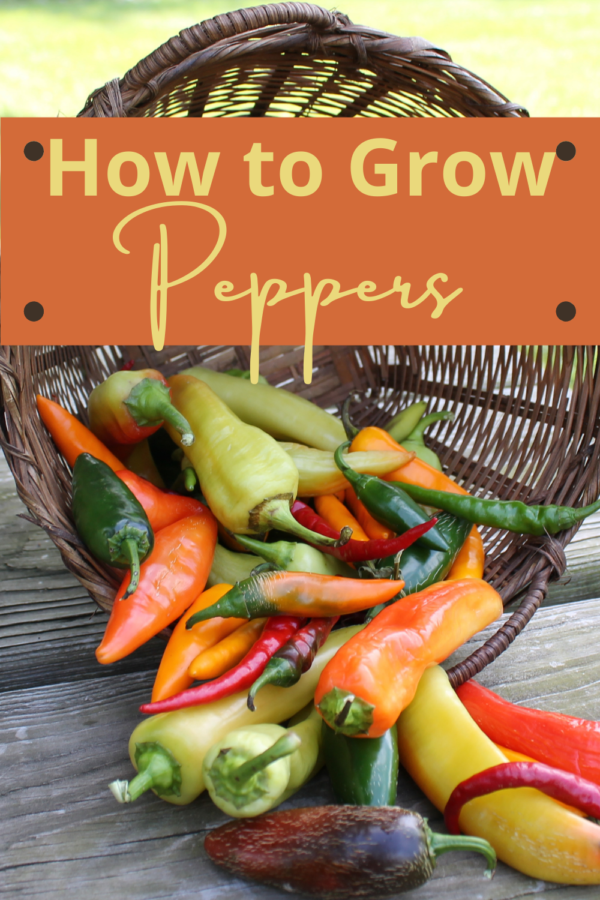
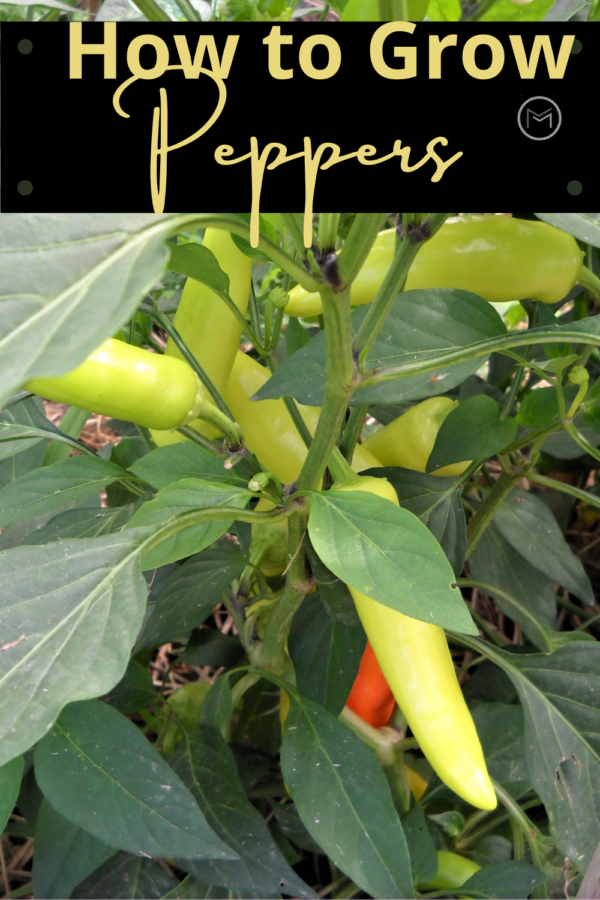
Today, I’m sharing gardening tips on growing pepper plants from seed in your backyard garden.  Peppers find a spot in my garden every season.  I grow them from seed.  So, my harvest includes lots of Jalepeno, Belle peppers of every color, chili peppers and sweet banana peppers.   


Growing Pepper Plants From Seed


I start my seeds using the winter sowing method about 8 – 10 weeks before I plant them in my garden. You can also grow pepper plants from seed under grow lights.  Actually, peppers have a lot of requirements that the tomato has.  So, I actually start my tomato seeds the same time I start my peppers.  Furthermore, I plant my tomatoes and peppers at the same time in the garden and in the same vicinity.  Since they have the same needs, I can water and fertilizer them at the same time.  


Correct Spacing for Pepper Plants 

If you decide to grow both, make sure you give your tomato plants more space to grow.  They will be taller and grow wider than pepper plants.  Both need full sun, at least 6 – 8 hours of sunlight per day is good. As a result, I plant my tomatoes in one or two rolls and my peppers in another roll with 3 feet of space between them. You want to make sure your plants have good air circulation. 

Also, plant your tomato at least 24 inches apart.  You will need to get between them harvest your delicious treats and maintain them.  I plant my peppers about 20 inches apart.  So, lets focus on peppers.  


growing pepper plants from seed


Decide the type of peppers that you want to grow.  If you don’t want to grow them from seed, or you’re simply not ready to take that step, it’s all good.  You can purchase plants from the local nursery.  Better yet, you may find a local gardener who has too many plants and would love for you to take them off their hands.

My family eats a lot of hot spicy foods, so jalapenos are a must.  I also plant a variety of belle peppers.  I freeze them to add to chili, salsa or other foods during the winter.  They’re also great fresh on a vegetable tray for a BBQ, girls night or baby shower.  Chili peppers are great in salsa or chili too.  My point, grow what you and your family will eat.  


how to grow peppers


Planting Pepper Plants in Your Garden: 


  • Once the ground has thawed and is workable, transplant your seedlings to a container or plant in your garden. If you’re using a container make sure it is large enough for the plant to grow in and you can fit a stake or trellis in.  They have small stakes and trellis for containers. You can make one out of a small branch or find one at your local garden center. 
  • Add lots of compost or organic matter to your soil while preparing your soil.  I use composted leaves; however, I use Black Cow compost too.  
  • Plant your peppers so they are sitting at ground level in the pot.  Remove the plant and backfill your hole.
  • Water thoroughly and regularly until the plants are established.  I’m in Zone 6B.  In July and August, I still have to water my garden regularly.


how to grow peppers


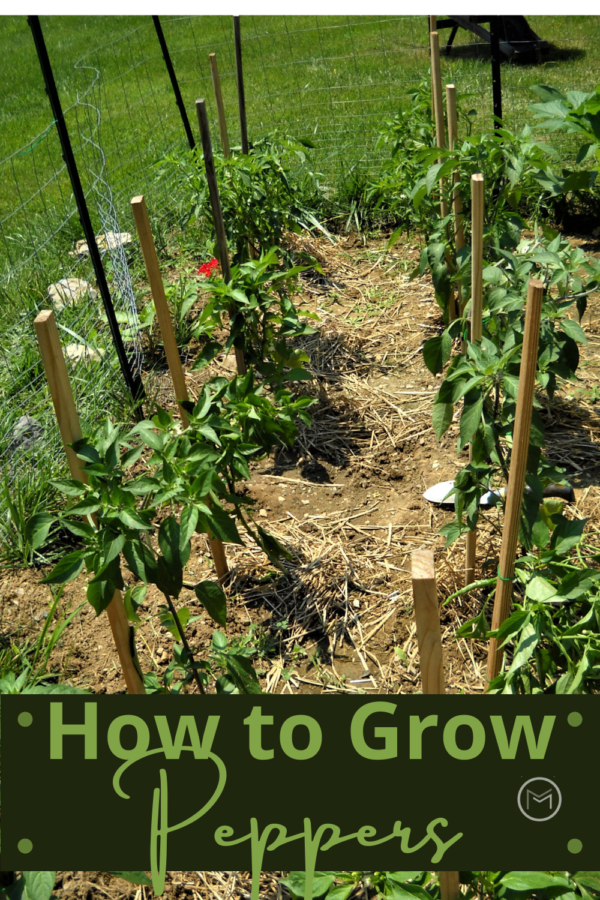
  • Stake your pepper plants.  I use untreated garden stakes from Home Depot.  
  • Mulch your plants with chopped leaves or straw.  
  • You will need to tie your pepper plants to the stakes so they don’t touch the ground when fruit develops.  So, it’s important that you put your stake in place when you plant your seedings or plants.  You can cut an old tee-shirt into strips, panty hose, use yard or whatever soft material you have on hand.  Don’t have time to cut up tees or hose, purchase twist ties from your local Dollar Store.  You can save them from year to year, I do. 


I love being able to walk down to my garden and pick a few peppers off the vine for whatever dish I’m making.  Home grown peppers have a different flavor from the store brought variety.  As a result, I grow enough to preserve during the winter months.  There’s nothing like locking in freshness and saving it for another day.  

Start growing pepper plants from seed with a goal of germinating one or two plants.  If you enjoy nurturing and enjoying fresh peppers start planning to grow more for next year. It’s always best to start small and increase your plants.  

4 Delicious Fruits To Grow In Your Garden

Today, I’m sharing gardening tips on fruits to grow in your garden. Isn’t it every gardener’s dream to have a  garden that’s full of delicious fruits? Some fruits are high-maintenance and challenging to grow, which isn’t exactly ideal for a beginner. Thankfully, there are plenty of yummy fruits that beginners can grow. 


growing fruit

Here’s a few fruits to grow in your garden:


Apples

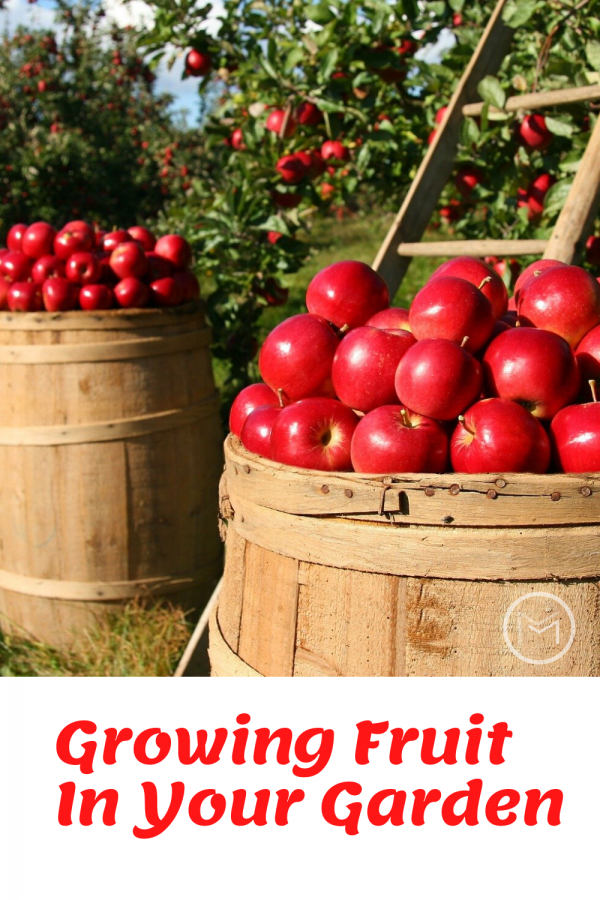
There are many types of apples. First, choose what type you want to grow. If you’re an apple lover, you know that not all apples have the same taste. You’ll want to grow an apple that you like.  So, sample a few before you start planting! Once you’ve decided, you need to buy these seeds and another type. Apples need pollination from a different variety to grow. Next, you need to choose a rootstock.  The rootstock will determine how big the tree gets. You should plant your apple tree in a sunny spot, using well-prepared soil. Remember, your trees will be need to be pruned regularly to keep their shape. 


growing fruit in your garden


Blueberries

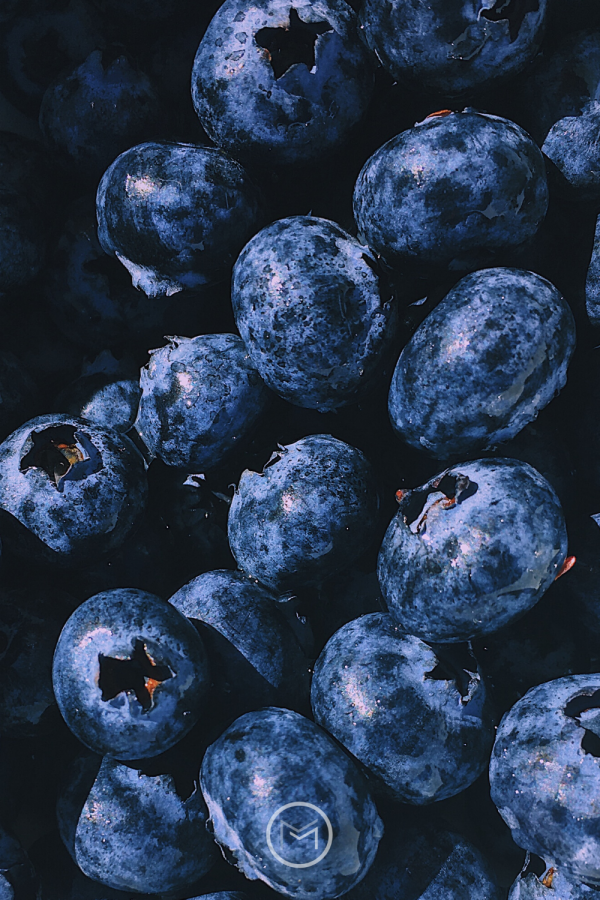
Blueberries are an easy to grow fruit. Furthermore, they work well in containers. It’s best to choose a self-pollinating type of blueberry, you’ll only need one plant to yield fruit. Blueberries love acidic and moist soil. However, the soil will require a PH level of around 4.5-5.5. Blueberries can tolerate the shade well; however you’ll produce much better plants when growing them in the sun. Blueberries grow very well in aged compost.


Figs

You can plant figs in warm conditions, such as Zone 8 or above. When winter temperatures drop below -12°C you’ll need to bring your figs inside.  So, growing them in a container is recommended. If you plant your fig tree in a container, add bark chips to improve the drainage. It’s best to add a fertilizer with a high nitrogen content each month too. You can grow figs in many types of soil; just ensure that there’s plenty of organic matter and it’s well-drained. Remember, fig trees need to be at least 20 feet away from other trees. 


growing fruit in your garden


Strawberries

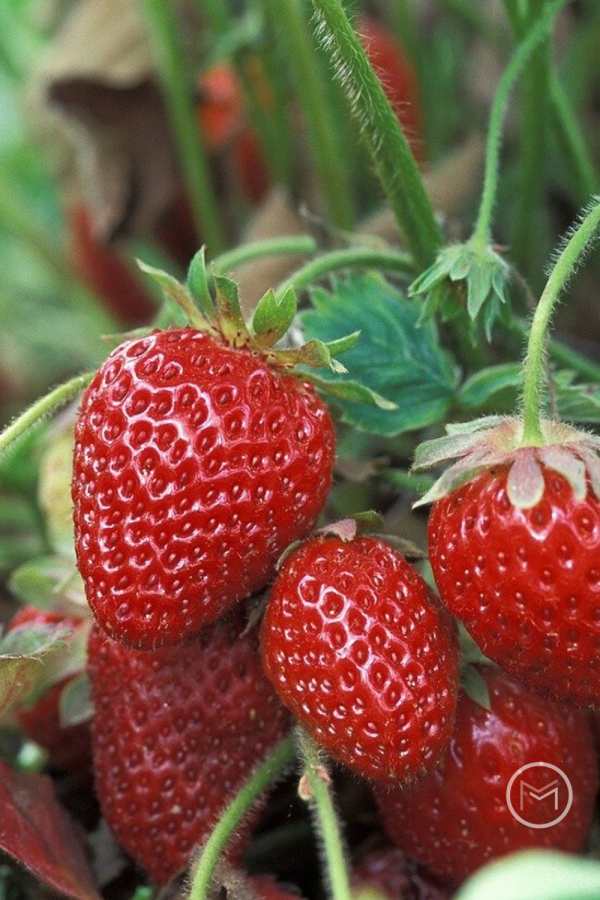
You can grow strawberries in a container, strawberry planter, or a well prepped strawberry bed. To grow strawberries, you’ll need lots of rich garden compost or horse manure (well rotted). It’s a good idea to choose ‘ever-bearing’ strawberries as these will continue to produce fruit for the whole summer. So, plant your strawberry runners or bare-rooted strawberries in the springtime. It’s also fine to plant in the late summer or even in the fall. You can prep the soil with a dressing of potash fertilizer. When you plant the strawberries, the roots should be buried, and you should space them about 12 inches apart. Strawberries will be a delicious addition to the fruits to grow in your garden.  

When you are growing your fruits ang vegetables, consider pest control. For a great pest control service take a look at animalcontrolspecialists.com.

Last, before you start growing fruits in your garden, it’s important to perfect your compost. Remember, you need an equal measure of green and brown materials. It’s helpful to buy a compost bin so that you can easily turn your compost, generating the air it needs to thrive.


45 Compost Items for Hot Compost Bins

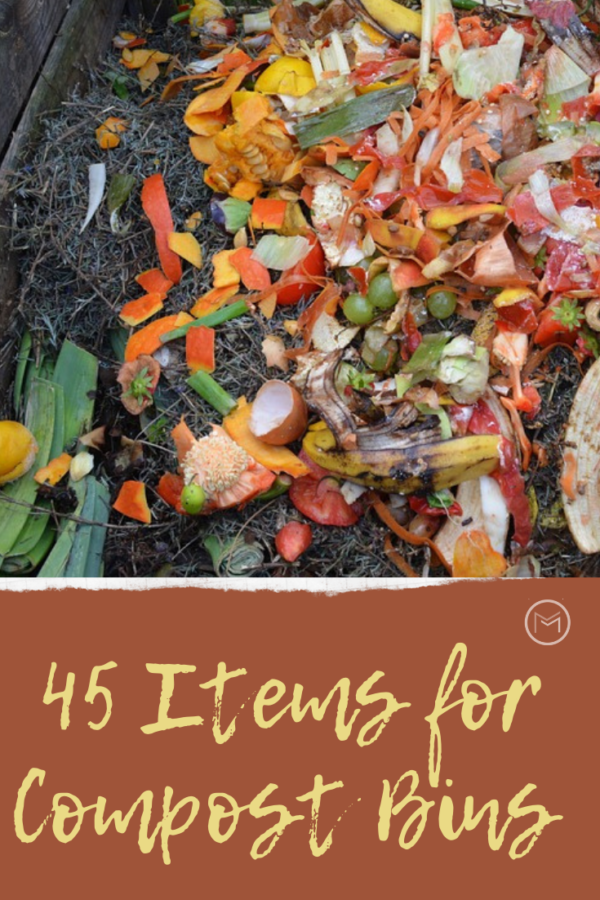
Today, I’m sharing garden tips on household items you can compost.  If you’re a backyard gardener, you should be composting.  What is compost you ask?  Compost is organic material from kitchen scraps, yard clippings, and water that breaks down to fertilizer.  It’s a great way to recycle your kitchen scraps, yard and garden waste, and weeds.  Furthermore, it saves you money on buying garden center products and chemicals.


items for compost bins


First, there are 3 methods of compostinghot, cold and trench methods.   Today we’re going to discuss items that you can put into your hot compost bin.  If you decide to start a hot compost bin, you must remember to turn it.  Furthermore, a hot compost bin requires that you add items in layers.  This will help heat the pile to approximately 160 – 180 degrees and start the decomposition process.  Add a layer of green and than a layer of brown in your compost bin.

Next, be sure to place your compost bin on level ground and near your garden area.  It will help when turning the pile and placing content back into the bin.  Here is a list of items that you can and can’t use in your hot compost bins:


(Green) Items

  • banana peels
  • melon rinds
  • carrot peelings
  • pizza crust, taco shells etc.
  • apple skins and cores
  • coffee grounds
  • tea grounds
  • peanut and sunflower seed shells
  • weeds
  • fresh grass
  • plant clippings
  • cereal
  • toast
  • crushed egg shells
  • tomato skins
  • squash/zucchini peels
  • stale bread and biscuits
  • grapes
  • blueberries
  • strawberries
  • waffles
  • crackers
  • dead house plants
  • horse manure
  • chicken manure
  • pig manure
    *no dog or cat feces
    *no meats, fats or oils


(Brown) Items

  • leaves
  • shipping boxes
  • cereal boxes
  • egg cartons
  • paper towel rolls
  • toilet paper rolls
  • shredded mail and paper
  • coffee filters
  • wood ash
  • straw
  • paper towels
  • dried grass
  • wood shavings
  • newspaper
  • sawdust
  • corn stalks
  • lint
  • dryer sheets
  • feather dusters


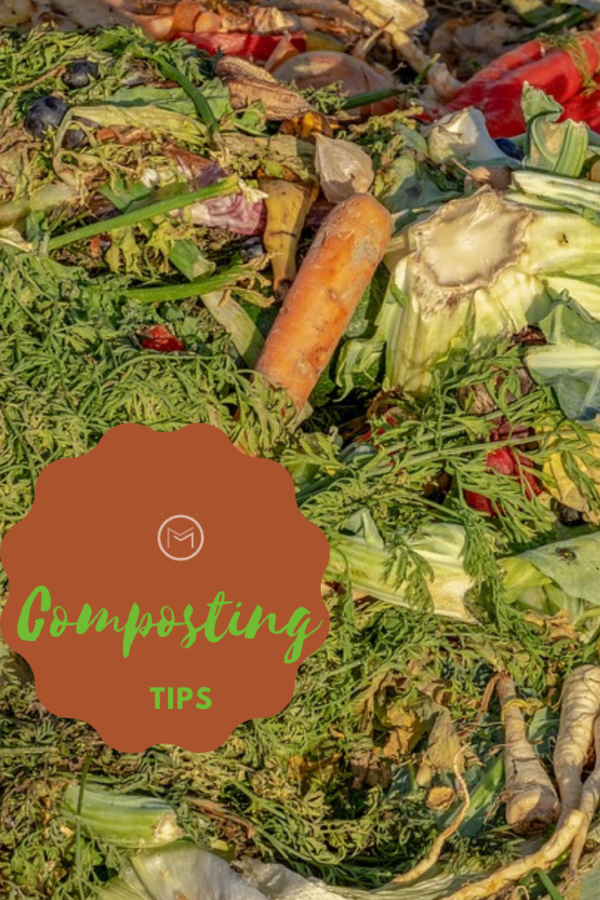
items used in compost bins


Researchers have suggested that home owners have an average of 200 pounds of kitchen scraps/waste per year.  Add that to your yard waste and you can start creating your own organic black gold for your garden.  Instead of sending your scraps to the landfill, recycle it.  The landfills will be happy and so will your garden.

You will need a good compost bin and kitchen compost pail.  Your compost bin can be handmade or you can purchase one.  Be sure that is made of quality and you can turn your pile.

C0mposting requires patience, your pile won’t break down overnight.  Unfortunately, it will take months to produce organic matter for your garden and flower beds.  But, once it breaks down you will be thrilled.  You may also like:  How to Prepare Soil for Next Year’s Garden.


Types of Garlic for Home Gardens

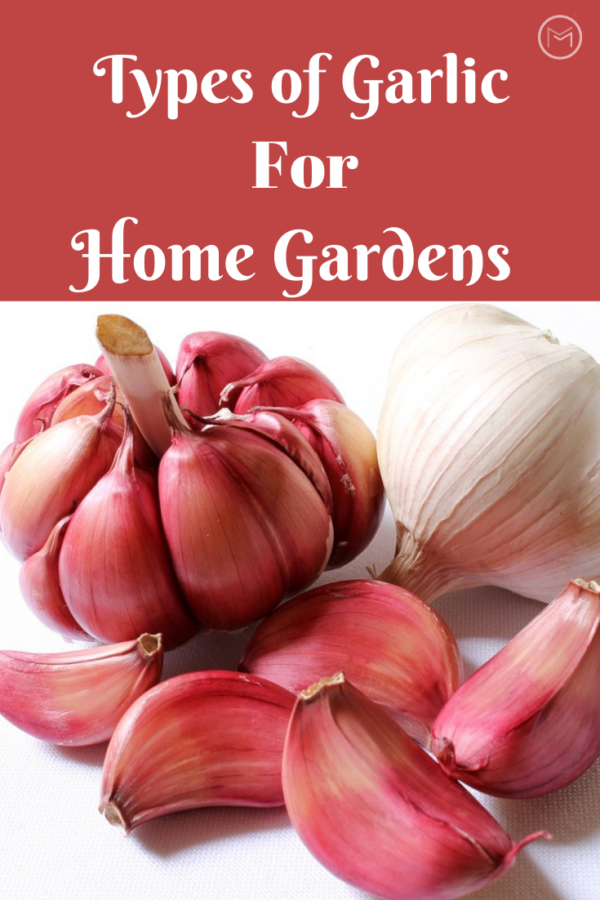
Today, I’m sharing gardening tips on the types of garlic for home gardensFall is the perfect time for planting garlic in my home gardens.  I have planted garlic in the spring, but I didn’t get the big bulbs that I had hoped for.  So, planting garlic cloves in the fall for harvest the following summer works best for me.  When I take this step, I harvest huge, flavorful garlic bulbs.    


types of garlic


When I first started gardening I was amazed at the different types of garlic available.  I was used to the garlic in the grocery store.  However, I had no idea what type of garlic I was purchasing.  It came in a pack of 4, and that was good enough for me.

I was visiting a farmer’s market one Saturday, and picked up a few cloves of garlic.  I used the garlic in a dish shortly thereafter, and it was than that I realized the flavor was unmatched.  It was hot and spicy, just the way I liked my food.  I visited the market again to have a chat with the vendor, and we ended up in an hour discussion about planting and growing garlic.

At that point I decided to start growing my own and I haven’t looked back.  I love checking out the catalogues and websites, and deciding what I want to plant each season.  If you want to grow garlic, there’s few things to consider before purchasing.  For example, do you like mild or spicy garlic?  Do you plan to store the garlic through the winter?  Do you want large cloves etc.?  Making selections for home gardens can be confusing. So, here’s a few tips.


Types of Garlic for Home Gardens:


Subspecies of Garlic:


Hardneck  –  Most of the garlic that I plant is hardneck.  The neck is the stalk that grows from the clove of garlic. Hard neck garlic produces a scape or flower stalk.  It is recommended that the scape be removed in the summer to avoid robbing the cloves of energy.  If the scrapes rob the cloves of energy, the plant will produce smaller bulbs. Some gardeners remove the scrapes to make garlic pesto, add the scrapes to a salad or use it in stir fry.

  • Hardneck garlic grows best in colder zones.  I live in Zone 6B, so hard neck garlic is perfect for me.
  • Easier to peel
  • More flavorful
  • Cloves are larger


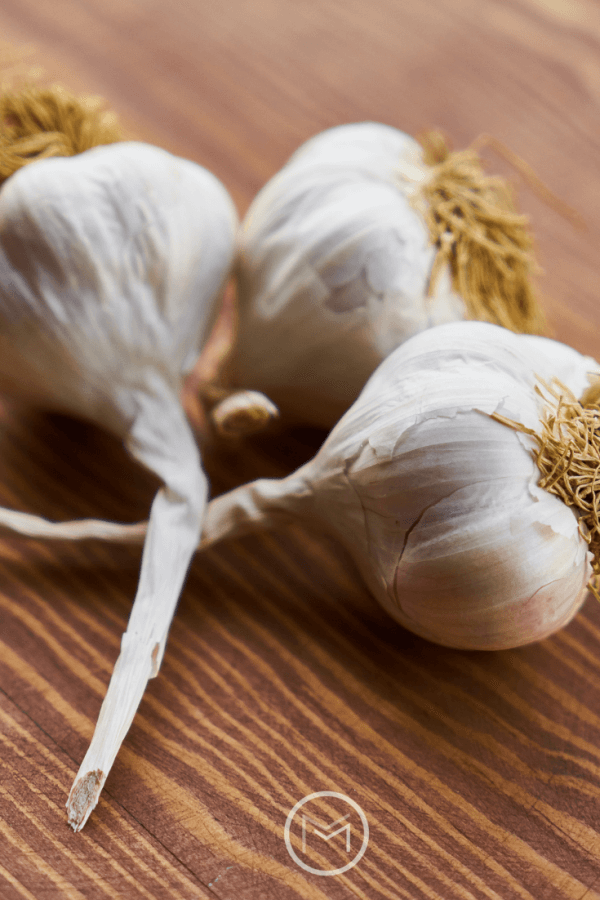
Soft Neck –  Next, I do plant a few varieties of soft neck garlic, but not many.

  • Local grocery stores usually carry the soft neck variety.
  • Grows best in warmer climates.
  • Perfect for storing over the winter.
  • Usually lasts 9 – 12 months after harvest.
  • Great for braiding too.  Unfortunately, the cloves are not uniform.  Some are large and some are small if that matters.
  • Softneck garlic is not as flavorful or spicy as the hardneck varieties.


Elephant – Last, I have never planted Elephant garlic in my home garden.  But, if you like mild varieties elephant garlic should be at the top of your list.

  • Elephant garlic cloves are huge compared to the hard neck and soft neck varieties.
  • Doesn’t have the health benefits of regular garlic or the flavor.
  • Elephant garlic is more in the family of leeks and onions.
  • Rather than having several cloves, it is one bulb like an onion.
  • If you love roasted garlic, elephant garlic is perfect.


There are approximately 100 varieties of garlic under the subspecies of hard and soft neck varieties.  Since I like spicy garlic, I purchase from the hard neck categories. My favorite garlic is Spanish Rojo.  However other spicy varieties include:   Tibetan,  Korean Mountain,  Shantung Purple, and Chet’s Italian Red.

If you like mild, but flavorful garlic try these varieties:  Transylvanian, Early Italian, or Texas Rose.

Check out the different varieties of garlic that you can grow.  There are just too many to name here.  Most importantly, you want to purchase garlic that suits your individual taste and your growing zone.  Before you leave, check out my article on 13 Ways to Use Garlic for Health and Food Uses and Planting and Harvesting Garlic.


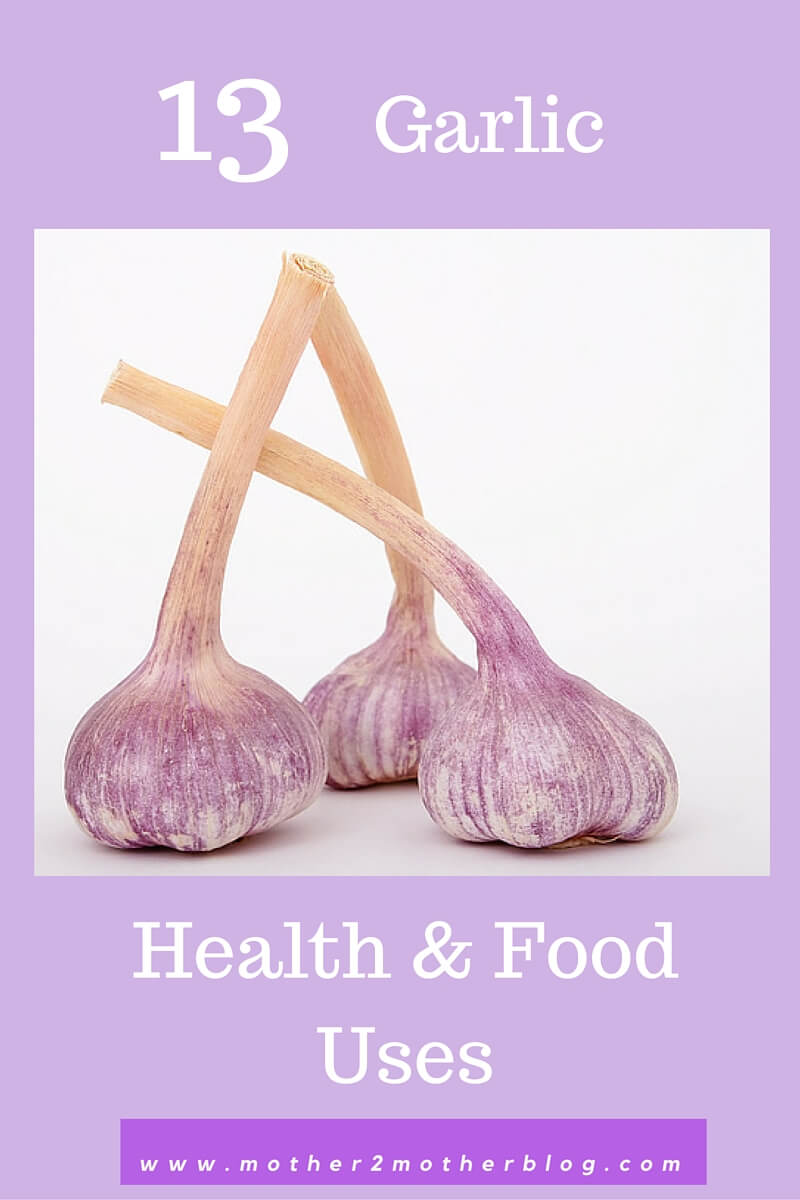
13 Ways To Use Garlic: Health and Food Uses

gardening, garlic uses,


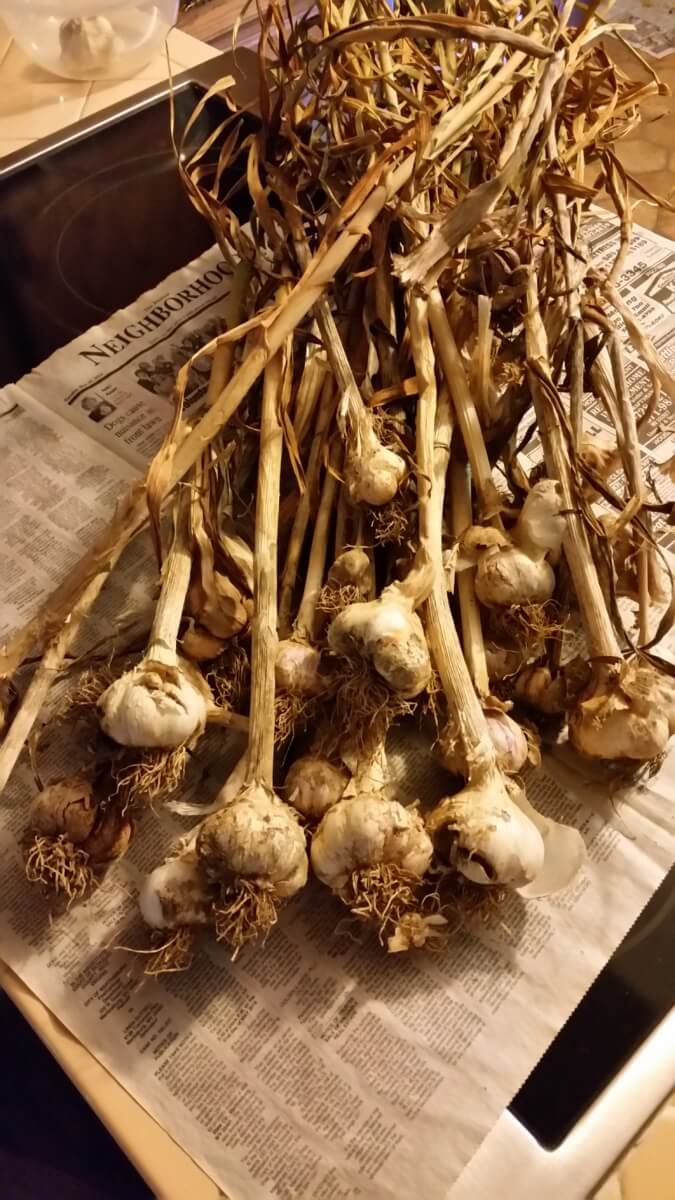
I harvest around 30 cloves of garlic in the spring from my fall planting.  I’ve been growing my own garlic for about 3 years now, and I love it.  It tastes so much better than the garlic purchased from the local grocery store.  It’s more flavorful, and you get to choose what you grow.  Last year I planted Georgia Fire and Red Toch.  The Georgia Fire is hot and great for making salsa.   Red Toch is great eaten raw or in cooked dishes.  Both do well in cold climates.  I live in Zone 6B, which has a short growing season.  Unfortunately, we experience very cold winters so , we must make everyday count during the growing season.


Image-Home-Grown-Garlic


Here are 13 ways to use garlic, and some of favorites:

Pesto – Toss pasta with garlic pesto or use it on toasted bread.  Either way using Genovese basil will give the pesto the flavor needed for delicious Italian dishes.  So, add pesto to your ways to use garlic list.

Garlic Butter – Also, butter like garlic is one of my loves when it comes to food and cooking.   So, it should come as no surprise that I make garlic butter.  I use it on bread, potatoes and as a dip for my crab legs.  However you decide to use it, use plenty of garlic when  you make it.

Garlic Knots –  Pair Garlic Knots with a salad, Baked Ziti, Lasagna, Spaghetti and many other dishes.

Roasted –  Furthermore, roasted garlic can added to your ways to use garlic list too.  Roasted garlic can be used in mashed potatoes, to make hummus, or as a spread on bread.  There are other uses, but these are a few of my favorites.

Stir Fry –  I love chicken and garlic stir fry.  When I’m preparing my chicken, I add lots of chopped garlic.


Use in Pickles – I use garlic gloves in my homemade dill pickle recipes.  You can a jar of refrigerator dills when you just can’t wait to indulge or can a few jars to eat over the winter.

Mashed Potatoes –  I love creamy mashed potatoes.  They go with beef, chicken, turkey and pork.  I make my mashed potatoes several ways, but adding chopped/pureed garlic is my favorite.  So, add garlic mashed potatoes to your list of ways to use garlic.

Chimichurri Sauce – I love a good chimichurri sauce over steak or other beef dishes.  You can also use chimichurri sauce as a dip for meats.

Hummus –  My grandson is a fan of hummus with celery.  Unfortunately, his vegetable palate is limited.

Salsa – There’s nothing better than fresh salsa with loads of garlic.  Check out my fresh salsa recipe here.


benefits of growing garlic


Tomato Sauce –  What’s tomato sauce without garlic.  Not to brag, but my homemade tomato sauce is delicious and kid approved.  Get the recipe here.

Source of Iron –  For many years I had an iron deficiency, which lead to me being anemic.  As a result, I included leafy greens and garlic into my diet.  I struggle to include with the leafy greens at times, but my love for garlic has never wavered.

Heart Healthy –  High blood pressure, hardening of the arteries, and high cholesterol runs in my family.  Unfortunately, I have high blood pressure.  As  a result, ways to use garlic has been added to my list of health regimes.  It helps to keep my blood pressure in a normal range.  I use it chopped in salads as well as cooked dishes and I eat tons of it.


So, we hope that you add a few of my suggestions to your list of ways to use garlic!  Use a fresh lemon to remove the smell of garlic from your hands.  Mouth wash, milk and or a good brushing will remove the garlic smell from your mouth


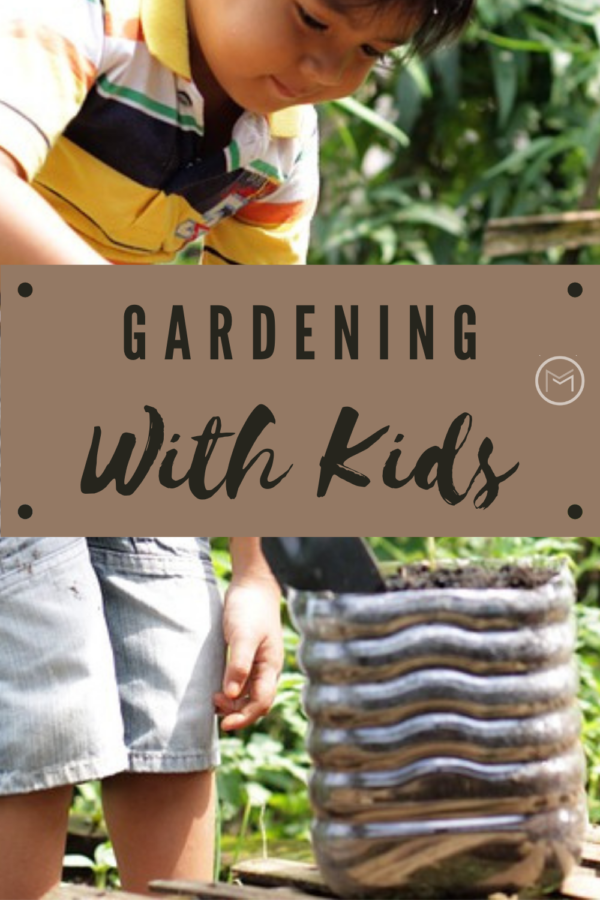
Backyard Gardening With Kids Tips

Today, I’m sharing parenting tips on gardening with kids and why it is important.  Gardening is a great way to introduce them to nature.  It’s also a great way to give them a life skill; growing their own food.  Gardening can be done in small spaces, vertical, in raised bed, containers and on plots.  I suggest containers/pots for the kids, especially if you’re just starting to garden with them. 


gardening with kids


Gardening With Kids Tips:  


Start with simple tasks with your kids or grandkids.  When kids are excited about something, they look forward to the event or activity.  First, get them excited about gardening:  

Garden Boots – I purchased a pair of Lighting McQueen rain boots for my grandson and he loved to wear them when he was watering my vegetable garden.
Purchase a Watering Can – They make adorable watering cans specifically for children.  They’re easy for them to grip and pour the water.
Gardening Gloves – Covering their hands while digging in dirt is a good idea.  I’m a Master Gardener, and I wear them regularly.
Small Pots/Containers – Give them pots and containers that they can relate to.  Giving a child a 10 gallon flower pot can be overwhelming.  This can apply to raised beds and garden plots too.  


I think it’s important for children to understand the land and how to grow your own food.  We never know where the economy will take us, so we need to teach our children how to survive.  Furthermore, we need to teach them how to save where they can.


gardening with kids


So, here’s additional tips on how gardening with kids provides benefits:


  • They learn how to plant flowers and vegetables.
  • Children learn about nature when gardening.
  • Children learn how food is grown.
  • They learn how to nurture the food that their family will eat.
  • Harvesting vegetables for the family gives them a feeling of importance.
  • The learn about flowers and their beauty as well as purpose.
  • Gardening allows them to watch the birds, rabbits, squirrels and more.


gardening with kids


Another fun activity with kids is picking berries.  If you don’t have a patch in your backyard, plant one.  Until than check out your local farmer’s market.  I suggest an early morning trip to the strawberry fields, it can get hot quickly in the wide open fields.  My grandson loved picking strawberries.  He knew that I was going to turn those red berries into strawberry jam.  Besides jam, we also used the berries for ice cream and funnel cake toppings.  Fresh berries are so good!


I hope my tips on gardening with kids has motivated you to spend some time in the backyard with you kids or grandchildren during a small garden project this summer.  Planting carrots, flowers or a pizza garden are great ways to get your children involved.  


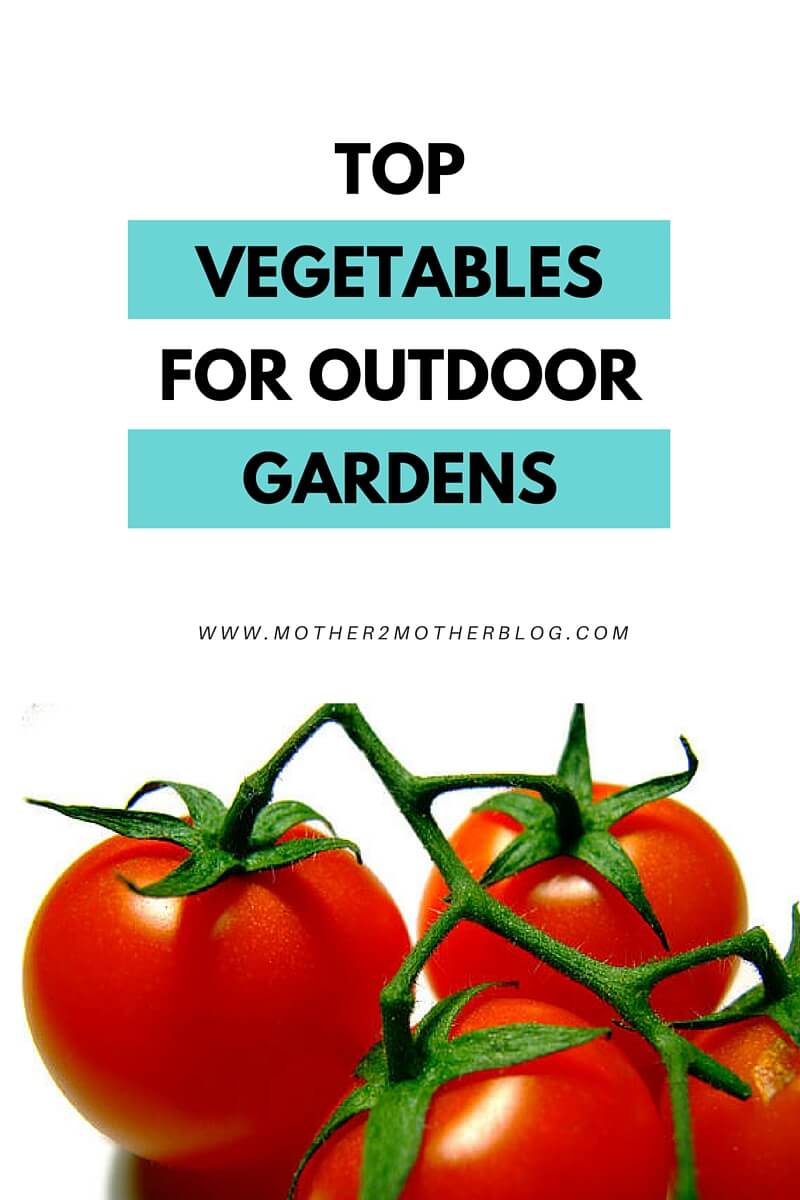
Top Vegetables for Outdoor Gardens

Backyard Vegetable Gardens can provide healthy rewards for you and your family.  Have you thought about growing vegetables in your outdoor garden this summer?   In this post you will find a list of the best vegetables for outdoor gardens.  Not only will you find tips on the best vegetables to grow in your garden, we also offer advice on important garden maintenance tasks.  

vegetables for outdoor gardens


1) First, beans, broccoli, sprouts and cabbages are some of the easiest and best vegetables for outdoor gardens.  These will grow great even in a small outdoor garden. They  offer a long list of advantages and can be prepared in a variety of ways. Not to mention the aesthetic advantage that these low-growing veggies offer. They cover the pots or the area in your garden with a green texture that will become one of your most favorite garden corners.

2) Cucumbers, tomatoes, radishes, sweet corn and potatoes – don’t forget the most important vegetables that every gardener should have. Or at least some of them. These plants require just basic care and some are suitable for almost a year-round harvest if you have a greenhouse.

3) Next, carrots, beetroot, onions and herbs – these small yet delicious plants are perfect vegetables for your outdoor garden.  They can even be grown in pots.  Choose these plants if you prefer green colors or if you want to harvest some good-quality veggies in the autumn. These edibles grow underground and are more resistant to the climate conditions, so you can start the season with planting these about a month before the last frost in the springtime.

You could use these few tips for growing vegetables too:

Make a gardening schedule.  The schedule should include the dates for sowing and starting seeds, the dates for planting directly outdoors and the expected harvesting periods. Do this for every different veggie in your garden. Don’t forget to include other important dates and tasks in your schedule.  For instance, the expected first and last frosts for the year.  The preferred datefor great garden maintenance services. The frequency of watering during the hottest months, the dates for weed control, etc.

Choose the harvest periods, which will help organize the sowing and select the right dates for it. If you pick the right moment, you can get the advantage of a double-season harvest for some fast-growing edibles.

– Always try to plant good-quality seeds if you want to get the best harvest. Contact the gardening experts in your region to discuss the details and to get help with the selection of the best seeds.   The experts can also assess the specific conditions of your garden and give you indispensable advice for your specific case.

Consider the regional and climatic factors.  The location plays a major role in all the activities in your veggie garden. Some plants prefer slopping terrains, while others – only a certain type of soil.  Other veggies prefer terrains with a southern (usually warmer) exposure, while others grow better in shaded terrains.

– Finally, make different combinations of vegetables to take full advantage of their individual benefits. When sowed in a combination, some plants absorb only certain types of nutrients from the soil.  And, leaves the other nutrients at the disposal of the other veggies. Other plants grow high and have a large leaf structure, which provides the important shaded conditions for some low-growing veggies.  Other combinations of veggies give just aesthetic advantages, but are very effective too. Choose wisely and make sure you give your plants the proper garden care they need at every stage of their growth.

Bio: Ella Andrews is a content writer. She has a passion for home maintenance, healthy living and gardening  projects. She is presently focused on writing and enjoying every opportunity to share tips and advice with her readers.


My Winter Sow Seed List

Are you wondering what vegetable seeds you can winter sow?  You’ve come to the right place. So, stay awhile and check out my list of best seeds to winter sow.  I started my winter sowing my seeds last week.  I can now check that off my backyard vegetable gardening to do list.  

My bottle greenhouses are sitting on my deck waiting for the perfect opportunity to germinate.  My list is not all inclusive, I’m sure there are many others that can be added to the winter sow list.  I live in zone 6B.  So, I select plants that will grow in my zoneSome plants do well in some zones, but not in others.  So be selective of the plants that you choose to grow.


winter sowing


Because I have a short growing season, it’s important that I give my plants a head start in the garden.  As a result, I start my seeds early so I plant out by Mother’s Day at the earliest and Memorial Day at the latest.  By mid-June my garden is fully planted.  I water and nurture the plants so they can establish a good root system.

I’ve been successful with some seeds and not so much with others.  I love the thrill of seeing what emerges each year and watching the plants produce.  Here’s my winter sow list:

  • Spicy Globe Basil
  • Genovese Basil
  • Greek Oregano
  • Italian Oregano
  • Sage
  • Thyme
  • Rosemary
  • Cilantro
  • Zucchini
  • Squash
  • Collard Greens
  • Lettuce – Salad Bowl, Romaine,  Butter Crunch, Black Seeded Simpson
  • Spinach – Noble
  • Cabbage
  • Cauliflower


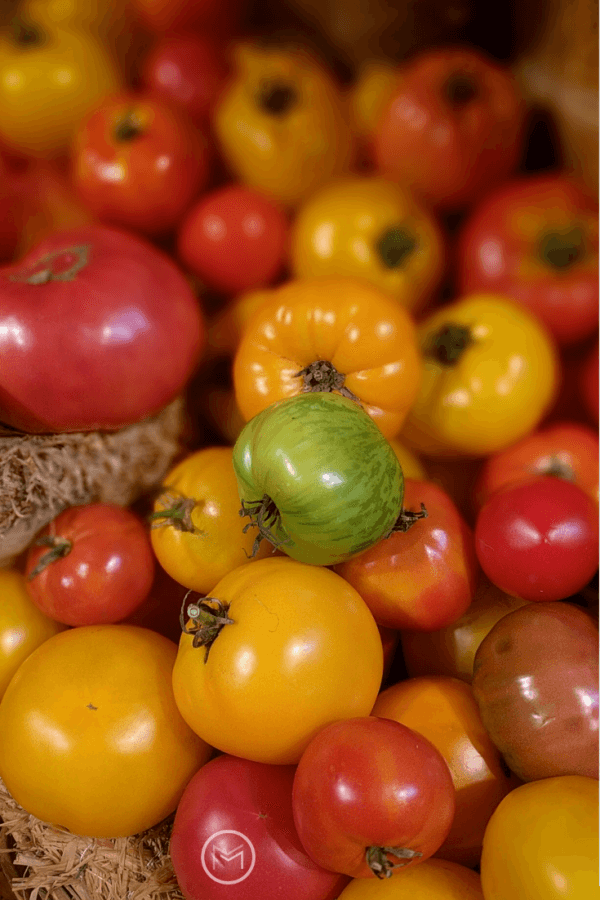
Also, the following tomatoes found a place on my list to germinate inside this year:  Roma, Amish Paste, San Marzano, Cherokee Purple, Black Krim, Hillbilly, Yellow and Pink Brandywine, Tiffin Mennonite, Mortgage Lifter, German Johnson, Paul Robeson, Early Girl, and White Wonder tomatoes inside.


winter seed sowing


Unfortunately, not all of them will germinate successfully.  As a result, germinate enough seeds to ensure you produce enough plants for the garden. There have been times when I have attempted to sow a variety a second time if it doesn’t germinate.  So, allow enough time for this step if you want a certain variety.  Additionally, I sowed belle, cayenne, and jalapeno peppers.  Stay tuned, I’ll be posting updates on the germination journey.


Finally, I hope my winter sow seed list has helped you decide what seeds you will be winter sowing or sowing inside.  Again, it is not all inclusive and you will need to check your zone to ensure your seeds are compatible.  In conclusion, I suggest that you order a few catalogues to browse through the winter and make a decision based on your research.  I love looking at the catalogues and checking out the new varieties of tomatoes, peppers, lettuce and more.  Stay tuned for future gardening posts.