5 Things Beginner Gardeners Overlook

Today’s gardening tips are going to focus on things beginner gardeners overlook.  Gardening is becoming an increasingly popular activity.  And it’s not hard to see why. It offers a great source of light exercise, provides fresh air, and adds a new dimension to your property. Frankly, what’s not to love?

So,  this time of year many inexperienced gardeners embrace their growing love of using their outdoor spaces.  However, many of them will limit their success due to basic errors.


beginner gardeners


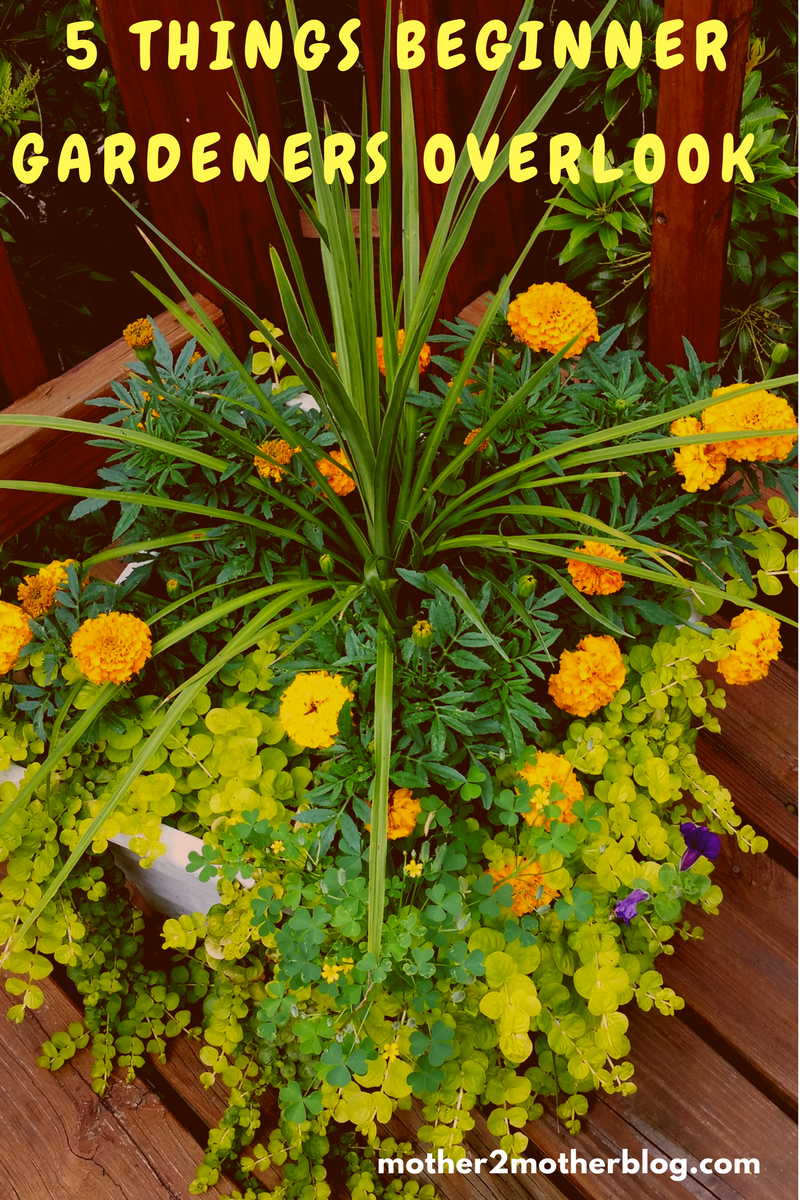
Here are things beginner gardeners overlook:


Wasting money   Let’s face it, your list of potential garden upgrades is as long as your arm. With this in mind, cost-efficiency should be at the top of the agenda. Remove the middleman by doing some of the work yourself. For example, investing in chainsaws and other garden tools.  Having your own tools will enable you to complete most jobs without the need of an expert.

Furthermore, it’s imperative to remember the right safety gear too. Some challenges may still require a professional touch.  However, keeping those to a minimum can be good for your finances. In return, make additional improvements with the savings.

Being short-sighted –  When completing any garden overhaul, it’s easy to get carried away. Yet, it’s equally important to consider the long-term benefits. Reducing the maintenance with artificial lawns and other time-saving gestures will aid the cause. After all, keeping the space in great health is probably the hardest challenge.  Besides, it’ll leave you with more time to enjoy the gardening tasks that are actually fun and rewarding.

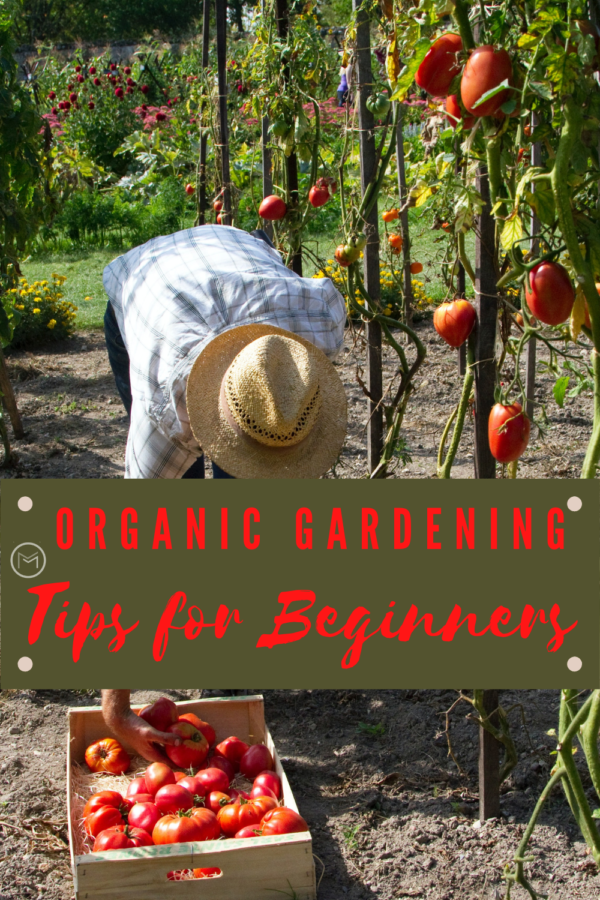
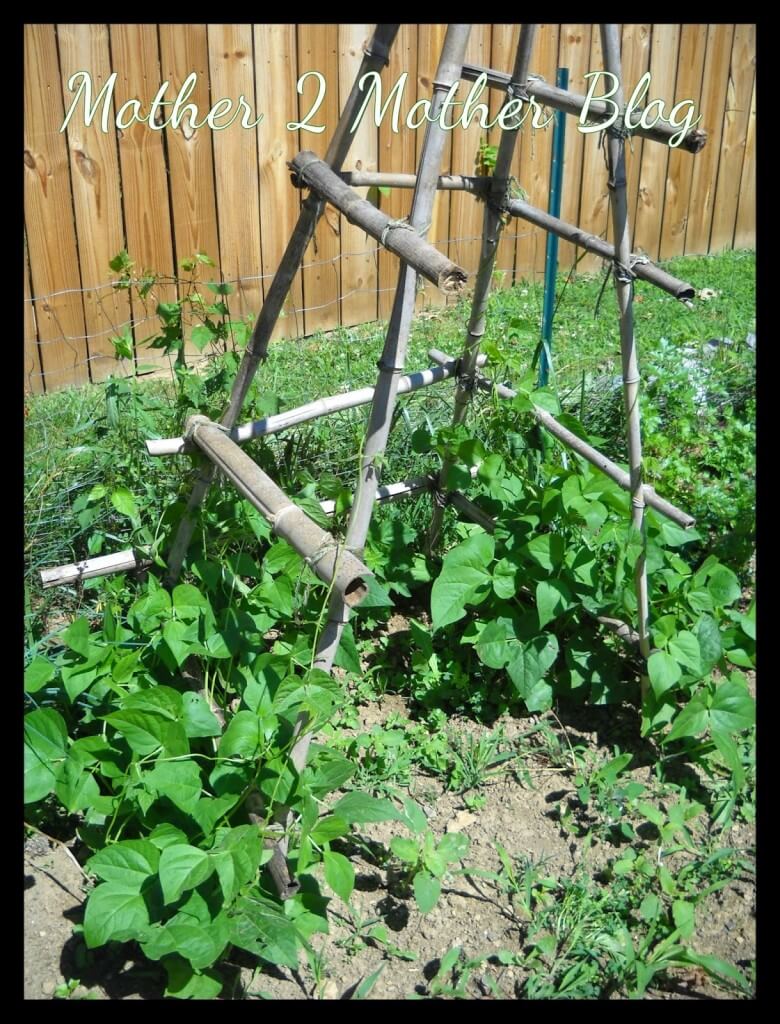
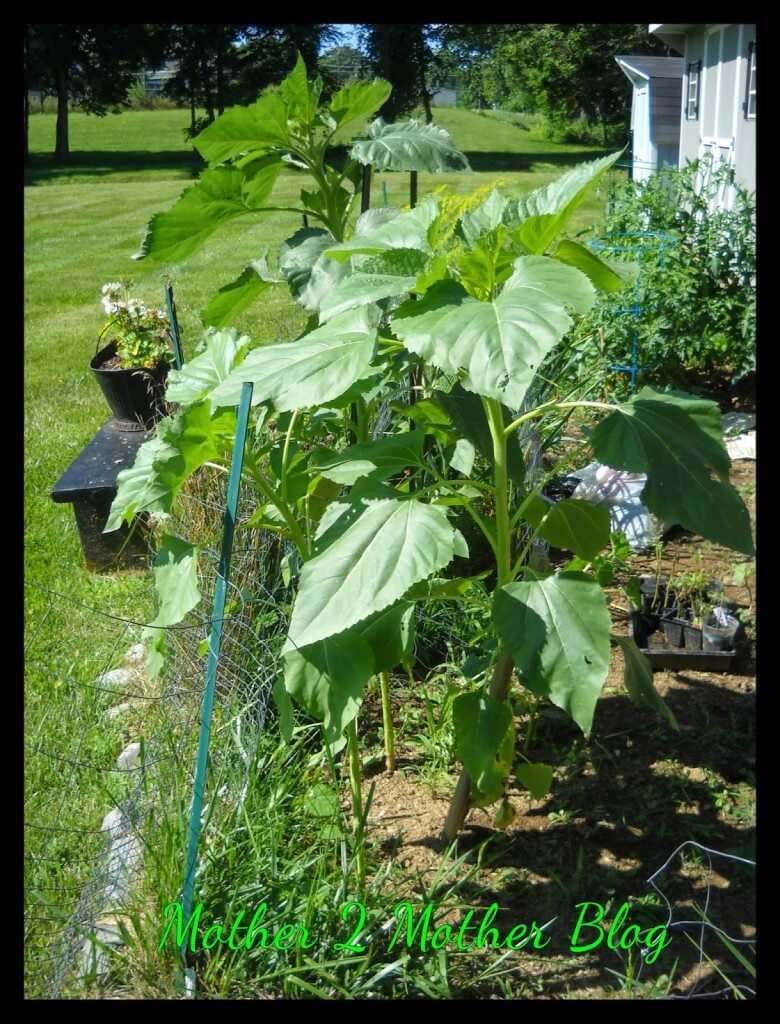
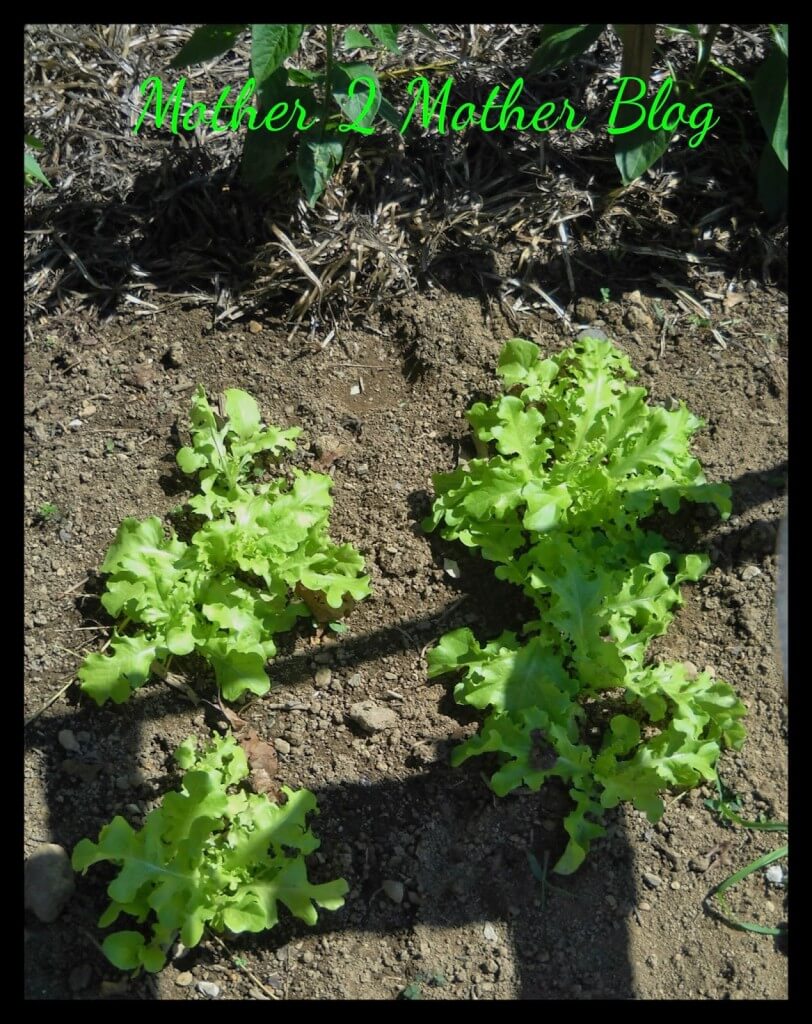
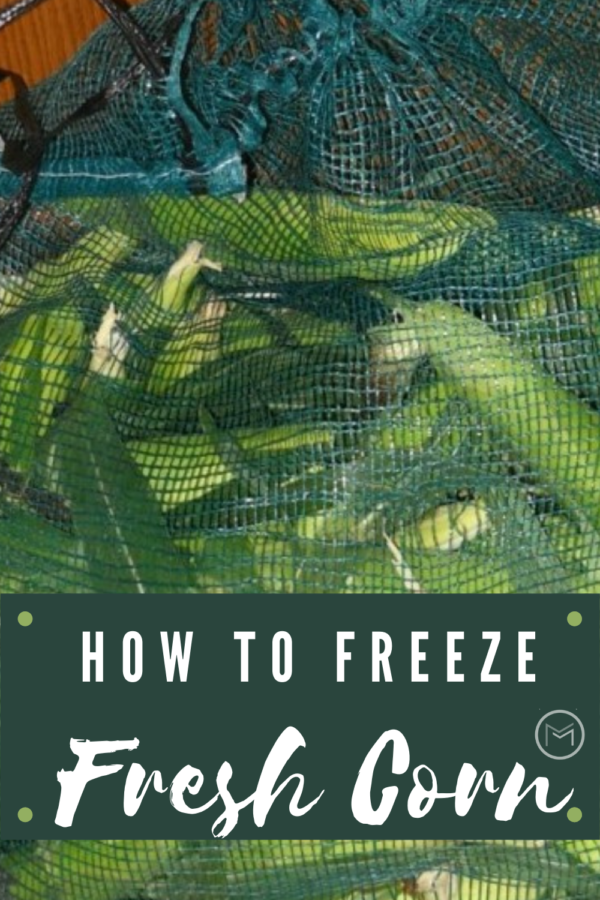
Ignoring the potential –   First and foremost, we want our gardens to look nice. However, the outdoor space is also a great resource for making life a little more comfortable. Growing fruit and vegetables is a fantastic way to actively encourage your love of gardening while gaining huge rewards. Meanwhile, you shouldn’t overlook the benefits of having a BBQ.  Comfortable garden furniture is good too.  After all, the more time spent in this area the better. If nothing else, it will provide another incentive to keep up the good work.


Growing indoor plants


Overlooking personal needs –   No two gardeners are identical.  So, dealing with your unique situation is key. Not everyone has the mobility to bend down to flower beds.  Also, hanging baskets and raised flower beds can be very beneficial. Unfortunately, if your gardening tasks are causing pain you may give up.  Find ways to add comfort to your tasks.  Your passion will remain far more enjoyable.

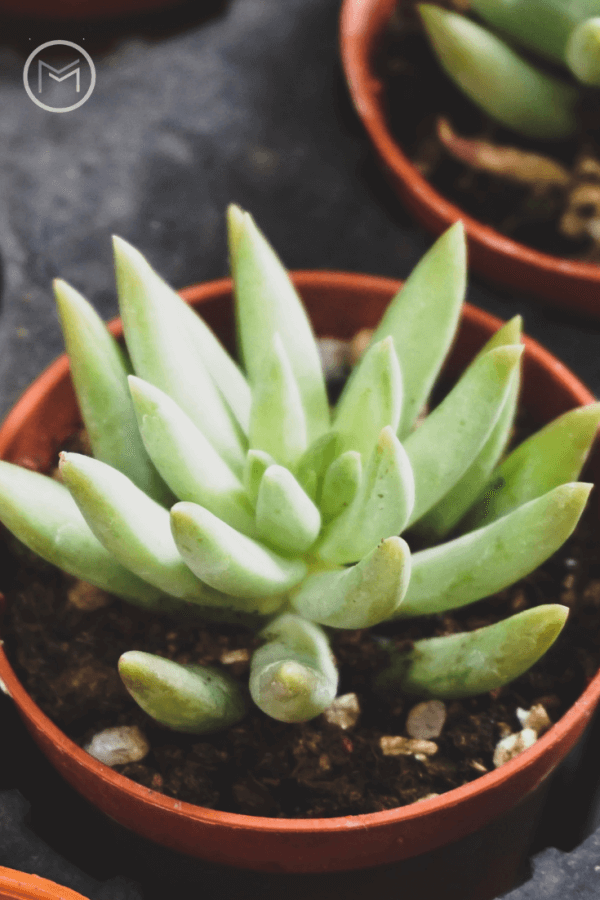
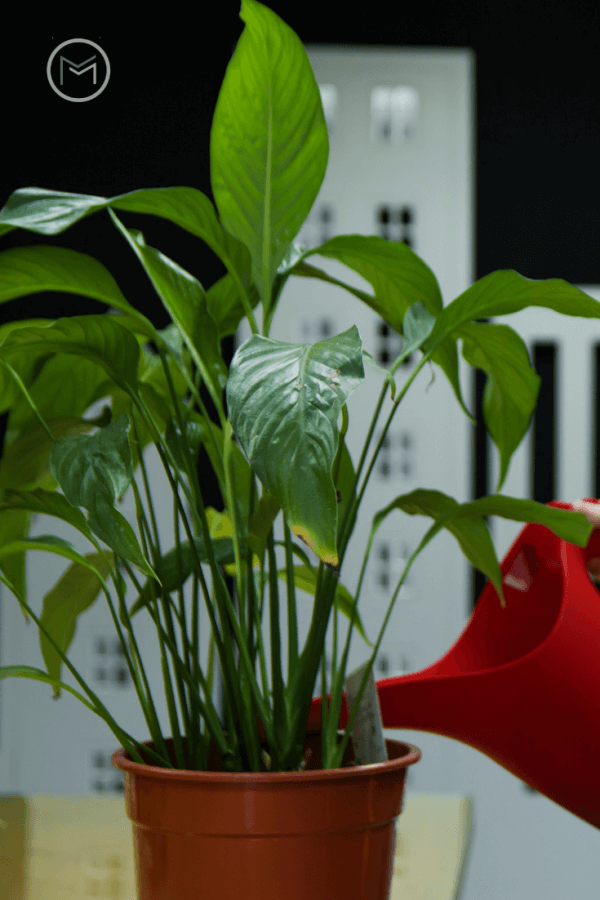
Focusing solely on the garden –  Your love of nature doesn’t have to be limited to the backyard. The front garden is often a great place to add a little natural beauty. Moreover, indoor houseplants can inject a new sense of energy to the property. You could even grow herbs in the kitchen to further enhance your bid for practicality.


Tips For a Healthy Garden

Gardening can be tremendously therapeutic and good for the soul.  However, it is natural that problems will arise. You could be putting in love, time, and money, but still end up seeing your beloved plants suffer.  Today, I have gardening tips that will get your garden healthy and happy.  After all, every gardener can use tips for a healthy garden


garden tips


Here are a few signs that your garden might be suffering and solutions:

The birds aren’t coming

Many of us enjoy casual birdwatching.  So, it can be troubling when the birds don’t come. One of the most common causes of birds refusing to come to your garden is that they don’t feel safe.  Do you have a cat or dog?  Or does your neighbor?  Try to place your feeder higher from the ground and out of reach of any ground-dwelling animals.  You should soon see them start to come to your backyard feeders. 


garden tips


The bees aren’t coming

If your garden plants are flowering, but the fruit never seems to materialize, it probably means the bees aren’t coming. We need bees to move from flower to flower.  When they do, they are taking the pollen with them.  As a result, the plants can repopulate.  If doesn’t happen then the plant doesn’t fruit. The best way to counteract this problem is by adding more flowers. The more flowers you have, the most bees will be attracted to your garden, it’s as simple as that!

The trees don’t look right

Trees, just like humans, are susceptible to diseases.  Some are easily treated with fungicides, but others will need more professional intervention by people such as http://www.treeservicefortworth.org/tree-disease. They will be able to diagnose the problem and suggest treatment. Tell-tale signs include spots on the leaves, swellings and knots in the bark, changes in the rate of growth, and unseasonal color changes. If you have any concerns, it’s always best to speak to a professional for advice.


The moss is taking over

Moss can be a great addition to a garden for covering unattractive sections, and making it feel more natural and wild. But if moss seems to be taking over in areas where you don’t want it, it could be due to the soil.  Your soil could be too acidic. This is an easy one to solve. All you need to do is include some wood ash into the soil.  It will balance its pH, making it less hospitable for moss

The plants are struggling

In actual fact, the pH of the soil can have serious effects on all the plants.  So, it’s a good idea before you start doing any serious yard work to use one of the home testing kits to check the pH of your soil. This will allow you to neutralize it effectively, without harming your plants. When soil is too acidic or too alkaline, your plants will struggle to grow and could even die.

Gardens are open to the elements, so it’s easy to see why problems arise. As long as you keep your eye out for changes and react to them effectively, you should have a healthy and beautiful garden.  We hope you enjoyed our tips for a healthy garden.

Container Gardening Tips for Flowers

Container gardening tips for flowers are the topic for the day.  Container gardens can bring decks, patios, front porches and sidewalks to life. Today, I’m going to share a few container gardening tips and gardening tricks for flower container gardens. So, you can add containers to benches, tree stumps or any other areas that needs a bright spot.

Next, the best way to save money is to start plants from seed.  You can start them inside under a grow light and transplant them into containers in the spring.  However, not everyone has the time or desire to take that route. So, if time isn’t on your side the clearance rack on your local Walmart or Lowes is a good place to start.  I enjoy seeking out plants on clearance that are on the brink of death and nursing them back to health.  Seeing them flourish in a container or in your yard is so rewarding.  


flower container gardens


Again, I find the best bargains at Lowes, Home Depot and Wal-M art clearance stands.  Creeping Jenny, a Spike and French Marigolds fill the container below.  I companion plant marigolds with my tomatoes and peppers in my vegetable garden every year too.  I purchased a few extra pots of marigolds on clearance and decided to incorporate them into the containers on my deck.  Spikes, Sweet Potato Vines, and Creeping Jenny  are my most expensive plants during the summer.  Unfortunately, I have never seen them on sale or clearance.


Container Gardening Tips for Beginners:  


So, Creeping Jenny is an invasive plant.  But, it is so beautiful in containers.  Actually, planting it in containers is the only way to control it. When I planted the Creeping Jenny initially, I wasn’t expecting it to return year after year.  This is the third year that it has returned in the pot below. The contrasting color (light green) of the Creeping Jenny, and it’s ability to hang over the pot’s edge makes the pot come to life. 

This pot contains:

  • 1 Spike
  • Yellow Marigolds
  • Purple Petunias
  • Creeping Jenny 


flower container gardening tips


I carried on the French Marigold and Spike theme on the other side of the deck.  Since I planted the Creeping Jenny in one container garden on the deck, I planted a Sweet Potato Vine in my other container.  Planting the Sweet Potato Vine on the side of the container garden allows it to cascade down to the floor of the deck.  I’ll be planting this trailing vine again next year.  Sweet Potato Vines can be pricey, so I’m going to try growing my own next season.


This pot contains:

  • 1 spike
  • French Marigolds
  • 1 Sweet Potato Vine


flower container gardening tips


Additionally, Moss Roses fill this pot along with a Spike, which give the plant some height.  This plant is easy to grow, and can take hot, sunny spaces.  I love that it produces pops of color all summer.  If you’re lucky, this plant will return for several years.  It produces beautiful flowers in a variety of colors.  White, pink, yellow, and red flowers brighten this spot.


This pot contains:  

  • 1 Spike
  • Moss Roses


flower container garden tips


Finally, my boxes that I use on my deck railing always filled with petunias.  I change colors periodically, but purple, red and white are the usual colors.  Occasionally, I add in pink. I add Vinca to create a trailing effect.  I usually add 3 Vinca to my boxes; however, this year I only added 1 and used more petunias.  It really cut the cost of the expenses for the 4 boxes.

This box contains:

1 Vinca
Variety of Petunias 


flower container gardening tips


Get creative and mix what you love in your containers and watching them come to life.  You can use simple designs or get elaborate all depending on your space.  Also, head out to your local flea market, yard sale or clearance isle and grab a few pots this gardening season.  

Last, container gardening is a great way to bring in color and liven up your outdoor living space.   So, try a few pots on your deck or patio this summer.

You may also like these Container Garden Ideas.


Golden Rules of Organic Gardening

Organic gardening has been becoming more and more popular and for a good reason. Whether we are aware of it or not, many gardeners are already working on some form of organic backyard vegetable gardening. Organic gardening is the actual practice of growing lawns, vegetables, fruits, shrubs and more without manmade chemicals. It’s also about feeding the soil by tilling compost or manure into the soil.  


gardening, vegetable gardens


Organic Gardening Rules:  


It is getting harder and harder to do organic gardening since there are many toxins that get in the way. However, if you follow these golden rules below you will be able to start a really good organic garden for you and your family:

  • Invest some time and energy to build up your soil with a nice, high amount of organic matter that would be able to support a better quantity of beneficial soil microbes and fungi. Healthy soil will help grow healthy plants.


organic gardening tips


  • Ensure you have properly placed plants in a location where they will thrive. Planting plants in location where they don’t get enough sunlight or shade will cause them to die or not thrive. This is one very important part of expert gardening and landscaping that will help make your plants vigorous and healthy.  Healthy plants will be harder to succumb to disease and pests and they will be less stressed by bad weather if planted correctly. 
  • Take care of any disease and pest problem when first noticed.  You will need to take action right away. This will be a lot easier to work with during the early stages of an infestation, so avoid delays when you work on garden maintenance and landscaping.


  • There are many benefits of organic gardening you can enjoy.  For example, the lack of harmful chemicals in your homegrown food is a major benefit of organic gardening.  Less overall harm to the land around you, preservation of wetland areas and groundwater and more.
  • You can feel a lot better knowing you are actually doing something to change things. We can use compost or composted manure for fertilizer and mulch, not to mention we can use it in a really safe way. Leaves and straw as well as tree bark would make for excellent mulching choices when you need it.  Natural-based and organic fertilizers instead of chemically derived ones will also be a major part of your gardening efforts.
  • You can learn to apply the right techniques to make growing healthy plants an easier job, avoiding diseases and pests in the process. A healthy plant will be much more resistant to stress and more, so make sure you keep it that way.


organic gardening tips


  • You can use beneficial enemies for the pest insect species in your garden.  Such as how ladybugs are enemies of nematodes and aphids.  Additionally, as other species combinations that would be a good solution.

Use natural deterrents and insecticides for bug problems.  For example, use insecticidal soap sprays, copper, sulfur, neem oil and more to solve your disease issues. Use the chance to remove any weeds that are too big for weed killer or work by hand.  It will be harder, but it will be worth the efforts.


Contributor:  Ella Andrews is a content writer. She has a passion for home maintenance, healthy living and gardening  projects. She is presently focused on writing and enjoying every opportunity to share tips and advice with her readers.  Check out these other  gardening tips too.


Why You Should Winter Sow Seeds

Today, I’m sharing tips on winter sowing seeds. Starting plants indoors is at the top of my backyard vegetable gardening list.  As a matter of fact, I started about 25 heirloom tomato plants under grow lights.  I’m hoping to get my garden in early this year and possibly get some plants in the garden twice.  My stash of canned tomatoes, sauce, corn, green beans, peppers and herbs is getting low.  


winter sow seeds


Did I mention that my tomato sauce is kid approved?  My grandchildren and son-in-law love it.  My daughter uses it in recipes that call for red sauce, and trust me there isn’t a morsel left on the plate.  One of my brothers requests it for his deer baloney during hunting season.  After taking inventory, I realized that I needed to replenish my stock if I plan to share it.  So, I’m going to winter sow seeds and grow others under the grow lights for my summer garden.


Here’s a few good reasons why you should at least try winter sowing: 


1. Cost Effective –  Winter sowing can be done cheaply.  For example, plastic containers, duct tape, a utility knife, seed starting mix and outdoor space is basically all you need.  A single plant at a garden center will cost $2.00  –  $4.00Things can get expensive if you’re trying to plant a garden to feed a family over the winter at that price.  

2.  Saves Indoor Space Indoor germination requires space.  Once the seedlings germinate they require a warm space with proper lighting.  Many gardeners don’t have space inside their homes for this endeavor.  As a result, they resort to direct sowing in the garden or purchasing expensive plants at the garden center.  Furthermore, you can use your deck, shrubbery beds, backyard tables, backyard benches, your garden, the options are limitless.  I don’t recommend concrete areas unless you have a bedding of straw.  Your plants won’t appreciate a cold bottom from the concrete.

3.  Nature Does The Work Once you place your containers outdoors, you let nature take its course.  The rain, snow, light and moderation of the temperature will help germinate the seed and cause the plant to grow at the right time.  Once spring arrives, you will have to take the top off the plants and give them water, separate or thin them and prepare them for spring/summer planting. How easy is that!

4.  Doesn’t Require A Light System Nature will provide all the light that your plants will need when you use the winter sowing method.  Indoor sowing requires grow lights or some type of fluorescent lighting system.  I have an indoor system and it works great; however, if you have to spend money to set up a system why not go the free route.

5. Doesn’t Require Hardening Off The rigid, mild, and warm temperatures prepare seedlings for movement to the garden.  When you sow seeds indoors you will have to get your plants adjusted to being outside. This requires you to harden off your plants.  Gradually expose your plants to shade, sun and nights before transplanting them in the garden will be necessary.

Once I complete my winter sowing seeds list, I will be posting a list of seeds you can outdoor sow successfully too.  Start gathering your jugs and containers, you will have plenty of time to start your winter sowing too.  You may also like My Winter Sow Seed List.


7 Easy to Grow Indoor Houseplants

Needless to say, not everyone is born with a green thumb. In fact, many are born with a special talent for destroying beauty.  However,  there have been a few lucky houseplants that have survived. It’s these that I highly recommend if you’re interested in easy to grow indoor houseplants.  Plants also have other benefits like added color to the interior and improved air quality.  So, I have a few flower gardening tips on indoor plants that I would like to share with you today.


I highly recommend the following easy to grow indoor houseplants:

1.  Ponytail  Palm – This  mini-tree houses a head of long green leaves that are arranged in a way that is reminiscent of elementary school pigtails.  It is easy to care for with  just a cup of water a week.  I think I can handle that – it can grow up to 3  feet tall.
2.   Aloe Vera – Both attractive and  functional, aloe vera is a modern-looking plant with incredible healing properties. Break off one of the shoots and apply the ooze inside to sunburns  for instant relief.
3.  Autograph  Plant – This is by  far one of the coolest indoor plant options. The Clusia rosea is known as the  autograph tree.  The plant’s leaves act as the perfect host for keeping special memories. Simply sketch in your name or draw a picture and it stays  there forever – or at least as long as you keep it alive.
4.   Peace Lily – A perfect plant if you’re fighting a lot. Really,  though, there are few better plants that help clear the air. Known for its great oxidizing attributes, the peace lily – with its white-flag flower – is exceptionally easy to grow and does well in low-lit areas.


5.   Spider Plant – Noteworthy, and another no-fail green. This plant is available in variegated shades as well as monochromatic green.  It has shoots of leaves that spit out from the base like the legs of a spider. 
6.   Pothos – My parents were given one of these as a housewarming gift, and it flourished  under their care, which is somewhat of a miracle considering the horticultural thumb of death runs in my family. Seriously, though: You can start with a small pot of pothos, and before you know it, a blazing trail of green starts to take over.

indoor houseplants
7.   English Ivy – This is the perfect choice for ridding your home of  litter air. English  Ivy can help break down and reduce the amount of fecal matter in the air left  behind by your beloved furballs. It is, however, toxic to animals and kids; so keep it out of their reach.
Last, try out these seven indoor houseplants options, and may the Gods shine upon them – and your thumb with favor.


BIO: Ali is a “Jill of all trades.” She writes about  gardening, home advice and healthy living on her blog Homey Improvements and is a  princess for hire at kids’ parties. Follow her on Twitter @DIYfolks.

Vegetable Garden Planting Schedule for Zone 6B

Today, I’m sharing gardening tips on my vegetable garden planting schedule for Zone 6B.  Organization is key when I’m planning my kitchen garden. I have a short growing season, so it’s imperative that I sow my seeds timely.  I want to make sure that I give my plants adequate time to germinate, be transplanted and grow in my containers or garden.  Check out my other backyard vegetable gardening tips before you leave.

You can start sowing your seeds too.  First, I live in Zone 6B.  As a result, I work in my garden from mid-May until October. I can produce quite a few crops in that time period if I stay organized and on track. It also serves as a Check List and keeps me focused on what I will be planting during the season.


garden schedule for zone 6B

I set up my grow lights inside in February or early March.  I sow my tomatoes, peppers, herbs, melons, squash, and zucchini seeds inside.  Indoor sowing gives me a head start on the growing season.  And, starting my plants from seed also saves me money.  As you can imagine, purchasing plants from a garden center can get expensive.  My goal is to grow fresh produce at a bargain price.


Vegetable Garden Planting Schedule: 


vegetable garden sowing schedule


If you are a beginner gardener, check the planting zone for your area. You may be able to sow or plant earlier than my schedule.  So, you may have a longer growing season than I do.  Adjust the schedule according to your zone.

Also, I’m more of a summer gardener than spring.  However, I do plant lettuce which is a cool weather crop.  I’m thinking of sowing my lettuce in containers this season.  We’ll see how that goes.  I’m also going to grow carrot and radishes this season.  (Be sure to check the blog for those posts).  These are cool weather crops, and can be planted in the spring and fall. 


garden schedule for zone 6B


Collard greens will be planted in the fall this year. I like to have fresh collard greens to serve at Thanksgiving and the Christmas holidays.  And I love cauliflower in a cheese sauce.  Yum!

So, seeds should be sown indoors 6 – 8 weeks before the growing season begins.  You don’t want to start them too early because they could become too large before you get them transplanted. Furthermore, your plants could start blooming and you don’t want that to happen either. 

I will also be starting my sunflowers using the winter sowing method in the next few weeks.  You can check out my winter sowing seed starting method.  I hope that you find my vegetable garden planting  schedule beneficial. You can download it here.


Growing Cantaloupe in Your Kitchen Garden

My second favorite item on my backyard vegetable gardening list is home grown cantaloupes. My garden is winding down and I’m feeling a little sad.  So, I sooth myself when I’m closing the garden for the year by planning my garden for the next season.  I spend months deciding what I want to plant and that usually cheers me up. Yesterday, I pulled my last squash and cantaloupes. I have tons of tomatoes and green beans left.  So, I will preserve and freeze those next week-end.  I see tons of tomato sauce and salsa on the horizon.  Tomato sauce and salsa are great ways to use in the garlic, basil and oregano in the garden too.  


how to grow cantaloupes


These are Hale’s Best Cantaloupes below, which is an Heirloom seed.  Let me tell you they are delicious.  I’ll be having fresh cantaloupes for the next few days, and I can’t wait.  I started the cantaloupe plants under grow lights in mid-March and moved them into my garden in June.  If you’re wondering how to grow cantaloupes in your kitchen garden, I have the answer:

  • You can direct sow the seeds in the garden when the soil warms up.  Follow the instructions on the seed packet.
  • You can winter sow your seeds in bottle green houses.
  • Start your seed under grow lights.
  • Purchase plants from a nursery or garden.


I mulched around the plants with straw and left about 6 feet of space for them to spread. I harvested eight cantaloupe from 2 plants. Not bad for a pack of $1.00 seeds.  I’ll be saving seed from these melons to plant next year and the year after that.  Hales Best Cantaloupes are the sweetest and most delicious on the market.


I’m a frugal gardener.  I put my garden in for pennies by purchasing Heirloom seeds and than saving the seeds from year to year.  Purchasing plants from garden centers can get expensive.  Especially,  if your goal is to garden on a budget.  I choose what I want to splurge on, and groceries is not one of those things. If you plan to save seed from your garden, make sure you don’t purchase or use Hybrid seeds or plants.  You want the same characteristics of the parent plant versus inbreeding/cross breeding.  So, heirlooms are the way to go.


I planted Belle peppers, which performed nicely too.  After picking them off the plants, I usually chop and freeze my peppers if I don’t have a dish that requires them planned.  I like to get them into freezer bags as soon as I pick them off the vines. The sooner you lock in the freshness the better. Did you know that orange, red, and yellow peppers are green before they turn into these beautiful colors?  I love stuffing the colorful peppers.  They make a nice statement on the table.

So, if you want these colorful peppers, you have patience.  It takes a while for them to transition from green to the red, yellow or orange stage. Additionally, there are also male and female peppers.  Finally, check out how to determine and use male and female peppers here.


My Kitchen Garden Is Thriving


I spent some time in  my kitchen garden checking on my babies and pulling weeds.  The only negative that find in gardening is weeds.  In the above picture are Sugar Baby watermelons, cantaloupe, and a yellow watermelon which I have never grown before.


I cut down on my peppers this year.  I have an orange, red and green belle.  I lost my white belle. I have a Tabasco and a jalapeno planted as well.  


My Blue Lake pole beans are starting to climb.  Hopefully I will have a good crop.  I did remove the weeds and laid a path of newspaper and leaves to help keep the weeds down.


My sunflowers are getting huge.  I started these in bottles during the winter.  You can see my post on Greenhouse Bottles here.


I have a small bed of lettuce, which is looking good.  I have a shady spot, that receives some sun, so I’m going to start another bed this week. Homegrown lettuce taste so much better than store brought.  


My cucumbers are starting to climb.  A few have latched onto my make-shift trellis, but it looks like I will have to train one.  I used left over rabbit fencing for my trellis staked with 2 fence posts. Last year I used a bamboo trellis, it didn’t work very well.  I have Marketmore, Lemon, Boston Pickling and Salt and Peppers cukes in this area.  


This is garlic, which I will be digging up in another 1 – 2 weeks.  This is the first season that I was able to grow it successfully.  The first season I planted in the spring, and it did not do well.  I planted this crop last fall and it has done great.  The leaves are starting to dead back, so it’s getting close to  harvest time.  I can’t wait to use fresh garlic in my recipes this summer and into the winter.  


Stay tuned for a future post on the other veggies in the garden.  I’ll be starting my seeds for my fall crops, cauliflower, kale, spinach, and collards.  What’s growing in your garden?  Leave a comment and I’ll stop by to check out what’s thriving.  

How To Freeze Fresh Corn

Today, I’m sharing gardening tips on how to freeze fresh corn.  Fresh corn will be on the market this summer, and you don’t want to miss out.  I love it grilled, in soup, in chowder, boiled, fried you name it.  My favorite corn is Silver Queen. It’s a late corn, but so worth the wait.  Freezing corn is a yearly ritual for me, so I’m going to show you how to freeze fresh corn.  Shucking it is another issue, but I found a solution to that too.  Check out my post on How to shuck corn in the microwave.  It’s one of my best backyard vegetable gardening tips.  


freezing fresh corn


I shucked, blanched, cut off the cob, and froze about 100 ears last season.  Preparing corn for the freezer is easy and so worth it.  I purchase my corn from a local farmer.  He sells it at a bargain rate. He removes the corn from the stalks the day before you pick it up.  So, it doesn’t get any fresher than this.  Purchasing fresh corn this way saves space in my garden for other goodies too.


how to freeze fresh corn


How to Freeze Fresh Corn: 


  1. Shuck and remove all silk from the corn on batches of 10 – 15 ears.
  2. Boil them for about a minute or two in a large stock pot.


how to freeze fresh corn


3.  Have an ice batch ready for the ears of corn.  I use my sink.  This should be completed before you start the boiling process.  An ice bath is imperative in your preparation of the corn for the freezer.

4.  Remove the cobs from the boiling water after 2 minutes and immediately place them in the ice water bath.  The ice water will stop the cooking process.  This is important because you don’t want to cook it as if you’re preparing it to eat.  Although I do leave a few cobs in the boiling water, because I do want to eat them later, lol.


5.  Once the corn has cooled down about 5 – 10 minutes, cut the corn off the cob in a large bowl.  I use an extra large bowl and a chef’s knife to remove the kernels. I also use the corn holders on one end, it makes it easier to handle the corn while removing the kernels.

6.  Once I have the kernels removed from the cob, I pack quart freezer bags.  Buy quality bags and make sure the bags are sealed properly or use a vacuum sealer.  If you have one sitting in a cabinet, now is a perfect time to use.  I don’t bother to date the bags because they will be gone by spring. You can use a permanent marker to date the bags.  However, in my household they will all be gone my spring. 


Quart bags are perfect for my household.  I can just pull out a bag for soup, mix with green beans, fry it or however I want to use it.  It’s as fresh as it was the day I purchased it.  Put a few bags in your freezer to use this winter.  You won’t regret it.  Stay tuned for my post on blanching tomatoes and green beans.  


how to fresh corn
We hope that you have found our tips on freezing fresh corn beneficial.  You may also like our tips on 10 Benefits of Vegetable Gardening too and how to grow sweet corn.