How To Make Homemade Tomato Sauce

It’s homemade tomato sauce making time!  Last week-end I made my first batch, and it was delicious.  So, I’m going to tell you how to make homemade tomato sauce that your family will love.  Using tomatoes from my backyard vegetable garden, I canned 7 quarts of the best homemade tomato sauce on the east coast.  My sauce is versatile, I use for pasta dishes and mix some in my chili.  It makes the best addition to a pot of chili on a cold winter day.  
Furthermore, it’s kid approved.  My grandchildren pound on the table for it.  As a matter of fact, my daughter has requested 20 quarts for her household alone.    
how to make homemade tomato sauce
I believe the secret to great sauce is lots of garlic.  Fortunately, I grow my own garlic and fresh herbs.  It’s great being able to go to my backyard vegetable garden and harvest basil, oregano and garlic.  See those white pieces in the sauce below, that’s my home grown garlic.

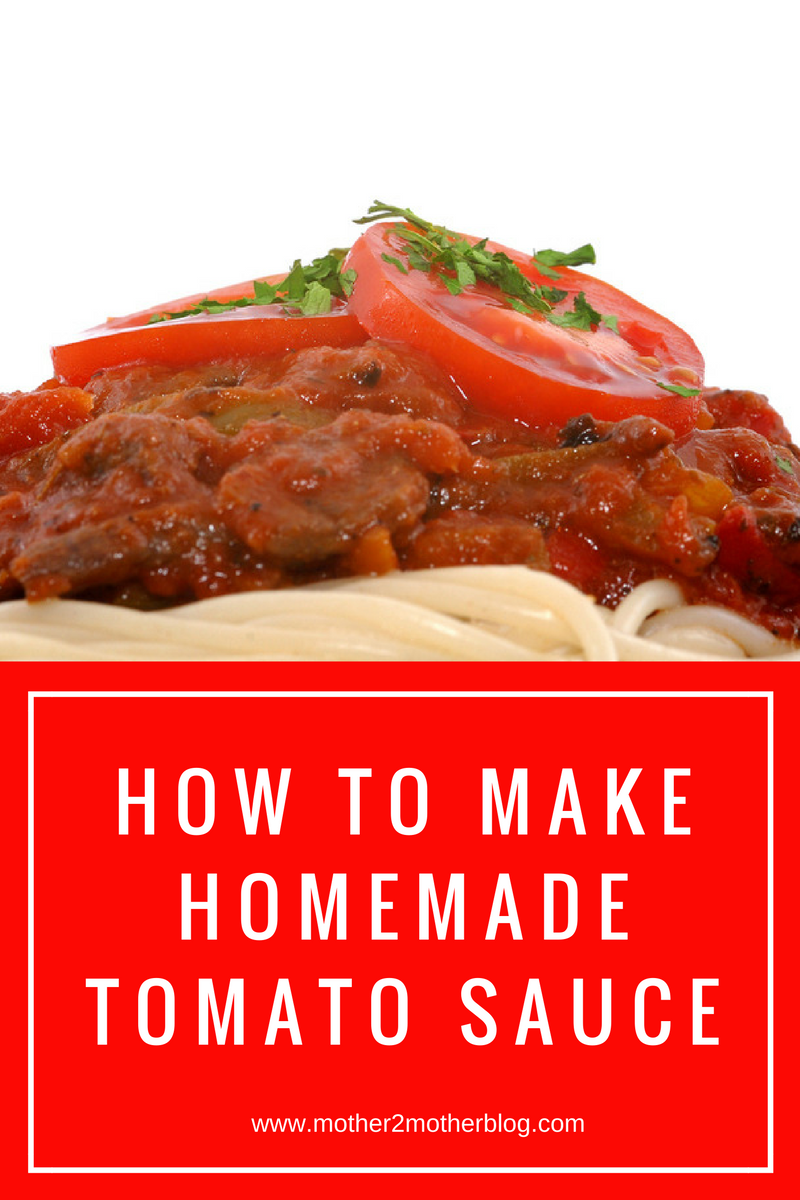
Here’s my recipe for 7 quarts of homemade tomato sauce:

  • 30 lbs.  of tomatoes (I used a combination of Roma and regular beefsteak)
  • 15 gloves of garlic
  • 1 cup of white onions  (2 medium onions)
  • fresh basil, parsley, and other seasonings to taste
  • 2 cups of sugar
  • 2 small cans of tomato paste to help thicken the sauce


homemade tomato sauce


  • First, remove the skin from the tomatoes. If you have a sauce maker, now is the time to use it.  I don’t have a sauce maker, so I make my sauce like my grandmother. I remove the skin from the tomatoes by blanching them, and immediately placing them in a large bowl of ice water.  Check out my post on How to Blanche Tomatoes.
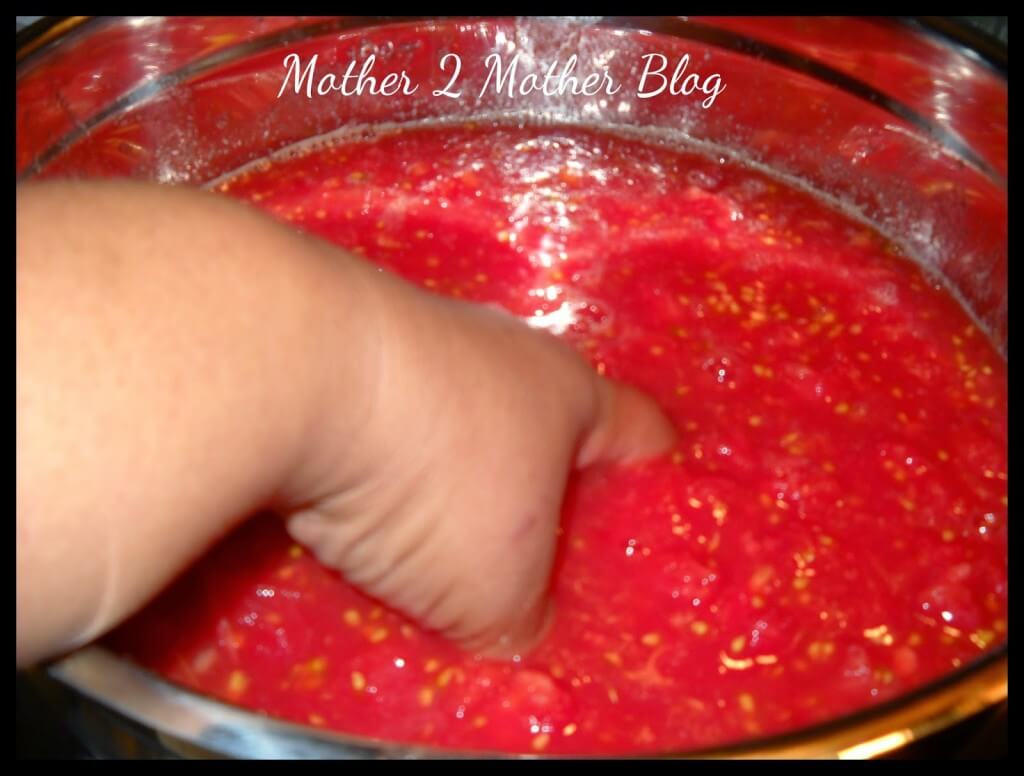
  • Next, place the skinless tomatoes into a large bowl.  Squeeze the tomatoes into small pieces. Yep, that’s my clean hands in the bowl (below) squeezing those tomatoes into pieces.  You can also use a potato smasher to squeeze the tomatoes.  Most importantly, wear gloves if you’re allergic or feel more uncomfortable sticking your hands into the tomatoes.
  • Breaking the tomatoes into pieces helps the sauce to cook down faster.  Secondly, it keeps the sauce from getting too thick. I like a little movement with my sauce. I can always thicken it later with paste depending on what dish I am preparing.
  • If you have a sauce maker, you can skip these steps.  The sauce maker removes the skin and seeds from the tomatoes.  If you don’t have a sauce maker, you can follow my steps and remove them by hand. In my opinion, they’re really not that noticeable once the sauce cooks down.


  • Place a colander into a large bowl or pan.  Place cups of the sauce mixture into the colander and press the sauce down with a spoon until the seeds and juice run out into the bowl.  The holes in the colander will be large enough for the juice and seeds to pass through.
  • To remove the seeds from the juice you will need a fine wire strainer or sieve. The strainer should allow the juice to run through, but small enough to hold the seeds.  Pour the juice into the strainer to remove the seeds.  Once you get a rhyme going, it doesn’t take long.
  • Now, add the juice back into the tomato meat and repeat until you have the majority of the seeds removed from the juice and meat of the tomatoes. You won’t be able to remove 100% of the seeds, but that’s okay,  The seeds enhance the flavor and you won’t even know they’re in the sauce. That’s why I don’t have a sauce maker, I am the sauce maker as grandma used to say!


  • Your next step, chop the garlic and onion into fine pieces. If you have a chopper use it, it will save you time. (You can also prepare the garlic and onion ahead of time.)  Cover the bottom of the stock pot with Extra Virgin Olive Oil and heat until it’s hot.  Add the garlic and onion, cook until tender, 2 -3 minutes.  Be careful not to burn it, it will ruin your sauce. Stir it constantly.  In my opinion, homemade tomato sauce is about the garlic, onions and fresh herbs. Besides the love that goes into it.  These ingredients are what separates it from the grocery store sauces.
  • Pour in the tomato mixture and bring to a boil.
  •  Once the tomato mixture is boiling point, lower the heat.
  • Next, gradually add in your paste.  I only add 1.5 cans of paste to my sauce with 2 cups of sugar.  You may like the taste of 2 cans and less sugar.  Add your ingredients gradually until you reach desired taste.  Add lots of fresh basil to the mixture.
  • Finally, simmer for 5 hours. Be sure to stir it constantly.  You want to make sure the tomato pieces, garlic and herbs don’t fall to the bottom of the pot and stick. The longer you cook it, the thicker the sauce will become. You will want to taste the sauce throughout the cooking process to determine if you want to add more herbs, sugar or additional paste to thicken it.


Also, you can freeze the sauce or can it.  Because I don’t have room in my freezer I choose to can my sauce. I prepared my jars and can the sauce according the directions included with my canner.  I placed 2 tablespoons of lemon juice and 1 teaspoon of Himalayan pink or canning salt in the bottom of my quart jars.

Next, I hot pack quart jars with the sauce and water bath them for 45 minutes.  Or, you can freeze the sauce in quart size freezer bag.  Allow the jar to sit overnight to ensure the jars seal. Once they are sealed, they are ready for the pantry.

Last, save money by freezing or canning homemade tomato sauce for the winter.


Noteworthy:  The sauce takes time so enjoy a glass of wine or play with the kids while you’re preparing.  It’s worth the work and wait.  


10 Reasons I Preserve My Garden Vegetables

Backyard vegetable gardening is hard work, but oh so worth it.  Today, I’m going to talk about preserving garden vegetables.  There’s nothing like fresh fruits and vegetables  that have been preserved for winter use. There’s nothing better than pulling out fresh tomatoes in the winter to make sauce and salsa.  
I add preserved tomatoes to my homemade vegetable soup in the winter.  The taste is amazing.  There’s nothing better than a bowl of homemade soup during a blizzard.  Not only do I preserve tomatoes, I preserve belle peppers, chili peppers, green beans, corn, and herbs.  Did I mention that I also grow my own garlic for my tomato sauce.  I preserve anywhere from 20 – 25 quarts of sauce each season.  My homemade tomato sauce is kid approved.  My grandchildren love it, so I share with my daughter and siblings.  

preserving garden vegetables


I just chopped 2 quarts of belle peppers for my freezer.  If you’re wondering if you can freeze belle peppers without blanching, the answer is yes.    Here’s how:

  • Wash peppers thoroughly and dry.
  • Remove the core and seeds.
  • Place peppers in a quart freezer bag. Be sure to remove the air from the bag.  To keep the peppers from freezer burn, double bag the peppers.
  • Write the date on the bag with a permanent marker.

I love using fresh belle peppers in my dishes.  The best way to preserve vegetables and fruits is to freeze them. I just place the peppers on a cookie sheet.  Place the sheet in the freezer so the pieces can freeze before placing them in the freezer bag.  However, you can just place them in a freezer bag as shown.  Just give them a good whack with a kitchen mallet to break them apart when I needed.


Backyard Vegetable Gardening


To prevent freezer burn, put the peppers in a quart size bag.  Than place the quart size bag in a gallon size freezer bag.  Make sure you get all of the air out of the bags.  Most importantly, make sure your peppers are cool and dry before you freeze them.

Gardening gives me a sense of fulfillment and preserving garden vegetables puts the icing on the cake. Being able to serve organic, fresh veggies and fruits to my family is a blessing.  Here’s why preserving garden vegetables is at the top of my list:


  1. Fresh vegetables and fruits are more flavorful than grocery store purchases.
  2. I use fresh tomatoes in chili, pasta sauce and salsa during the winter.
  3. Fresh peppers are available for omelets, meatloaves, spaghetti sauces and casseroles etc.
  4. I have fresh garlic available for spaghetti sauce and other dishes.
  5. Fresh apples and peaches available for warm cobblers during the winter.
  6. I grow organic fruits and vegetables.  The less chemicals used the better.
  7. I save hundreds of dollars on my grocery bill.
  8. My family raves about my dishes. It’s the herbs and other fresh vegetables and fruits, but don’t tell them it’s a secret.
  9. Fresh vegetables and tomatoes make the best soups on those cold winter days.
  10. Nothing like fresh herbs to toss in dishes during the winter.

Finally, preserve garden vegetables and fruits too. Planting a tomato plant on your deck or patio, and you will be able to freeze them for winter use.  Not interested in vegetables, how fruits or sunflowers.  So, preserve garden vegetables and fruits for a welcome winter treat.

You may also like:  Johnny’s Seeds.


How To Freeze Fresh Corn

Today, I’m sharing gardening tips on how to freeze fresh corn.  Fresh corn will be on the market this summer, and you don’t want to miss out.  I love it grilled, in soup, in chowder, boiled, fried you name it.  My favorite corn is Silver Queen. It’s a late corn, but so worth the wait.  Freezing corn is a yearly ritual for me, so I’m going to show you how to freeze fresh corn.  Shucking it is another issue, but I found a solution to that too.  Check out my post on How to shuck corn in the microwave.  It’s one of my best backyard vegetable gardening tips.  


freezing fresh corn


I shucked, blanched, cut off the cob, and froze about 100 ears last season.  Preparing corn for the freezer is easy and so worth it.  I purchase my corn from a local farmer.  He sells it at a bargain rate. He removes the corn from the stalks the day before you pick it up.  So, it doesn’t get any fresher than this.  Purchasing fresh corn this way saves space in my garden for other goodies too.


how to freeze fresh corn


How to Freeze Fresh Corn: 


  1. Shuck and remove all silk from the corn on batches of 10 – 15 ears.
  2. Boil them for about a minute or two in a large stock pot.


how to freeze fresh corn


3.  Have an ice batch ready for the ears of corn.  I use my sink.  This should be completed before you start the boiling process.  An ice bath is imperative in your preparation of the corn for the freezer.

4.  Remove the cobs from the boiling water after 2 minutes and immediately place them in the ice water bath.  The ice water will stop the cooking process.  This is important because you don’t want to cook it as if you’re preparing it to eat.  Although I do leave a few cobs in the boiling water, because I do want to eat them later, lol.


5.  Once the corn has cooled down about 5 – 10 minutes, cut the corn off the cob in a large bowl.  I use an extra large bowl and a chef’s knife to remove the kernels. I also use the corn holders on one end, it makes it easier to handle the corn while removing the kernels.

6.  Once I have the kernels removed from the cob, I pack quart freezer bags.  Buy quality bags and make sure the bags are sealed properly or use a vacuum sealer.  If you have one sitting in a cabinet, now is a perfect time to use.  I don’t bother to date the bags because they will be gone by spring. You can use a permanent marker to date the bags.  However, in my household they will all be gone my spring. 


Quart bags are perfect for my household.  I can just pull out a bag for soup, mix with green beans, fry it or however I want to use it.  It’s as fresh as it was the day I purchased it.  Put a few bags in your freezer to use this winter.  You won’t regret it.  Stay tuned for my post on blanching tomatoes and green beans.  


how to fresh corn
We hope that you have found our tips on freezing fresh corn beneficial.  You may also like our tips on 10 Benefits of Vegetable Gardening too and how to grow sweet corn.