How To Shuck Corn In Your Microwave

I spent the day making tomato sauce and preparing fresh corn for the freezer.  Did you know that the easiest way to remove the silk and husk from corn on the cob is by microwave.  One of my backyard vegetable gardening tips is how to shuck corn in your microwave
I like to multi-task, so while I’m water bathing my tomato sauce I shuck corn in microwave.   The method is heaven sent.  If you have dozen of ears to prepare for your freezer, the microwave is the way to go.  It’s also a great way to prepare it for dinner when you’re short on time too.  
how to shuck corn
I spent the day making tomato sauce and preparing fresh corn for the freezer.  I decided to use the microwave to shuck corn, remove the silk and husk, while I prepared the sauce for the water bath canner.  This method is heaven sent and I wanted to share it with you.  It’s great way to prepare it for dinner when you’re short on time too or when you’re trying to juggle canning activities at the same time.
microwave corn husking
During the summer, I usually husk and prepare at least 4 dozen ears for the freezer.   I love using fresh corn in chowder, mixing it with my fresh green beans, or in soup in the winter.  So, I pack it in quart size bags, which is just the right serving size for my dishes.
Here’s how to shuck corn in your microwave:
 
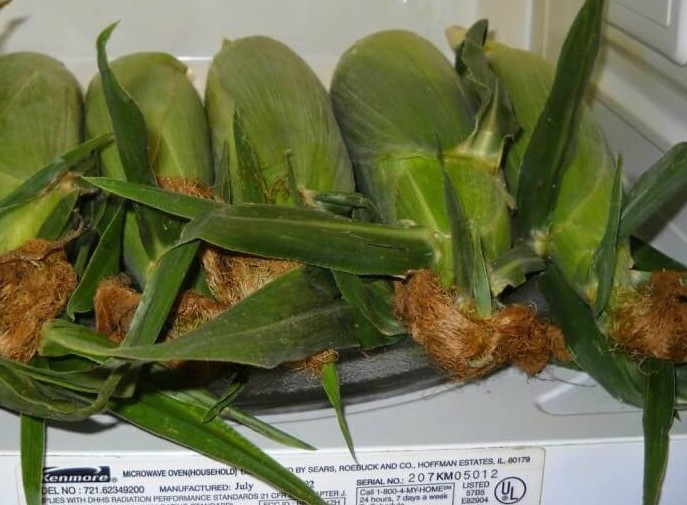
Step 1 – Place 5 – 6 ears of corn in your microwave, depending on size you may be able to only fit 4 – 5.  I had 6 ears here, but I had to remove 1.  The ears were pretty large.
 
Step 2 – Heat the ears on high for 4 – 5 minutes.  If you’re going to eat it immediately, the rule is 4 minutes for each ear.  So, it would be 16 – 20 minutes total.  When I’m preserving, I use 4 minutes for the entire batch so I don’t over cook the corn.
how to shuck corn


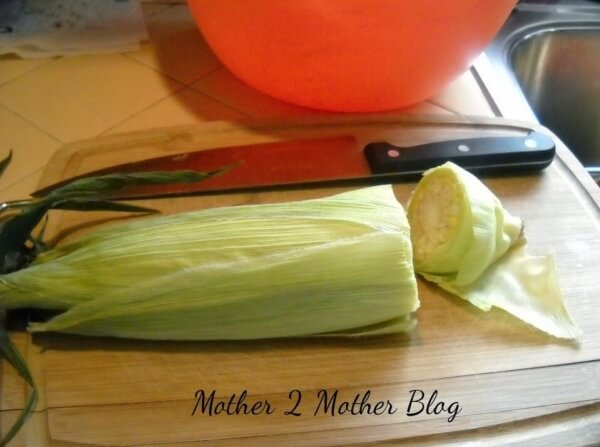
Step 3 – Remove the ears from the microwave carefully.  They will be hot.  Cut the stalk end about 2 inches from the end of the corn with a chef’s knife or whatever large, sharp knife you have on hand.  You’ll lose a few rolls of corn, but it’s a time saver.


How to shuck corn


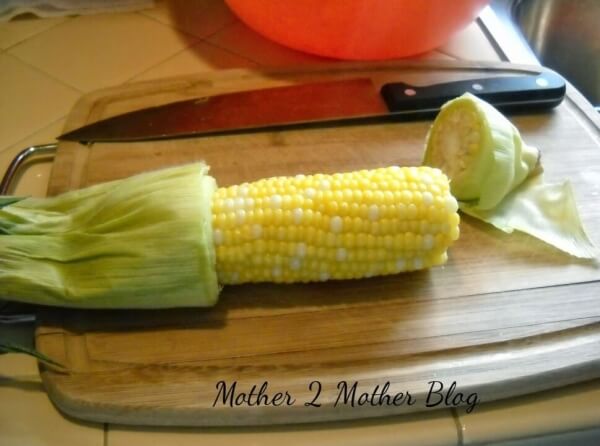
Step 4 – Squeeze the corn through the husk from the top, silk end.  The corn should slide out of the husk virtually silk free.


It’s the easy way to shuck corn.  I packaged 4 quarts today and will probably put up another 4 quarts later in the week.   Try purchasing fresh corn from a local farmer, it is good.  I had to stop myself from eating it so I could have enough for the freezer.  Fried corn with a little butter and red peppers is yummy!  It’s kid approved, my grandchildren love it.

If you’re a preserver or need to better utilize your time preparing dinner, this is the way to go. You may also like How To Freeze Corn.  What’s your favorite dish using corn?
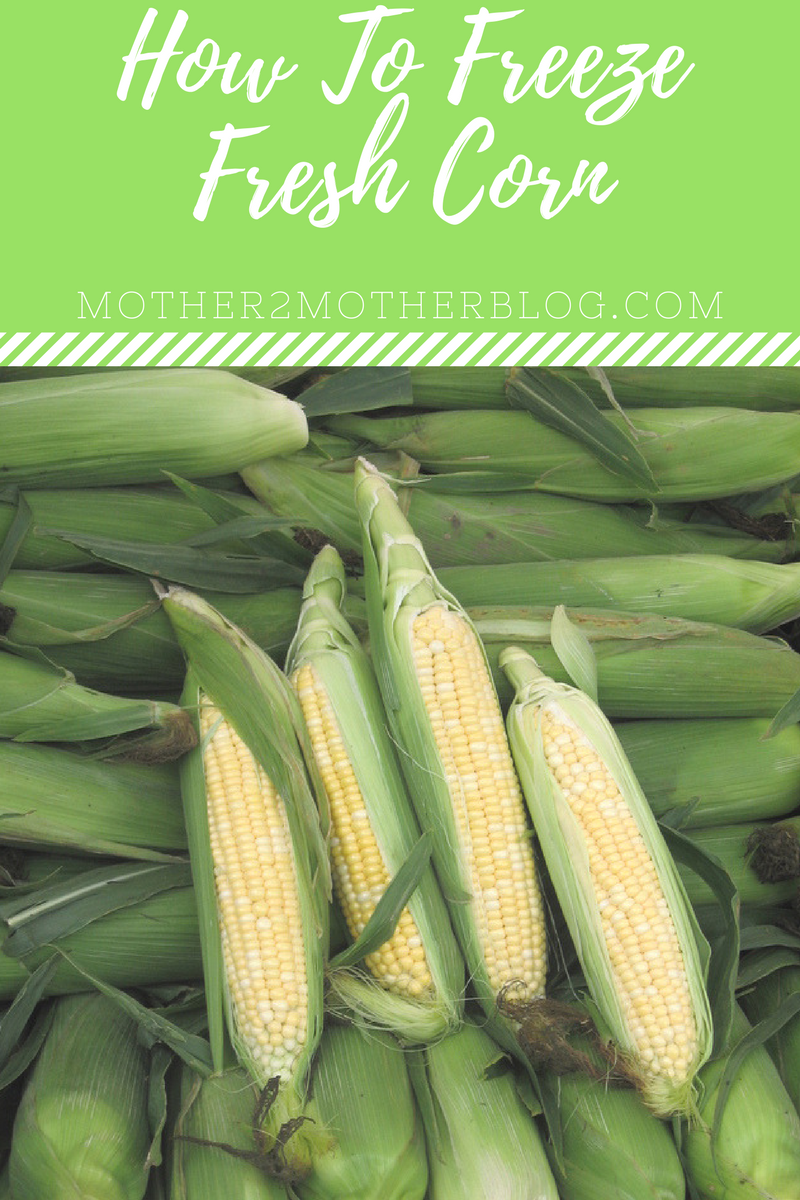
 

How To Freeze Fresh Corn

Today, I’m sharing gardening tips on how to freeze fresh corn.  Fresh corn will be on the market this summer, and you don’t want to miss out.  I love it grilled, in soup, in chowder, boiled, fried you name it.  My favorite corn is Silver Queen. It’s a late corn, but so worth the wait.  Freezing corn is a yearly ritual for me, so I’m going to show you how to freeze fresh corn.  Shucking it is another issue, but I found a solution to that too.  Check out my post on How to shuck corn in the microwave.  It’s one of my best backyard vegetable gardening tips.  


freezing fresh corn


I shucked, blanched, cut off the cob, and froze about 100 ears last season.  Preparing corn for the freezer is easy and so worth it.  I purchase my corn from a local farmer.  He sells it at a bargain rate. He removes the corn from the stalks the day before you pick it up.  So, it doesn’t get any fresher than this.  Purchasing fresh corn this way saves space in my garden for other goodies too.


how to freeze fresh corn


How to Freeze Fresh Corn: 


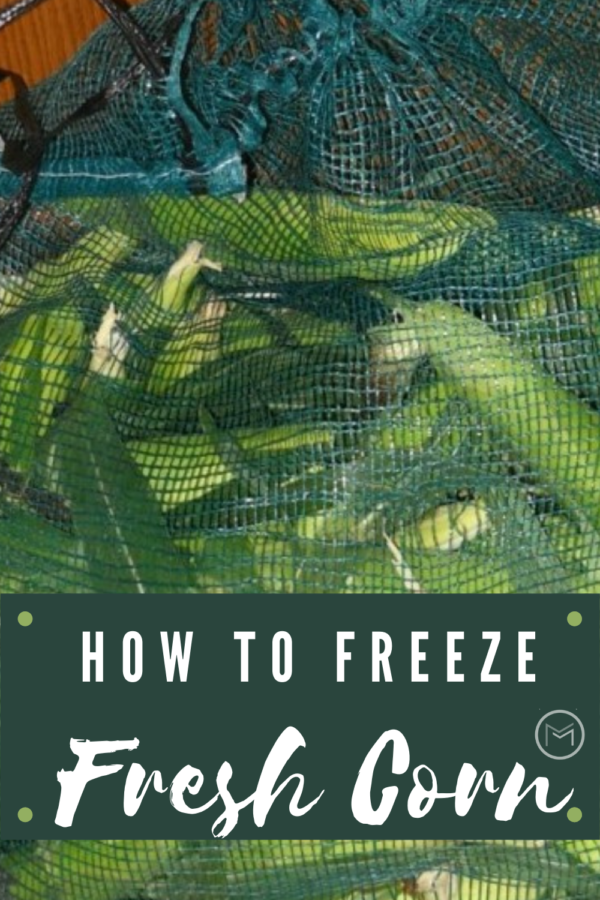
  1. Shuck and remove all silk from the corn on batches of 10 – 15 ears.
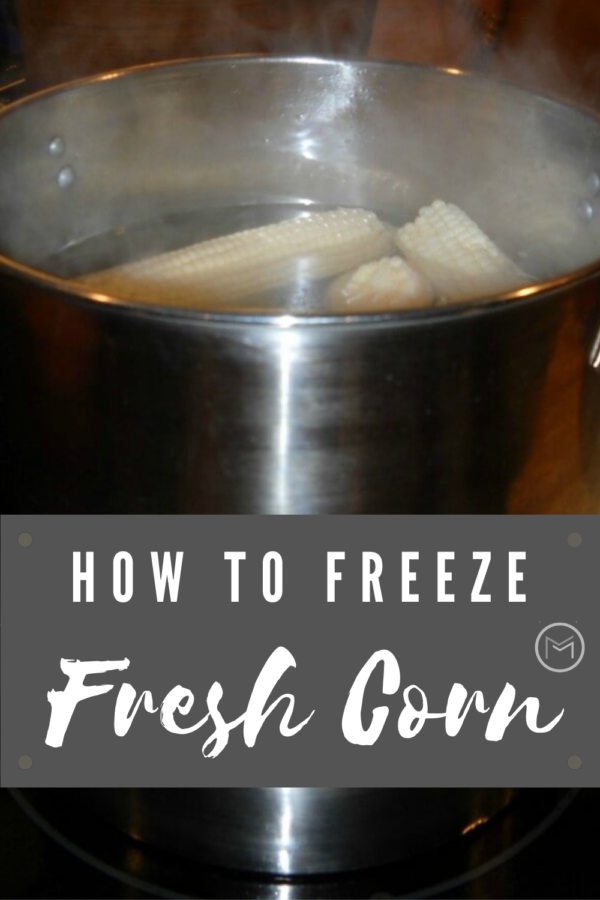
  2. Boil them for about a minute or two in a large stock pot.


how to freeze fresh corn


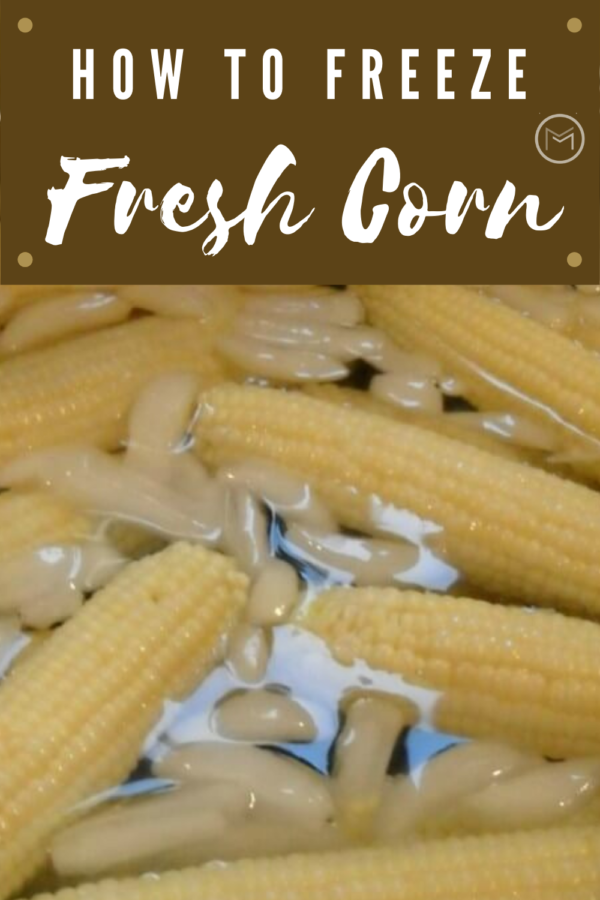
3.  Have an ice batch ready for the ears of corn.  I use my sink.  This should be completed before you start the boiling process.  An ice bath is imperative in your preparation of the corn for the freezer.

4.  Remove the cobs from the boiling water after 2 minutes and immediately place them in the ice water bath.  The ice water will stop the cooking process.  This is important because you don’t want to cook it as if you’re preparing it to eat.  Although I do leave a few cobs in the boiling water, because I do want to eat them later, lol.


5.  Once the corn has cooled down about 5 – 10 minutes, cut the corn off the cob in a large bowl.  I use an extra large bowl and a chef’s knife to remove the kernels. I also use the corn holders on one end, it makes it easier to handle the corn while removing the kernels.

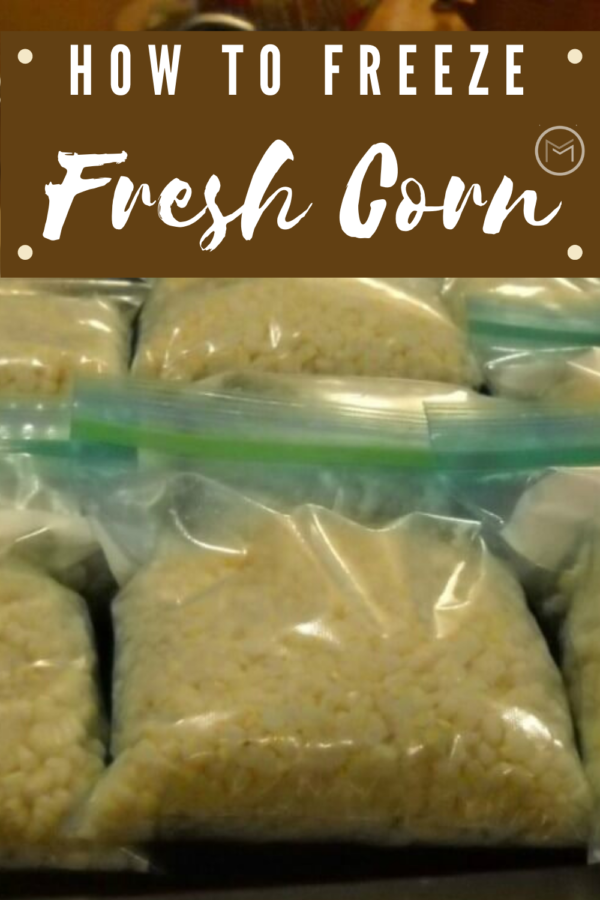
6.  Once I have the kernels removed from the cob, I pack quart freezer bags.  Buy quality bags and make sure the bags are sealed properly or use a vacuum sealer.  If you have one sitting in a cabinet, now is a perfect time to use.  I don’t bother to date the bags because they will be gone by spring. You can use a permanent marker to date the bags.  However, in my household they will all be gone my spring. 


Quart bags are perfect for my household.  I can just pull out a bag for soup, mix with green beans, fry it or however I want to use it.  It’s as fresh as it was the day I purchased it.  Put a few bags in your freezer to use this winter.  You won’t regret it.  Stay tuned for my post on blanching tomatoes and green beans.  


how to fresh corn
We hope that you have found our tips on freezing fresh corn beneficial.  You may also like our tips on 10 Benefits of Vegetable Gardening too and how to grow sweet corn.