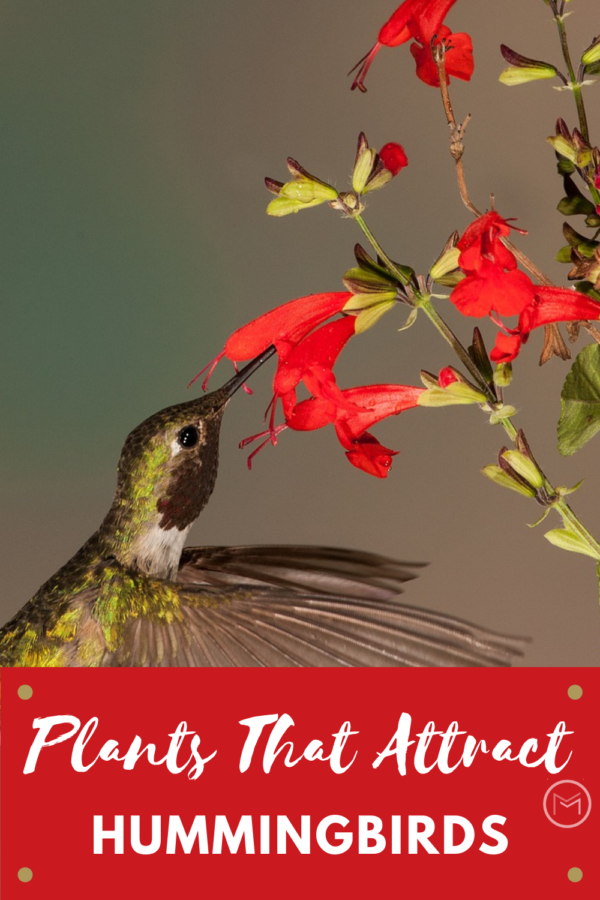
Today, I’m sharing gardening tips on hummingbird flowers and plants. Hummingbirds are the smallest birds in the world. They are fascinating creatures that eat once every 10 to 15 minutes. As a result, they visit approximately 1,000 to 2,000 flowers per day. Hummingbird flowers provide nectar, which they absolutely love. Are you wondering what flowers to plant to entice them? I have a hummingbird flowers and plants list, check it out.
Hummingbird Flowers and Plants:
- Yarrow
- Larkspur
- Bee Balm
- Trumpet Vine
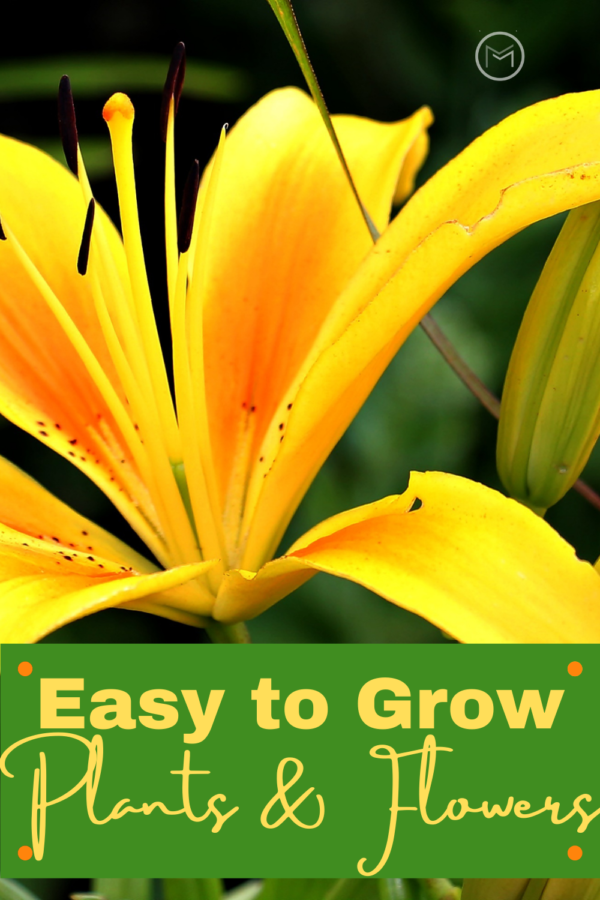
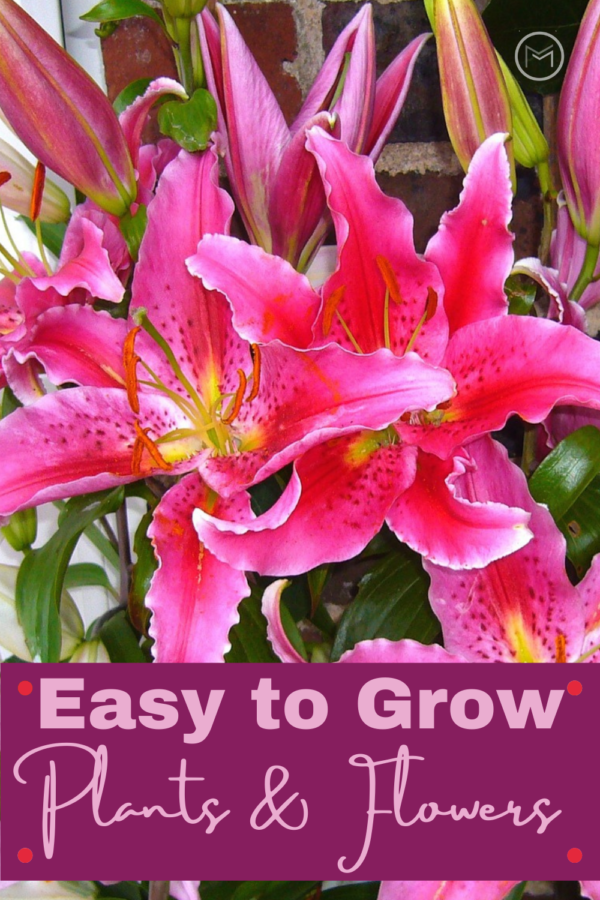
- Day Lilies
- Petunias
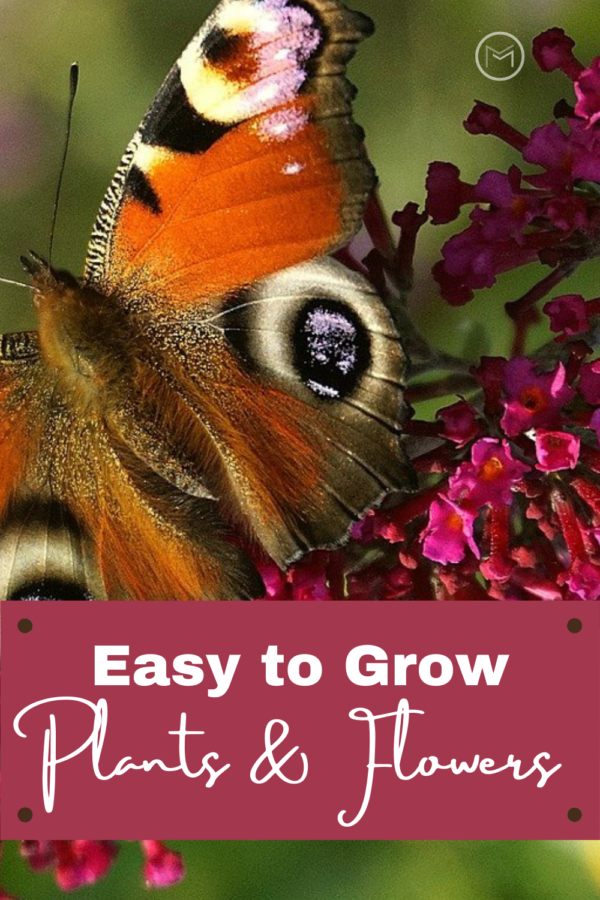
- Butterfly Bush
- Honeysuckle
- Cardinal Flower
- Red Hot Poker
- Zinnia
- Sunflowers
- Impatiens
- Foxglove
- Coneflowers
- Geraniums
- Morning Glory
- Hollyhocks
- Coral Bells
- Lantana
- Rose of Sharon
- Cardinal Flower
- Iris
My list gives a good variety of hummingbird flowers to choose from. Hummingbirds love red and yellow, so choose as many red and yellow flowers as you can. The petunias in the window boxes on my deck never fail to bring hummingbirds. So, tubular flowers are excellent choices.
Hummingbird Flowers and Plants Provide Nectar:
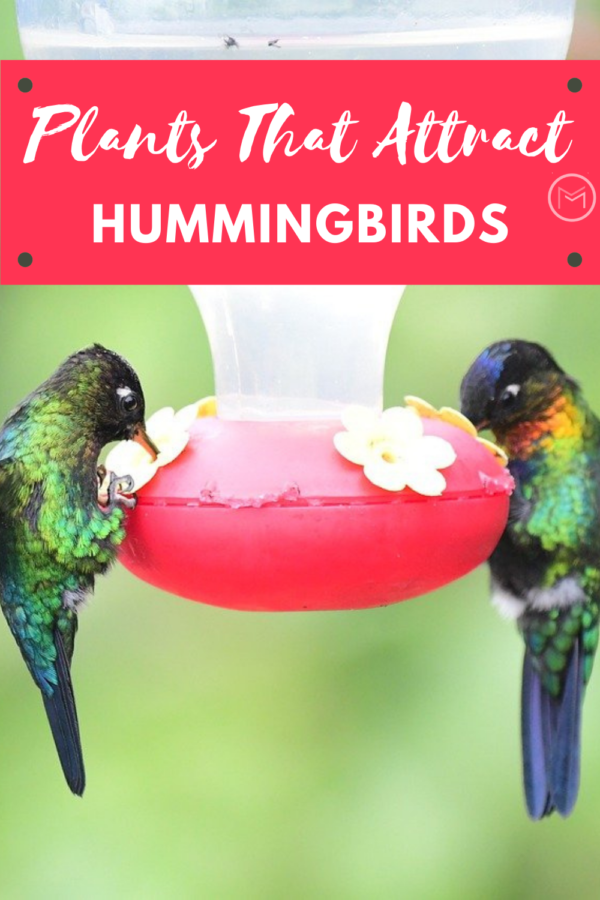
Also, these flowers provide nectar, which makes up 90% of a hummingbird’s diet. Furthermore, nectar provides energy. In additional to planting these flowers, hang a nectar feeder. They are inexpensive and hummingbirds love them. Red feeders with yellow ports are just what the hummingbird ordered. To help hummingbirds find your feeders. tie a red ribbon close to the feeder.
So, you can purchase nectar food packets at a local store. However, I suggest that you save your money and use the ingredients that you have on hand. I try to provide natural products to my backyard birds when possible. As a result, use the natural nectar recipe below.
Hummingbird Nectar Recipe:
- 4 cups of water
- 1 cup sugar
- Boil 4 cups of water.
- Add 1 cup of white granulated sugar.
- Mix the sugar and water until the sugar is dissolved.
- Once the sugar is dissolved, continue to boil mixture for 2 additional minutes.
- Allow the mixture to cool thoroughly.
- Pour nectar into clean hummingbird feeders.
Attracting Hummingbirds to Feeders:
Change the nectar every 3 – 5 days. Be sure to clean your feeder too. This will keep bacteria from invading your feeder. See my post on how to clean bird feeders.
Set up territories in your yard, and place a feeder in each territory. This will attract more hummingbirds to your backyard.
Also, hummingbirds like to perch. So, leave branches with open tips on them where hummingbirds can preen and rest. They should be placed near nectar feeders or flowers that they love.
Last, hummingbirds prefer to bath by flying through water mist. Place a water mister in your birdbath. If you can place it near the nectar feeder or among your flowers the hummingbirds will love you for it.
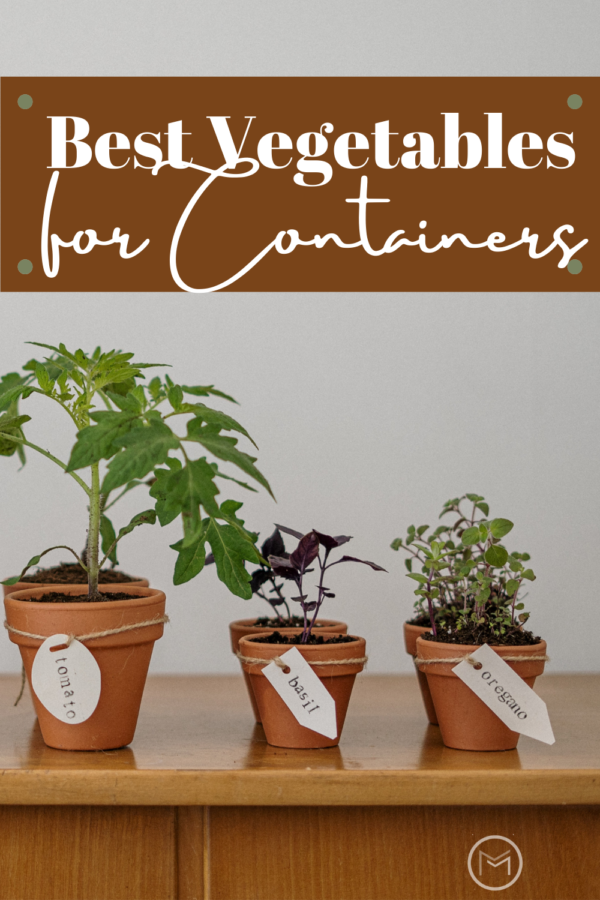
I hope that you will plant a few hummingbird flowers and plants either in your garden, shrubbery bed or in containers. Your hummingbirds will love you for them. You may also like Hummingbirds.