Today, I’m sharing gardening tips on how to germinate seeds for your garden. Getting a jump start on your garden is a great thing, especially if you have a short growing season like me. So, I’m sharing this valuable information with you today.
So, starting my seeds early takes away the winter blues for me. It gets me excited about the upcoming gardening season, and all of the delicious vegetables and beautiful flowers I will be nurturing.
Furthermore, if you want a successful growing season you must prepare. Preparation starts long before you step into your garden. So, investing a little time and energy to perform certain tasks will go a long way in making your gardening season a success. Your first step is germinating your seeds. Lets go.
How to Germinate Seeds for Your Garden:
Clean and Sterilize Containers – Sterilizing your seed starting containers before planting your seeds is imperative. If you’re using containers other than peat pots, wash them in hot, soapy water. Rinse well, and take it a step further. Soak them in bleach water or spray with a peroxide and water solution. Wipe well and allow to air dry.
Use Seed Starter Mix – There are a many seed starter mixtures on the market, so choose wisely. There’s Jiffy, Black Gold, Miracle Gro or make your own.
Generate Heat for Seedlings – Seedlings don’t need light to germinate, but they do need heat. I highly recommend using heat mats. I have two mats that I use to help germinate my seeds, and I love them. You can also set your plants on top of your refrigerator if you need additional space.
Use a Gro-Light System – You will need light to keep your seedlings from getting leggy. Using a lighting system will help your plants to establish strong, healthy roots. I have two of the 4 foot grow lights. Seedlings need at least 12 – 14 hours of light per day and a rest period of 6 – 8 hours, without light. You can set a timer to regulate your lights. Furthermore, the lights must be kept close to the plants so they can become established and healthy.
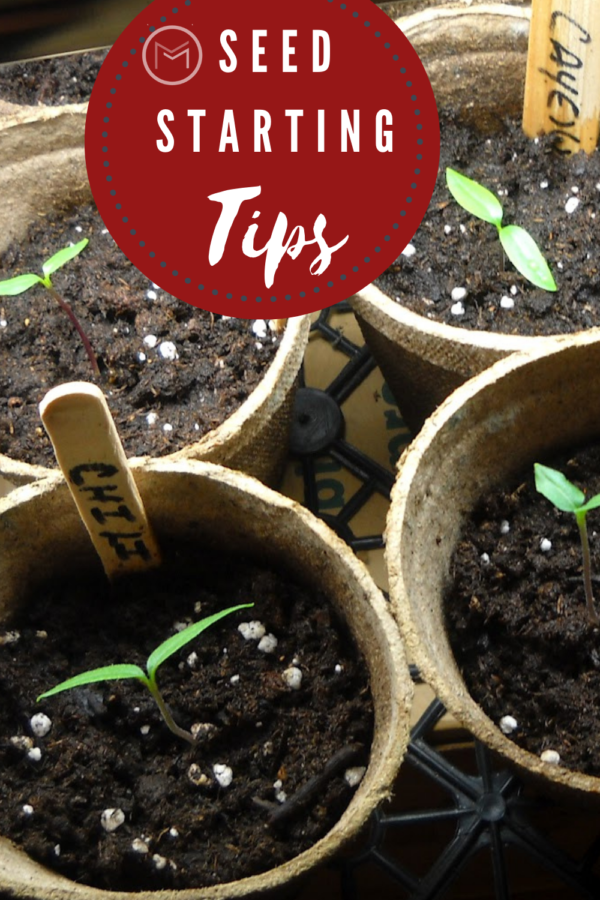
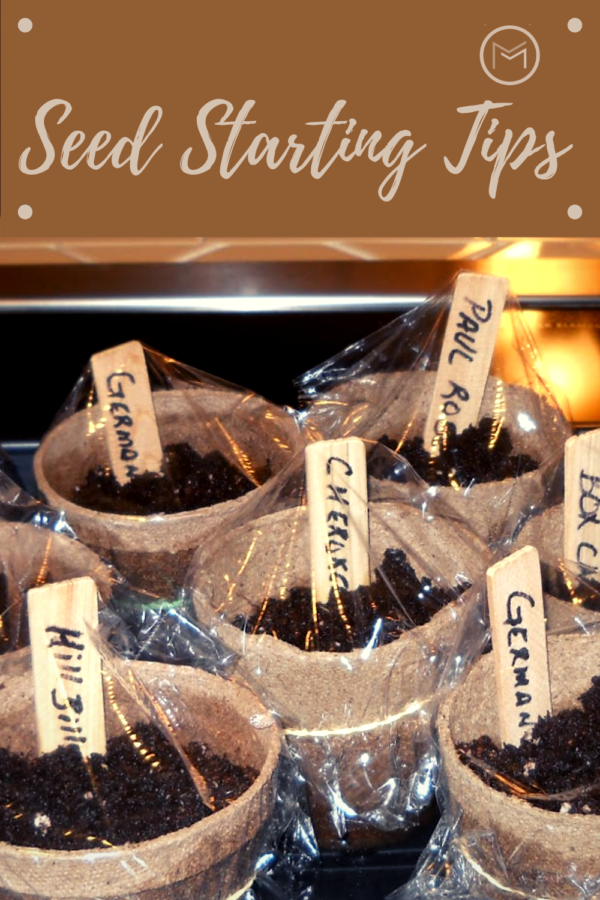
Mark Your Seedlings – Be sure to use planter markers so you will know what you planted.
Cover Seed Starter Pots – Cover your pots with saran wrap to help keep moisture in while your seeds are germinating. You can remove the saran wrap one the seed germinates. I simply place a piece of saran wrap over the pot and secure it with a light rubber band. When I see green, I remove the saran wrap. You want to see droplets on the plastic. That’s a sign that your pot contains the right moisture amount. If you don’t see a mist, gently spray the top of your pot. Once your seed germinate, remove them the heating mat and get them under the grow lights.
Pot Up When Needed – I use peat pots or pots from the nursery to start my seeds indoors. Sometimes plastic cups. If my plants outgrow the pots, I will transplant them to a bigger pot. You can use a 16 ounce cups or bigger pots for this step if you have them in smaller pots.
Hardening Off Plants – Seedlings that are started indoors must be acclimated to outdoor temperatures. See my post how to harden off your seedlings.


Speak Your Mind