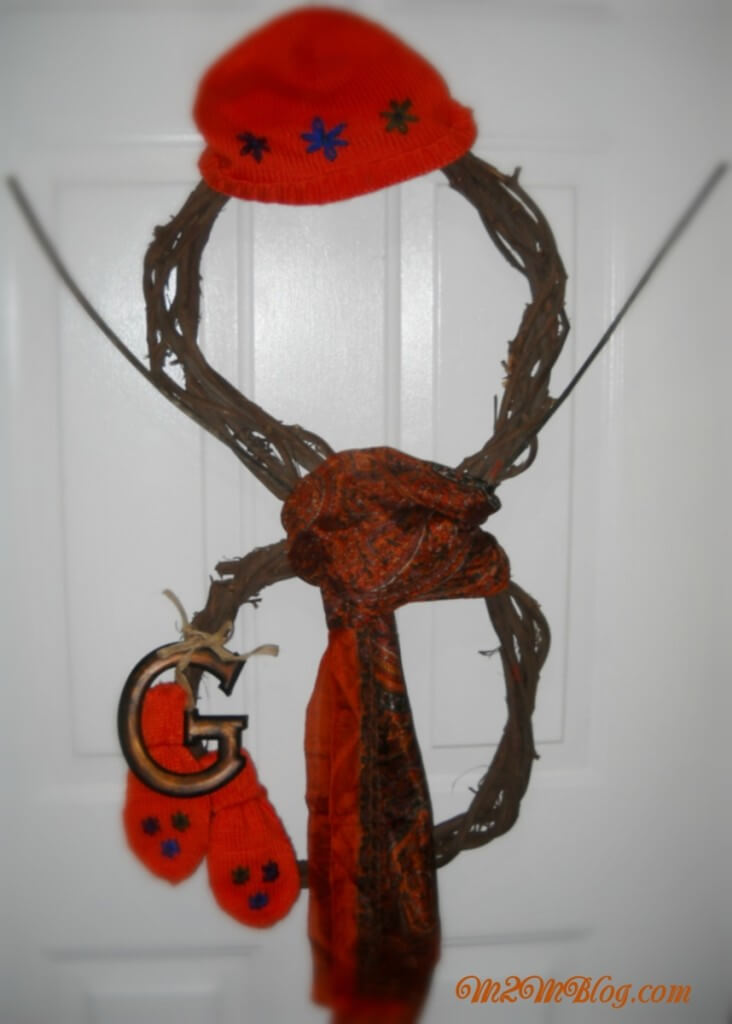
I love crafts, and when you’re buried under 3 feet of snow they sure keep you from going insane. This grapevine wreath snowman was put together in about 30 minutes during our latest blizzard. I know the storm was heading our way, so I headed to one of my favorite places for bargains, The Goodwill. I purchased the 2 grapevine wreaths, mittens, matching hat and scarf for $5.59. Afterwards, I headed to Michaels and nabbed the letter for $1.50 from the Bargain Ben. It was the perfect size and blended well with the accessories. Score!
You will need:
- 2 or 3 grapevine wreaths small to large (Check thrifts for bargains. Michaels is a good resource too. Print your 40% off coupon.)
- accessories (Dollar General or Family Dollar are good inexpensive resources too.)
- Letter (Optional)
- craft wire
Here’s the steps for making the snowman:
The grapevine wreaths that I used are the same size. For $2.00, I decided that I would make it work. I laid the wreath on newspaper before working. Grapevine wreaths are known to drop leaves and small pieces. I connected the 2 wreaths with the craft wire. I wrapped the wire around the two wreaths tightly to ensure they fit together nicely. Before taking any additional steps, I also added wire to the top so I could hang it. This is important.
I opted not to hot glue the mittens and hat to the wreath because the set is in excellent shape. So, I’ll donate them back to the Goodwill undamaged. Instead of using hot glue, I placed a piece of the thin craft wire carefully through the tops of each of the mittens. Next, I wrapped the ends of the wire that I threaded through the mittens around the wreath one at a time. Allow the top mitten to cover the wire from the second mitten.
Fortunately, the letter had a ribbon at the top. As a result, I cut it and tied it to the wreath so it would hide the craft wire on the top mitten. Next I tied the scarf around the section where the two wreaths meet. This scarf is silk, I plan to wear it in the summer and fall. You can use a wool scarf as well.
Adding the hat was tricky. I opened the hat and placed it over the wreath as best I could. Once I had the hat in place, I sprayed it with spray starch to help stiffen it so it would keep its shape. I allowed it to dry and sprayed it again and again. Once the hat was dry and stiff, I hung the wreath and added the twig arms.
Finally, you can make a cardboard top hat if this type proofs to be difficult and glue it to the wreath. Paint the cardboard hat either black or red and allow it to dry before placing it on the snowman. I love it, how about you.


