Snowman Preschool Math Game

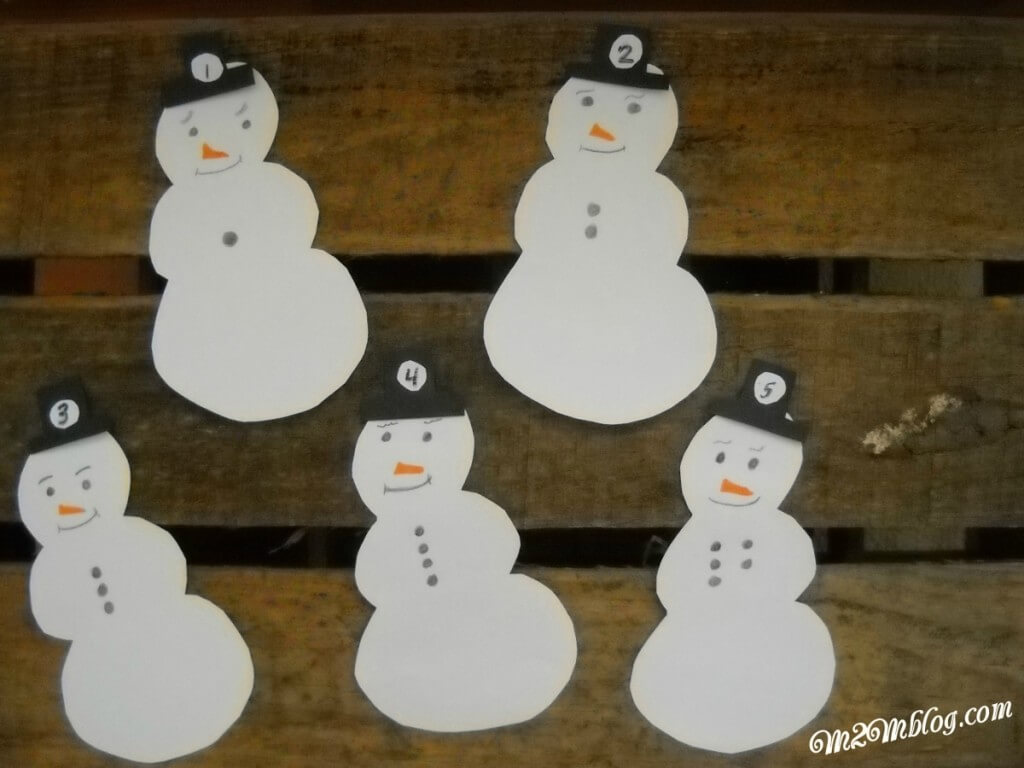
Today, I’m sharing parenting tips on creating our preschool math game.  This week we have a snowman preschool math game that will help your preschooler and or kindergartener count from 1 – 20.  The game helps the student learn by counting the buttons on the snowmen and learn number recognition by placing the correct hat on the snowman’s head.


preschool math activity sheet


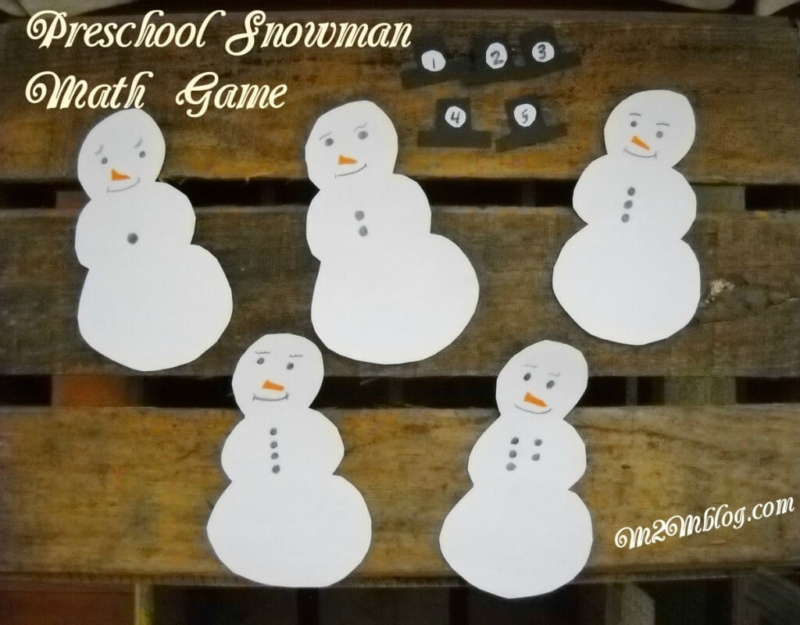
How to Create the Snowmen:

First, you will need the following items to make these adorable snowmen:

  • black and white construction paper or cardstock
  • black marker or pen
  • scissors
  • pencil for tracing
  • orange marker

First, I found it easier to make a sample snowman and top hat to trace and cut around.  I used construction paper from the dollar store to make the snowmen or printer paper will work too.  Next, I folded a sheet of construction paper in half and than folded it again. I placed the sample snowman on top of the folded sheet and cut around it.  I was able to create 4 snowmen at once using this method.  Since you will need 20 snowmen, this method cuts down on time.

Additionally, it was easier to use the cardstock for the top hat and cut out each one individually.  You will need a circle for each hat so you can write the number on it.  I suggest cutting out the small circles for the hat individually.  Afterwards, glue the circle on the hat and than allow it to dry before writing the number on the hat.

While the glue is drying, make the faces and draw the buttons on the body of the snowmen from 1 -10 or 1 – 20, depending on how many you wish to make.  My 9 year old grandson helped draw the faces and make the buttons on each snowman. Once the bodies are made, write the numbers on the hats.

preschool games, numbers games for preschoolers, winter activites, winter games


Image-Snowman-Counting-Game-6-10


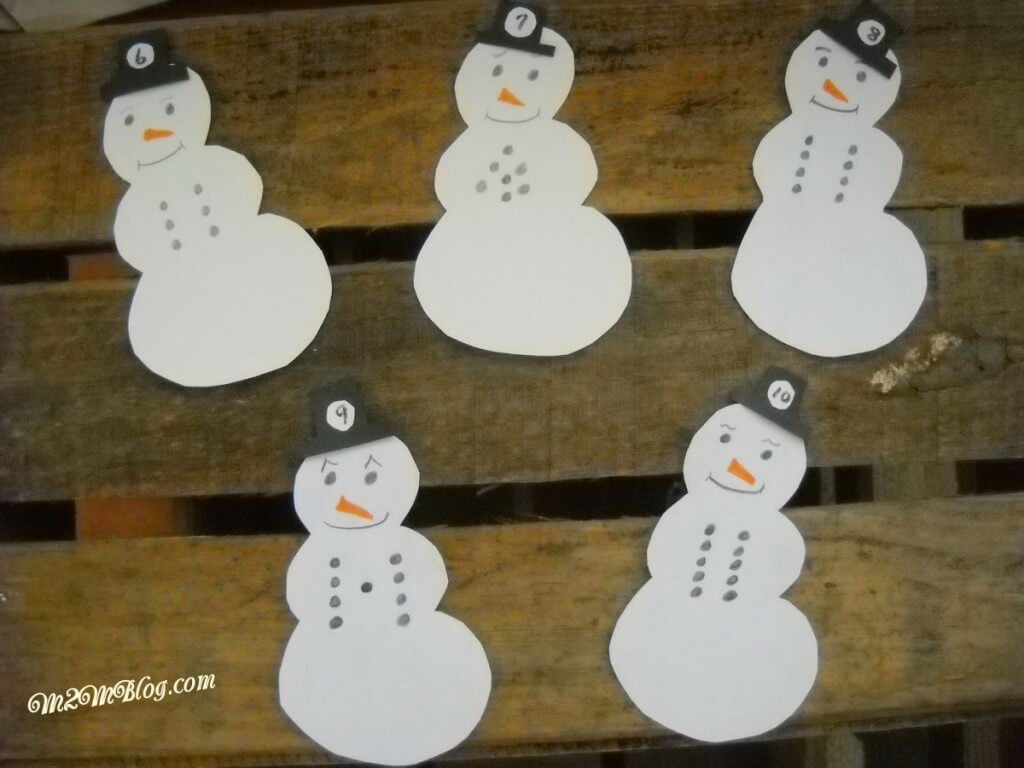
Last, teaching your child to count using this snowman preschool math game is not only educational, it will be fun.  Making education fun should be the goal. The goal is to count the buttons and than match the hat to the coordinating snowman.  If you have an older child like my 9 year old, let them count with your preschooler or kindergarten.  Finally, it’s a great way to teach them to count without getting bored.  So, stayed turned to our next snowman game.  You may also like Kid’s Winter Crafts for Kids.


How To Make a Grapevine Wreath Snowman

winter crafts, snowman crafts, grapevine wreaths


I love crafts, and when you’re buried under 3 feet of snow they sure keep you from going insane.  This grapevine wreath snowman was put together in about 30 minutes during our latest blizzard.  I know the storm was heading our way, so I headed to one of my favorite places for bargains, The Goodwill.  I purchased the 2 grapevine wreaths, mittens, matching hat and scarf for $5.59.  Afterwards, I headed to Michaels and nabbed the letter for $1.50 from the Bargain Ben.  It was the perfect size and blended well with the accessories. Score!

You will need:

  • 2 or 3 grapevine wreaths small to large (Check thrifts for bargains.  Michaels is a good resource too. Print your 40% off coupon.)
  • accessories (Dollar General or Family Dollar are good inexpensive resources too.)
  • Letter (Optional)
  • craft wire

Here’s the steps for making the snowman:

The grapevine wreaths that I used are the same size.  For $2.00, I decided that I would make it work. I laid the wreath on newspaper before working. Grapevine wreaths are known to drop leaves and small pieces. I connected the 2 wreaths with the craft wire.  I wrapped the wire around the two wreaths tightly to ensure they fit together nicely.  Before taking any additional steps, I also added wire to the top so I could hang it.  This is important.

I opted not to hot glue the mittens and hat to the wreath because the set is in excellent shape.   So, I’ll donate them back to the Goodwill undamaged.  Instead of using hot glue, I placed a piece of the thin craft wire carefully through the tops of each of the mittens.  Next, I wrapped the ends of the wire that I threaded through the mittens around the wreath one at a time.  Allow the top mitten to cover the wire from the second mitten.

Fortunately, the letter had a ribbon at the top.  As a result, I cut it and tied it to the wreath so it would hide the craft wire on the top mitten.  Next I tied the scarf around the section where the two wreaths meet. This scarf is silk, I plan to wear it in the summer and fall.  You can use a wool scarf as well.

Adding the hat was tricky.  I opened the hat and placed it over the wreath as best I could.  Once I had the hat in place, I sprayed it with spray starch to help stiffen it so it would keep its shape.  I allowed it to dry and sprayed it again and again.  Once the hat was dry and stiff, I hung the wreath and added the twig arms.

Finally, you can make a cardboard top hat if this type proofs to be difficult and glue it to the wreath.  Paint the cardboard hat either black or red and allow it to dry before placing it on the snowman. I love it, how about you.

Winter Word Search For Kids

kid's winter activities, kid's word search, kid's activities, kid's games


Winter doesn’t have to  mean boring.  Because it’s too cold for your children to play outside or they’re just about frozen because they’ve been out too long doesn’t end the excitement.  Just pull out Mother 2 Mother’s winter activities.   We’re developing a series of winter activities for preschoolers and up. Our games will be a nice change from normal indoor games like Monopoly, Uno and the list goes on.

Our Winter Word Search game and our Winter Craft Ideas will keep them busy for hours.  Associating words with winter can be fun and can occupy your kids for some time.  Pop a bowl of popcorn or serve their favorite hot chocolate drink. Top off the hot chocolate off with creamy marshmallows or this delicious whipped cream star.  Additionally, you can print off several copies and play as a family.  It’s also the perfect game to play when it’s snowing and the wind is howling.


For example, play in teams.  Give each team member the game and set a time limit in which they have to find the word.  There’s educational value in the hunt too. Use the word search game to enhance vocabulary words and spelling challenges.  There are 24 words in the puzzle. So be sure the kids find all of the words to complete the puzzle. Word search games also enhance problem solving skills.

Most importantly, word search helps with creative thinking skills.  Creative thinking requires us to look at problems in different ways.  When searching for words, you must look forward, diagonal, up, down, and backwards to find words.  Creative thinking includes using and looking at idea differently.  Playing the game in team with a time limit is a unique and creative way to play the game. 

Another way to use the game is to have your child challenge themselves.  Have them set a time limit and go against the clock.  If they’re not successful, they can set the timer again.  Be creative.  Just have fun.  Download the game hereYou may also like African American Inventors and Inventions Game


Painted Pine Cones Crafts

painted pine cones


First, I love using pinecones for crafts and decorating.  I think they make the room festive during the holidays.  Most importantly, they bring a touch of nature into your décor.  I’m laughing as I’m writing this post, I’m remembering my grandson seeing the pine cone one day.  He opened the back door and threw them out.  In his mind, pine cones belonged outside.  I think he may have been 3 or 4 at the time.

However, if you have pine trees on your property, gather a few to add your Christmas décor or to use them in other  crafts. I love free, and I love recycling items.

So, I decided to paint a few of the pine cones to use as a center piece during the holidays.  I needed to give my table a pop of color,  and I thought they would be fun.  And, I really love how the painted pine cones turned out.  I displayed them on an antique milk glass cake plate.  But, the possibilities are endless.  So, find some inspiration and get creative.  For example, you can fill a basket or glass container with the painted pine cones.  Paint them in your favorite colors, and display them on the mantel for a fall or winter display.  Or paint them in spring colors for Easter.

You will need the following items:

  • craft paint brushes
  • craft paints in your favorite colors
  • paper plate
  • newspaper to paint on
  • container for display

Next, I found it easier to just pour a dab of paint onto a paper plate.  I painted the edges of the pine cone with a small paint brush.  Use your favorite colors or you can paint the entire pine cone.  Afterwards, allow the painted pine cones to dry. Drying time is quick for this project.  Around 30 minutes should definitely be sufficient.  Once dry, display in your favorite place.

Last, this is a fun project to do with the kids.  You can expose them to nature by gathering the pine cones on a nature trip.  Afterwards you can paint them as a family project.