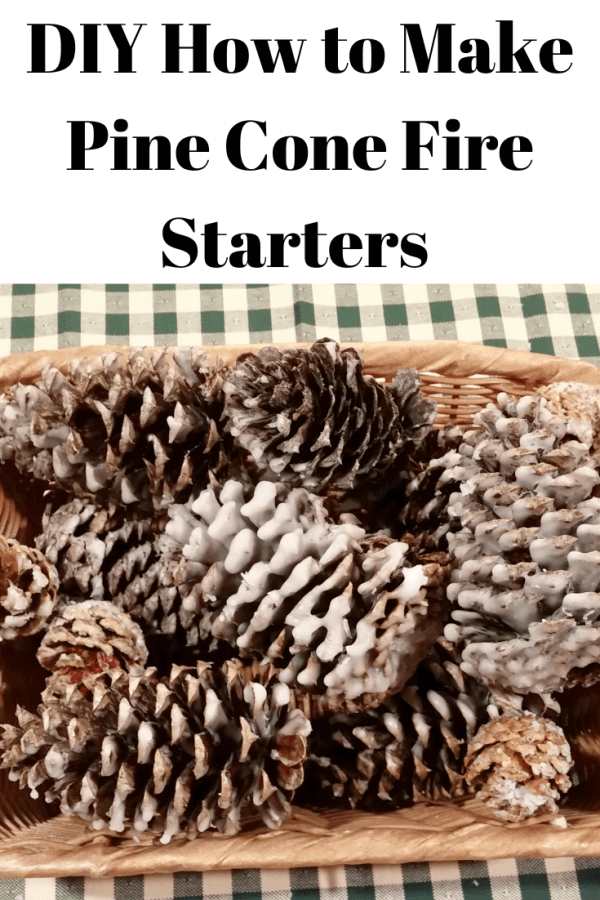
Fall is here! Today, I’m sharing tips on how to make pine cone fire starters. It’s the perfect time for a roaring fire in the fireplace or fire pit. Picture yourself sipping a cup of coffee, a glass of wine, making s’mores or roasting hot dogs with the kids, it doesn’t matter. Just get the fire started.
They’re perfect for camping or a wood burning fire place or stove too.
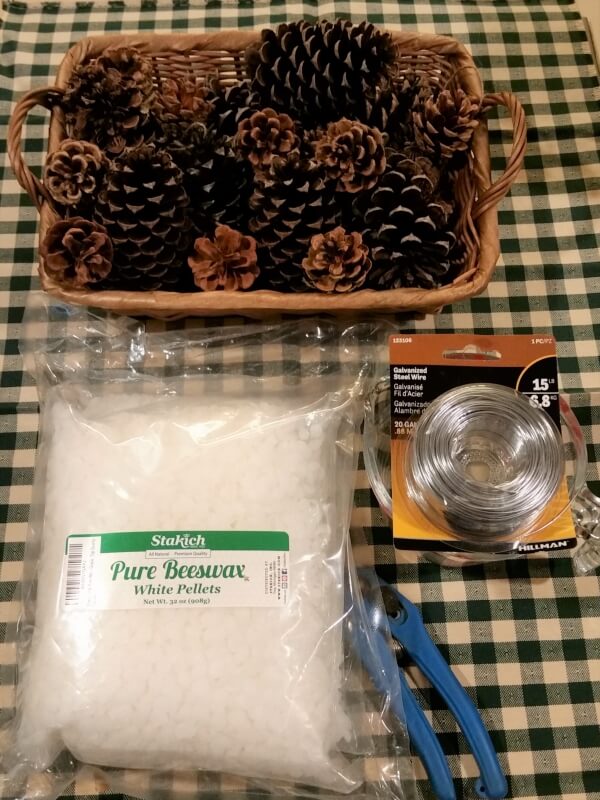
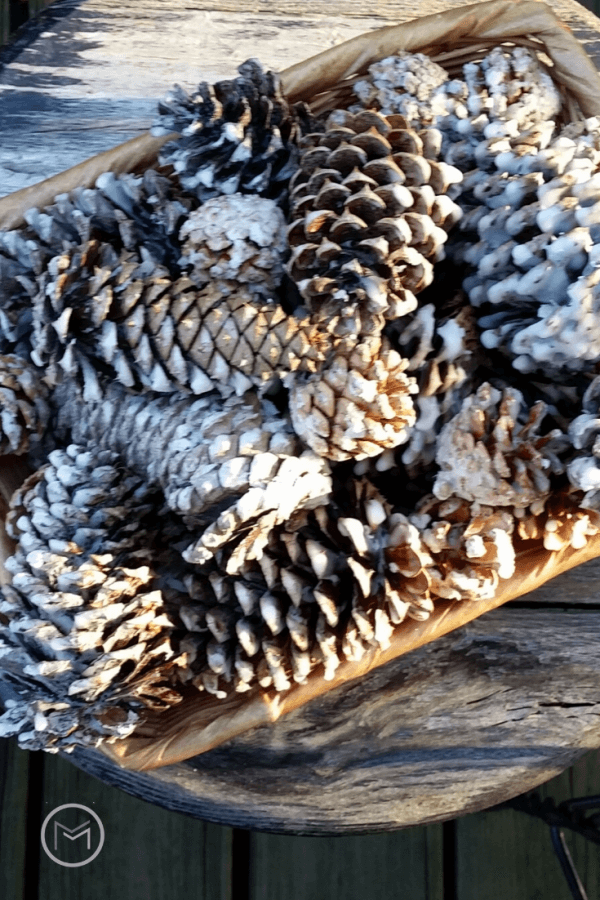
Next, spend an afternoon searching for pinecones in your backyard or neighborhood’s. My daughter has more pine cones than she could ever use in her yard, so I fill a basket when I visit. If you’re not lucky enough to have access to pine cones, you can purchase them. I used a variety of sizes in this batch.
You will also need:
- Small Pot
- Beeswax Pallets – 1lb.
- Galvanized Gauged Wire
- Cookie Sheet
- Wax Paper/Parchment Paper
- Cooling Rack
- Wire Cutters or Scissors
How to Make Pine Cone Fire Starters:
- Start simmering about 3 inches of water in a small pot.
- While the water is heating, wrap a piece of wire around the bottom of each pine cone as shown below. You will be use the wire to dip the pinecones into the wax. I purchased the 20 gauge galvanized wire. I prefer that weigh because its heavy enough to use on my wreaths for hanging, but also useful with other crafts.
- Slowly add a pound of the wax pellets to the pot. Allow the pellets to melt slowly and completely. Also, I used white pellets. I like the softness of the white wax. However, you may prefer yellow.
- Place the pine cones on a cooling rack after you dip them into the wax. I lined a cookie sheet with wax paper and placed a cooling rack on the cookie sheet.
- Allow the wax to harden before placing the pine cones back into the wax. I dipped each pine cone about 3 or 4 times.
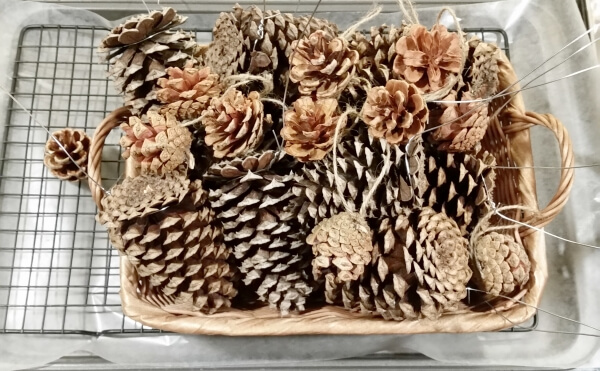
The smaller pine cones shown below are from the Dollar General. They were 12 for a $1.00 in the Christmas section, so I grabbed a few boxes to add to my pine cone stash. They have strings wrapped around them because they are Christmas tree ornaments. However, I just removed the strings before dipping them into the wax. I used an old spoon to place the smaller pine cones in the wax and to remove them from the pot. But, you can wrap the wire around them too.
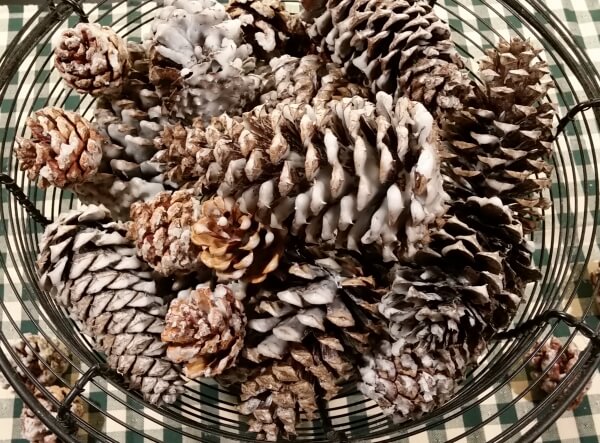
Once the wax hardened, I removed the wire. I love how the wax varies on each pine cone. I left some of the pine cones in the heated wax longer than others. You can get creative and add glitter while the wax is hardening or a fragrance oil to the pine cones. I use fragrance oils because they’re stronger than essential oils. Peppermint, Snickerdoodle, Cupcake, and Orange are a few of my favorites.
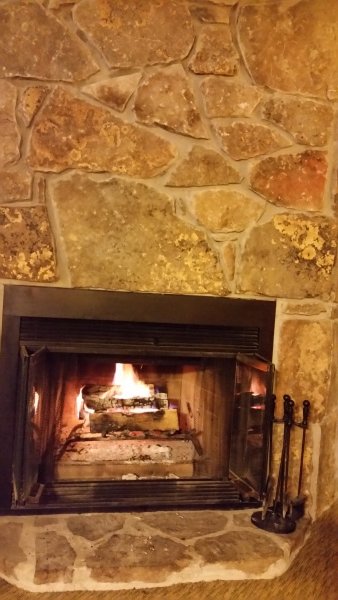
I head to the Smoky Mountains at the end of October each year. This is the wood burning fire place in the house where I relax for a week. I’ll be taking this batch of pine cone fire starters to use when I want a roaring fire. The weather is usually a little chilly, so the fire place is always a welcome feature. Make a few batches for your next camping trip, backyard fire pit or fireplace. You may also like: Sea Shell Embellished Picture Frames.