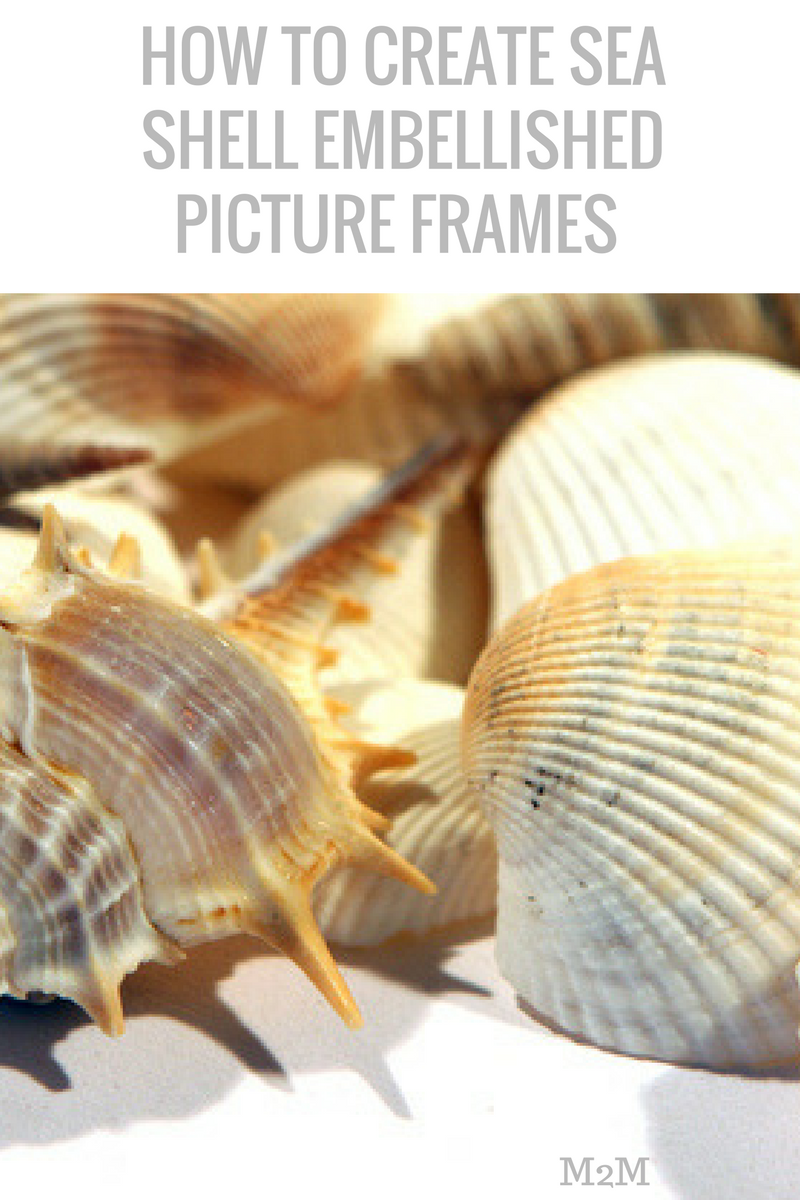
Wondering what to do with all the shells that you’ve collected from your trips to the beach? Why not make these sea shell picture frames. It’s a great project for a lazy day. Furthermore, you can make these with the children. They will make a great gift, and a nice display for your beach pictures.
So, I had bags of shells sitting around the house that I had collected with my grandson. As a result, I decided to use them to display beach pictures. I love how they turned out. As a matter of fact, I’m going to give these frames to my sister and daughter as Christmas gifts. Additionally, I see more being made on the horizon. I want a few for myself.
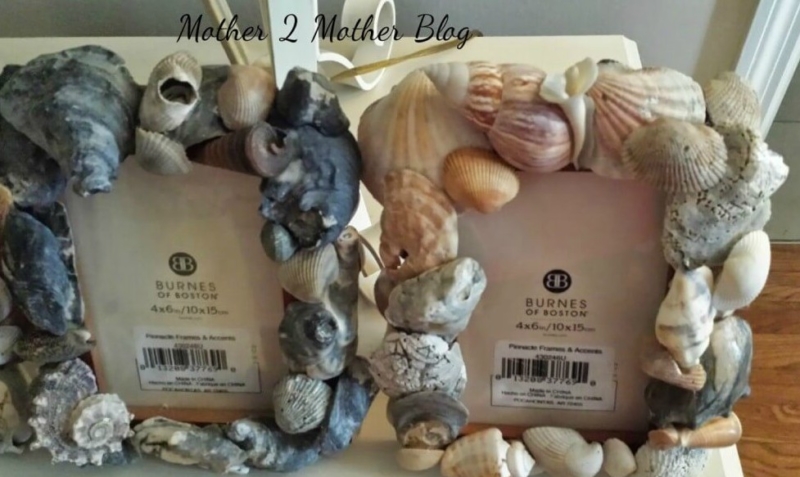
I love how they remind me of our walks on the beach looking for just the right shells. The frames will be a constant reminder and great conversation piece. I made these in an afternoon while watching TV. Here’s what you will need:
1. Clean shells – First, be sure to remove all sand and dirt from the shells. They will need to be washed thoroughly and than dried before you start creating your sea shell picture frames. Lay them on a paper towel to dry. I prepared mine the night before to ensure they would be dry enough to use the next day. So, make sure you plan ahead.
2. Hot glue gun – Second, my glue gun gets lots of use. I use a mini for my projects, it’s easier to control. Make sure you have enough glue sticks. I purchased a pack of 20, which was sufficient for my 4×6 frames.
3. Frames – Next, decide on the size of the pictures that you want to use and purchase accordingly. I purchased 4 x 6 frames from the Dollar Tree. I didn’t want to purchase expense frames to glue shells onto them. Most importantly, purchase a frame with a flat surface so the shells will adhere easily.
Additionally, here’s a few tips when creating your sea shell picture frames:
1. Decide if you’re going to set your frame vertical or horizontally. This is important, you don’t want to place shells on the bottom of the frame (the end that will be sitting on your table, fireplace etc). It will interfere in your frame being able to sit with out tipping over.
2. Place your large shells first and fill in with smaller shells.
3. If you’re going to make your frames by color, separate them before you begin your project.
4. Play with your shells before gluing them to ensure they will fit in the space you’re working with.
5. Have fun placing your shells. There’s no right or wrong design, so make your frame uniquely yours.
Last, I’m off to gather my beach pictures so I can have them printed. This my friends is the reason they are not in the frames, lol. Most importantly, I hope you enjoyed our sea shell picture frames project. Finally, be sure to collect shells on your next trip to the beach. It’s a great way to display a few memories.


