Preventing Blossom End Rot In Your Garden

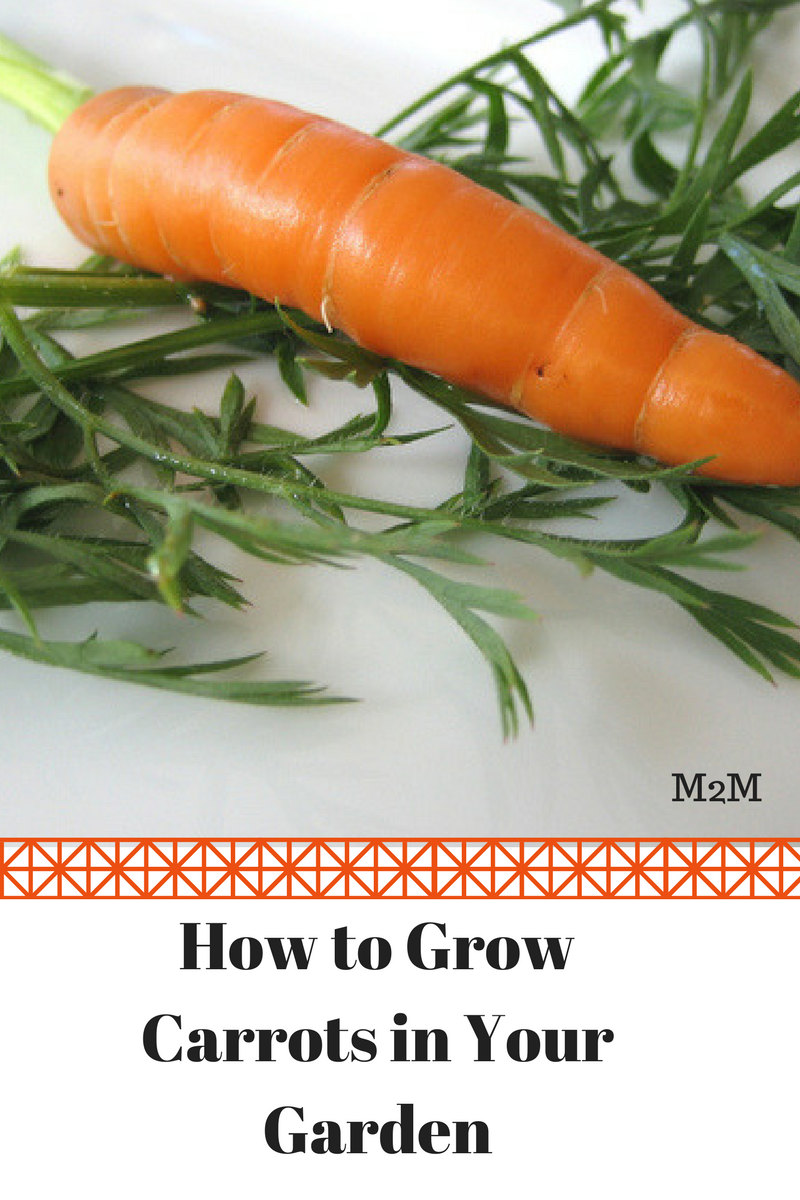
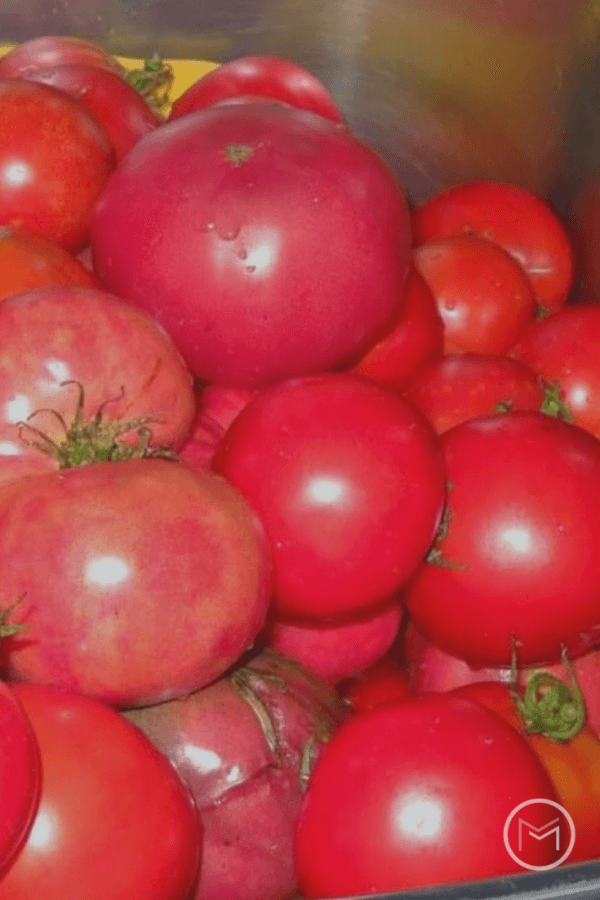
Today, I’m sharing tips on preventing blossom end rot.   Backyard vegetable gardening can be fun and beneficial to your health.  And, there’s nothing better than a backyard garden home grown tomato.  Gardeners drool just thinking about the first vine ripen tomato for the BLT, salad or other recipe.

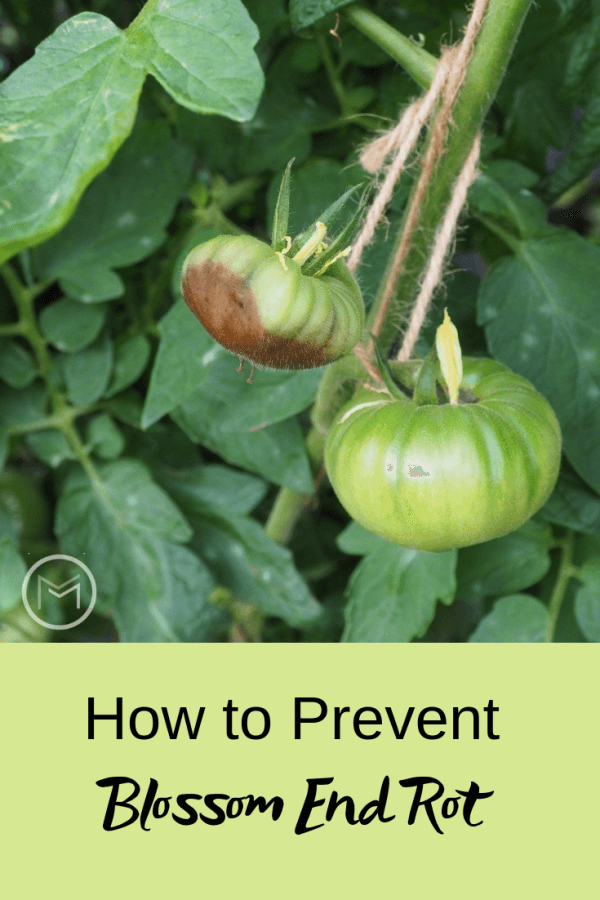
Unfortunately, growing a successful backyard vegetable gardens requires love, care and skill.  When we see those black spots on the bottom of our tomatoes, squash, and peppers, it can be devastating.


backyard gardening


Preventing Blossom End Rot:


In order to prevent blossom end rot, a gardener needs to understand the problem.  Blossom end rot is a result of a calcium deficiency.  Fortunately, gardeners can take care of the problem before it occurs.   Here are few tips that will help you avoid a ruined backyard garden crop:

Prepare your soil before you plant  –  Test your soil before you plant your garden.  Doing a soil test will let you know about any deficiencies.  You can purchase a kit or take samples to you local county Extension Office.

Add calcium to your plant – I add eggshells to the bottom of the transplant holes when I plant my tomatoes and peppers.  I save eggshells throughout the yard, wash and dry them thoroughly, and crush them to use in the garden.  I also use the eggshells to provide calcium for my backyard birds during the spring when they’re laying eggs too.

You can also add Epsom Salt to the tomato and pepper hole before adding your plants too.  Once you add the Epsom Salt, cover it with a layer of salt before adding your plants.  You don’t want to burn the roots of your plants.

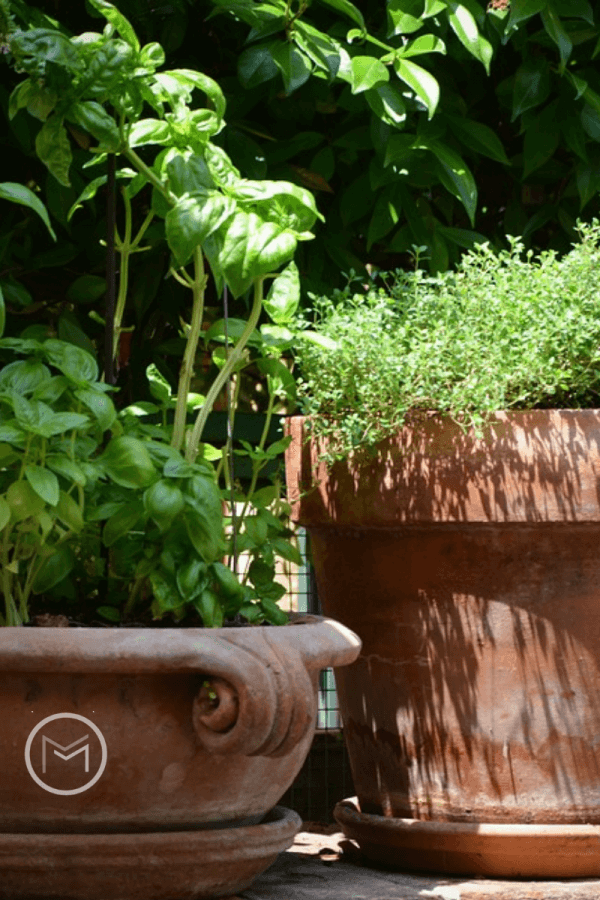
Make sure you don’t over or under water plantsUsing a mulch will help maintain an even water level.  I use straw to mulch my plants.  Dried grass or leaves can also be used.

Stake plants early – When I plant my tomatoes and peppers, I place the cage around them or stake them immediately.  This avoids damaging the roots of the plants later.

Avoid damaging your plant’s roots – Avoid using a hoe around your plants once they are planted.  Simply removing weeds by hand will suffice.

Work eggshells into the soil around the plants – Work eggshells into the soil around your plant after you transplant it to add a top dressing.


Remember, prevention is the best medicine for a backyard garden.  However, checking for early signs on your fruit is key too.  If you spot the disease early follow these steps:

Remove the affected vegetables from the plant – Clip the diseased fruit from the plant with a pair of sharp scissors or clippers.

Make a calcium spray  – Spray your plants with an organic calcium spray.  Mix 2 tablespoons of Epsom Salt to a gallon of water.  Use a spray bottle to spray your plants.


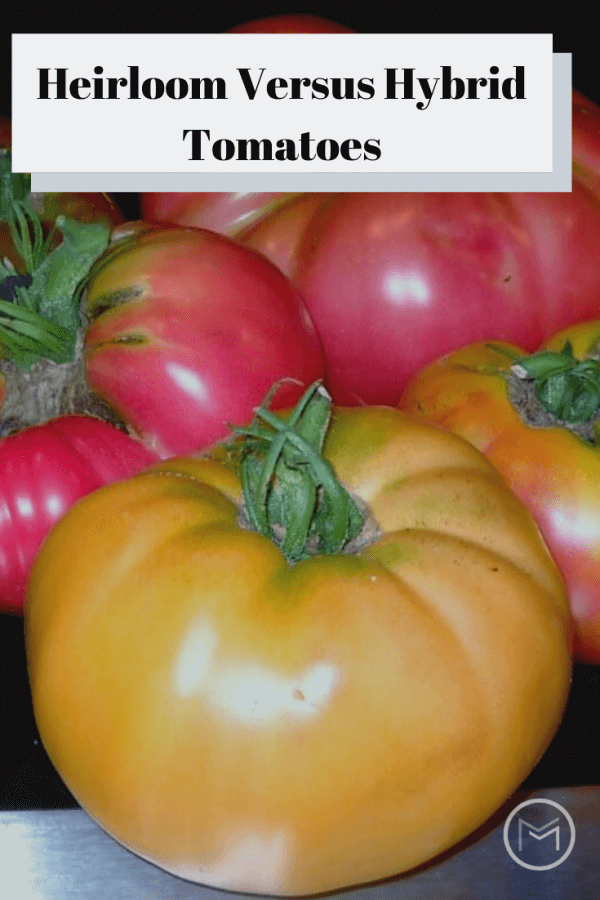
I hope you grow a bumper crop of tomatoes this season.  You may also like:  Favorite Heirloom Tomatoes and Characteristics 


How to Grow Carrots in Your Garden

Today, I’m sharing tips on how to grow carrots in your backyard garden.  A backyard vegetable garden is the perfect place for you and the kids to grow yummy carrots.  They are a great snack and wonderful in soups, stews and other dishes. Carrots  are a root vegetable, which are a rich source of vitamins and a favorite food of many people.  However, growing carrots is not simple.   

Growing carrots requires more of a challenge than you might think.  It would be a pity if your achievements turn out small in size or their taste is not appealing.  So. if you intend to plant carrots, you need to know some useful tips to make sure that they will grow steadily.


gardening tips

Here’s how to grow carrots:


When and Where Should You Grow Carrots?

You can sow the carrot seeds from March to August because it’s a good time to receive enough sunlight and moisture from rain water. In case you want to grow carrots in the winter, you can plant them in the greenhouse.  Carrots can develop ideally in the fertile soil and a sunny location.  If the soil in your garden is stony or clay, you may need to plant short root carrot varieties such as Carson or Parmex.


How to Grow Carrots in Your Garden

If you carry out the following steps, you can harvest your carrots as you expect.

  1. Remove any weeds from the soil before you sow the seeds.
  2. Use a stick to make rows of 1 cm in depth and leave 30 cm for each row.
  3. Sow your carrot seeds thinly along the row to make sure that every single seed can receive enough nutrients, light, and moisture.
  4. Pull the soil at the edges of the row back to cover your carrot seeds.
  5. Water the area.


how to grow carrots


How to Take Care of Carrots

  • Water at least once a week
  • Make sure the soil is draining well.
  • If plants are taller than 3 inches, cut the top.
  • After 1.5 months, fertilize the carrots
  • Always eliminate weeds around the area where the carrot is growing


How to get rid of pest from carrots

  • Carrot rust fly and carrot weevils: The eggs of these insects can impede the growth of your carrots. They also take nutrients from your plants. One effective way to eliminate these eggs is to change the locations of your plants each year.  Or, you can grow them under row covers.
  • Footed Pests: Lots of animals want to eat the leaves of carrots, while the others tend to dig deeper to try the roots. The thumb rule to get rid of the pests is to keep them away from the growing area.  In this case, building a fence surrounding your plants is the best way.
  • Diseases: Some bacteria cause carrots to yellow, soft rot, leaf blight, and so on. You need to remove all the diseased carrots or change to a new location the next season.


Harvest carrots

Once you learn how to grow carrots, you can harvest them within 50-75 days.  However, read the harvest guide on the seed package.  Remember that carrots will get their full sweetness when they are mature.


How to Grow Carrots


You can dig the carrots before the first frost by softening the soil. Simply water the growing area.  Afterwards, you can pull the carrots up.  Enjoy the great feeling of eating your carrots with tomatoes as a salsa or cook them in your favorite recipes.

We hope you have found our tips on how to grow carrots useful. So, purchase a pack of carrots and start planting.  You will be excited about watching your carrots grow and you will enjoy eating fresh and cooked carrots.  If you have questions or just want to share your tips, please leave a comment.

——————

Author Bio

Richard Clayton

Richard Clayton of My Greenery Life.  It’s a place, where we can discuss everything about lawn care, DIY gardening and critter control topics.

Tips To Help Save The Planet

Do you celebrate Earth Day?  Many people think it’s the big sweeping changes that will make an impact on the environment.  However, it’s really the little things that matter. When millions of people participate, they add up fast.  You can start recycling and upcycling in your backyard vegetable garden.  We have easy tips from landscaping experts, Rubber Mulch, to help you get started.   Every small action is part of the engine of positive environmental change!  Lets get started.  


earth day


Collect rainwater to help keep the garden green, even during a drought

A rain barrel will collect excess rainwater.  Something that can both protect and enhance your garden. It will help prevent flooding in low lying parts of the garden.  Additionally,  it will allow you to water your plants and flowers, guilt free, and with no impact to your water bill. Even during a drought, you can maintain your garden’s fresh and beautiful look. Tip –  Install a screen on the top of the barrel to keep pests and bugs out!

Bring on the Good Bugs!

There are several varieties of insects that are good for your garden.  You can encourage them to pay your plants and flowers a visit.  For example, ladybugs and lacewing flies love two things brightly colored flowers.  They also like sunflowers, marigolds  and plant destroying aphids. The former attracts the ladybugs and flies and the latter becomes their lunch!

So, how do you encourage the good bugs to visit your garden? Plant colorful flowers. They’ll see them like a botanical drive-thru window.


Do you like a little Irish Spring in the shower?

Buy two bars of Irish Spring soap. When you’re in the garden, shave a little of the first bar around your perennial plants and flowers.  Small, furry critters don’t care for it. It’s an inexpensive deterrent that smells a whole lot better than many of the products sold at the garden center.

When you’re done all your gardening efforts for the put it to good use on yourself. Its win-win!


Cornbread anyone?

If you’re partial to using corn meal gluten in your kitchen, you might want to use some in your garden. To keep weed  from germinating and growing into full fledged plants, sprinkle some corn meal around your flowers. The gluten will prevent any seed from germinating.  However, avoid it in your vegetable patch or nary a tomato will you grow.

Do you already have some weeds growing? A pinch of salt at the base of weed will kill it naturally.  Also, snails and slugs are slimy but oddly, they don’t care for man made slime!  As a result, spread some petroleum jelly on the edges of your pots and planters.  It will save your plants from becoming an all-a-snail-can-eat buffet.

Reuse milk jugs and plastic bottles

We all have too many of them in the house.  However, most can be recycled.   But you can also put a few of them to good use in the garden. You can keep your early spring seedlings safe from sudden frosts or other harsh weather.  Cut  the bottom from the jug or bottles and placing them over top of the seedling. This will protect them from threats of spring frost or hail. Just don’t forget to remove them when the good weather arrives.  The plants can benefit from the full and healthful effects of sun and rain!


Mulch much?

Mulching is so important for your garden! It protects plants from pests and weeds.  And it helps the plants retain moisture and the necessary minerals from the earth. Mulch helps cut down on the time and energy you spend maintaining the garden and plant beds. Take it to another level by using a sustainable and long lasting Rubber Mulch. They are made from recycled rubber tires. You can’t get more friendly to your garden and the earth than that!


Epsom salts for the garden?

So, did you know that Epsom salt is a perfect natural fertilizer? They will help keep your garden plants green, your flowers grow in abundance and balance the levels of magnesium in your soil.  An important mineral for your garden’s happiness. And then you can put some in your hot bath and relax those tired muscles after a day of tending to your beautiful garden!


Coffee grounds and eggshells are compost gold!

Who knew being addicted to coffee could end up being good for the garden? Coffee grounds that are placed in the earth or the compost, to a depth of 6 to 8 inches, can do a lot of good. The grounds provide phosphorus, potassium, magnesium and copper, all of which your soil needs.  They will release nitrogen into the soil.  Nitrogen is another essential compound for a healthy garden.  Sprinkle some as mulch at the base of your hydrangea plants and your pink flowers will turn blue as the grounds alter the PH levels of the soil!


Eggshells are good for your garden too:

1.     Eggshells are composed of 96% calcium carbonate so they can give your compost that hit of calcium it needs. Pepper and tomato plants love calcium!

2.     Crushed eggshells are sharp! Sprinkle some around your plants to deter pests like slugs and snails from munching on your growing garden.

These tips are things that we can all do to help our gardens grow and our earth to sustain itself.


RubberMulch.com is the original and environmentally responsible mulch made from 100% recycled rubber used in gardens, playgrounds and sustainable landscaping. Rubber Mulch is weather resistant, durable, and the most cost effective mulch around.  It protects children from falls on the playground. Rubber Mulch helps homeowners increase the curb appeal of their house and create the home and garden they have always dreamed of.

Soft Versus Hard Kitchen Garden Herbs

First, backyard vegetables gardening must include kitchen garden herbs.  They enhance the flavor of sauces, salads and other dishes.  But, before you plant or purchase your herbs, learn the difference between soft and hard herbs.  Also know their uses.  For example, soft herbs are leafy, tender and best used fresh.  Fresh herbs enhance the flavor and appearance of dishes.  Soft herbs can be used in sauces, salads, potatoes, and greatly enhances the taste, appearance and nutritional value of the food.


Here’s a list of soft herbs:

  • Basil (Sweet, Spicy, Genovese, Lemon, Lime, Cinnamon, Dark Opal and Thai to name a few).
  • Parsley – (Curly or Flat)
  • Cilantro
  • Tarragon
  • Fennel
  • Chives
  • Mint


kitchen garden herbs


Hard herbs are considered more flavorful than soft herbs.  Additionally, these herbs are added to dishes that require long, slow cooking, such as soups, stews, casseroles and roasts.  Hard herbs are removed before serving the dish.  Here are a few herbs that fall into this category:

  • Rosemary 
  • Thyme
  • Marjoram
  • Oregano
  • Dill
  • Bay Leaves
  • Sage
  • Mint (Chocolate, Orange, Strawberry,  Julep)


kitchen garden herbs

Most importantly, if you are planting mint remember that it is invasive.  So, I recommend that you plant this herb in a container to keep it from spreading. You should know, dill is know to reseed year after year.  So, be selective on where you plant it as well.  Additionally, you can plant various herbs in mason jars or small containers for use during the winter.  Find a few small pots, and place them in your window sill.

Another idea, use fresh basil, oregano, sage and rosemary in the winter from your window sill plants.  As a result, use them when cooking soups, stews, casseroles and roasts.  Also, herbs are perfect in these dishes.  I freeze and dry my basil and parsley.

Last, if you have limited space decide which herbs you will most likely use.  In conclusion, plant plenty and preserve them for later use. What herbs do you use most?  These are the herbs you should grow.


Heirloom Tomatoes Versus Hybrid Tomatoes

Today, I’m sharing gardening tips on heirloom tomatoes versus hybrid tomatoes.  First, there’s nothing better than home grown tomatoes. Although my preference is  heirloom tomatoes, I also grow hybrid tomatoes.  Are you wondering what the difference is between heirloom tomatoes versus hybrid tomatoes?  Personally, I prefer heirlooms because they have a larger selection, they are more flavorful and are great for seed saving.


Heirloom tomatoes


Since gardening season is around the corner, it’s time to decide what tomatoes you want to grow.  You can grow them them on your patio or in your home garden.  I’ve put together a list of heirloom tomatoes that I’ve grown over the years.  But, do your homework and than choose a few varieties that interest you to grow in your garden.  Some tomatoes are great for slicing, some for salads, some for sauces and some for paste.  What do you want to do with your homegrown tomatoes?  Ask yourself this question before you choose.

Next, here’s a list of my favorite heirloom tomatoes:

  • Paul Robeson
  • Brandywine – Pink and Red
  • Cherokee Purple
  • Paul Robeson
  • German Johnson
  • Beefsteak
  • Black Krim
  • Hillbilly
  • Mortgage Lifter
  • Amish Paste – Meaty and great for sauce and salsa.
  • Boxcar Willie
  • Kellogg’s Breakfast
  • Delicious
  • Homestead
  • Roma
Fortunately, there are hundreds of heirloom tomatoes to choose from.  So, the above list are just a few that you can find in my backyard garden.  I try a new variety each season so my list will continue to grow.


garden tomatoes


My favorite hybrid tomatoes are:

  • Celebrity
  • Early Girl
  • Better Boy
  • Sweet 100 – My favorite in salads.
  • Big Boy


Additionally, the difference between a hybrid and heirloom tomatoes is that hybrids are a cross between two genetically different tomato varieties.  The plant produced next season could be from one or the other parent.  Heirlooms will produce the same result year after year.  As a result, I don’t save hybrid seeds.  I like to know exactly what I will be growing in my backyard vegetable garden.


There are a few disadvantages to growing heirloom tomatoes:

  • They must be heavily staked and/or caged.  The vines are vigorous and will grow wildly if not contained.
  • They are also known to crack easy and they are tender.
  • They are also not the prettiest in shape, but the colors are beautiful.
  • It takes longer to produce fruit.
  • You don’t find them on grocery store shelves.


Last, although there are disadvantages, heirloom tomatoes still win out in my backyard.

You may also like  Growing Heirloom Tomatoes

Grow Your Own: 13 Money Saving Fruits and Vegetables

A must for my backyard vegetable gardening are vegetables that I can preserve for meals and herbs for seasoning sauces and other dishes. Each season I select the top money saving fruits and vegetables that I need to plant in my kitchen gardening. Budgeting and doing things in the most efficient and frugal way is my motto.  Additionally, I also plant a few fruits that I can enjoy in the summer.   They taste so much better when they are in season.  Because I grow my own, I don’t have to purchase from the grocery store.  Which saves me money.

garden tips, gardening, money saving tips


Here’s my top 13 money saving fruits and vegetables:


  1. Tomatoes – I plant and harvest enough to preserve whole or quartered for soup.  I also make sauces for spaghetti and other pasta dishes, chili, and salsa. I also grow cherry tomatoes for salads and snacking.
  2. Peppers – I pickle and freeze them. Great in dishes, on sandwiches and on top of nachos and cheese.
  3. Zucchini – I make fresh muffins and zucchini bread.
  4. Green Beans – I freeze green beans for soup and for other side dishes during the winter.
  5. Onions – A majority of my dishes call for onions, so I preserve these for using during the winter.
  6. Garlic – Fresh garlic is great in salsa and sauces.
  7. Herbs – I dry my herbs for winter use.
  8. Potatoes – Red and Yukon Gold potatoes get plenty of use in my house.
  9. Cucumbers – Great for salads and homemade pickles.
  10. Lettuce – I grow leaf lettuce for sandwiches and salads during the summer.
  11. Strawberries – Great for jam.
  12. Watermelon – I love fresh watermelon on a hot summer day. I grow Sugar Babies.
  13. Cantaloupe –  Great breakfast fruit.


Backyard Garden Tips


So, this is a picture of one my Sugar Baby watermelons from my backyard vegetable garden.  I picked it at the peak of ripeness and chilled it for a few hours.  It was sweet and delicious.  It’s great being able to walk to your garden and pick a watermelon or cantaloupe on a hot summer day.  What does your family eat most from your kitchen garden or containers?  These are the veggies that you should plant. You will save money on your grocery store bill and they will taste much better.
 You may also like:  Kitchen Garden Sowing Schedule                         15 Ways To Save Money

How To Pickle Peppers From Your Backyard Garden

 Today I’ll be showing you How to Pickle Peppers.   Do you like hot peppers on your sandwiches, nachos, in beans, salads, or dips? They’ll be as fresh months from now as they are today if you pickle them.   My daughter loves them straight from the jar.  She actually asked if I would mail her a few jars through the mail.  I declined that request, but I do take  jars when I visit her.  My daughter’s sister-in-law is a fan too.  So pickling peppers is one of my top backyard vegetable gardening tasks.  


Pickled Peppers


This batch is a combination of:

  •  Hungarian Wax
  •  Sweet Banana
  •  Chilies
  •  Jalapeno
  •  White Belle


However, any combination will work.  So, I throw whatever peppers are ripe in the garden into the bowl.  Some people prefer to use jalapeno peppers only, but I like to broaden my horizons.  I make a homemade pickling broth to cover my peppers.  You will need to prepare your canner for this recipe.  


Here’s the broth recipe for the pickled peppers:  

You may have to double the recipe depending on how many jars you will be canning:

  • 1 cup water
  • 4 cups of white vinegar
  • 1/2 cup of Kosher salt


Here’s the steps to canning the pickled peppers:

  • Bring the broth to a boil.
  • Add a teaspoon of pickling spice to the bottom of 1/2 pint sterilized jars.
  • Pack the jars with peppers and pour the pickling broth over the peppers.
  • Prepare them for a hot water bath by removing the bubbles with a plastic knife.
  • Take the knife around the jar a few times and ensure the peppers are packed tightly.  Wipe the rims of each jar with a clean cloth.  Place the sterilized lids and rims on each jar.
  • Water bath for 15 minutes.  They are delicious.


*Note – Do not use blemished peppers when canning your produce.  Make sure all of the peppers are blemish free and solid.  I hope you enjoyed the post on How to Pickle Peppers.