Tips For a Healthy Garden

Gardening can be tremendously therapeutic and good for the soul.  However, it is natural that problems will arise. You could be putting in love, time, and money, but still end up seeing your beloved plants suffer.  Today, I have gardening tips that will get your garden healthy and happy.  After all, every gardener can use tips for a healthy garden


garden tips


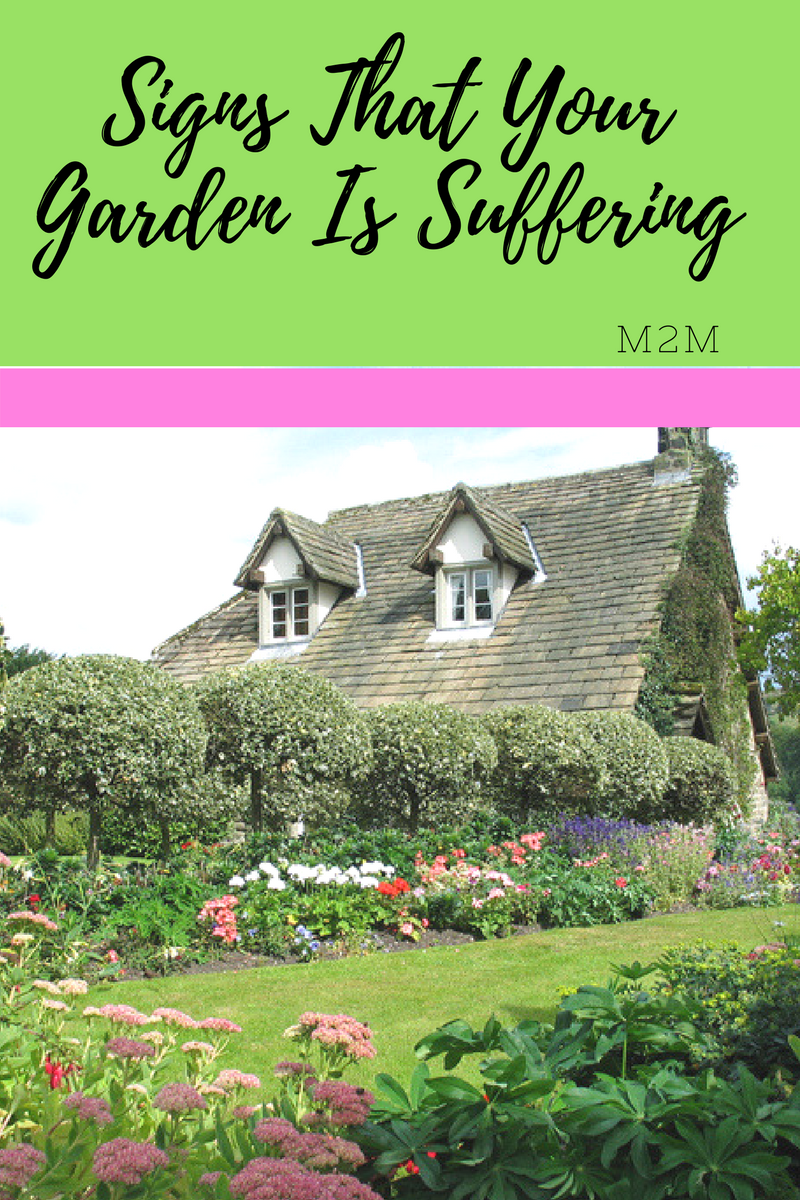
Here are a few signs that your garden might be suffering and solutions:

The birds aren’t coming

Many of us enjoy casual birdwatching.  So, it can be troubling when the birds don’t come. One of the most common causes of birds refusing to come to your garden is that they don’t feel safe.  Do you have a cat or dog?  Or does your neighbor?  Try to place your feeder higher from the ground and out of reach of any ground-dwelling animals.  You should soon see them start to come to your backyard feeders. 


garden tips


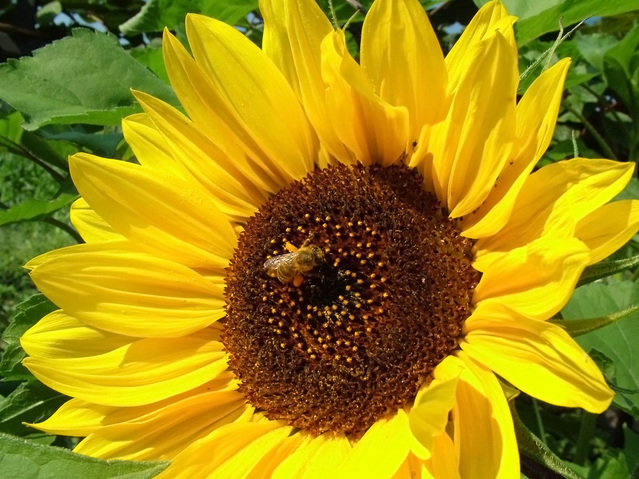
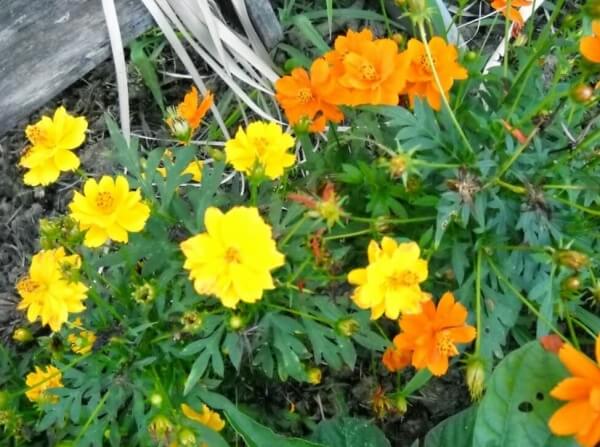
The bees aren’t coming

If your garden plants are flowering, but the fruit never seems to materialize, it probably means the bees aren’t coming. We need bees to move from flower to flower.  When they do, they are taking the pollen with them.  As a result, the plants can repopulate.  If doesn’t happen then the plant doesn’t fruit. The best way to counteract this problem is by adding more flowers. The more flowers you have, the most bees will be attracted to your garden, it’s as simple as that!

The trees don’t look right

Trees, just like humans, are susceptible to diseases.  Some are easily treated with fungicides, but others will need more professional intervention by people such as http://www.treeservicefortworth.org/tree-disease. They will be able to diagnose the problem and suggest treatment. Tell-tale signs include spots on the leaves, swellings and knots in the bark, changes in the rate of growth, and unseasonal color changes. If you have any concerns, it’s always best to speak to a professional for advice.


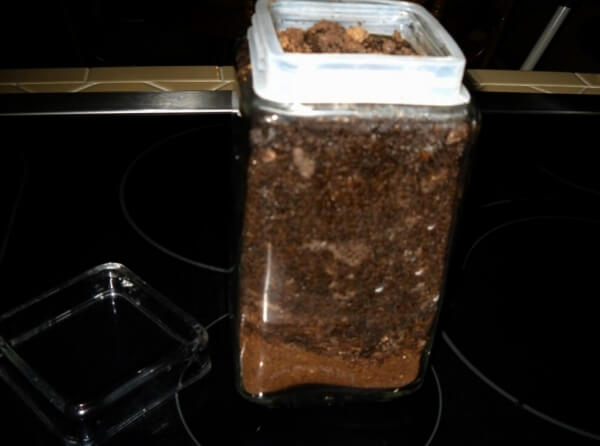
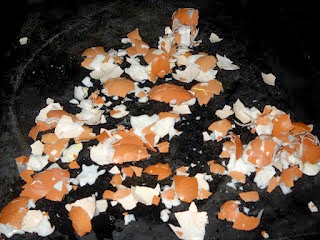
The moss is taking over

Moss can be a great addition to a garden for covering unattractive sections, and making it feel more natural and wild. But if moss seems to be taking over in areas where you don’t want it, it could be due to the soil.  Your soil could be too acidic. This is an easy one to solve. All you need to do is include some wood ash into the soil.  It will balance its pH, making it less hospitable for moss

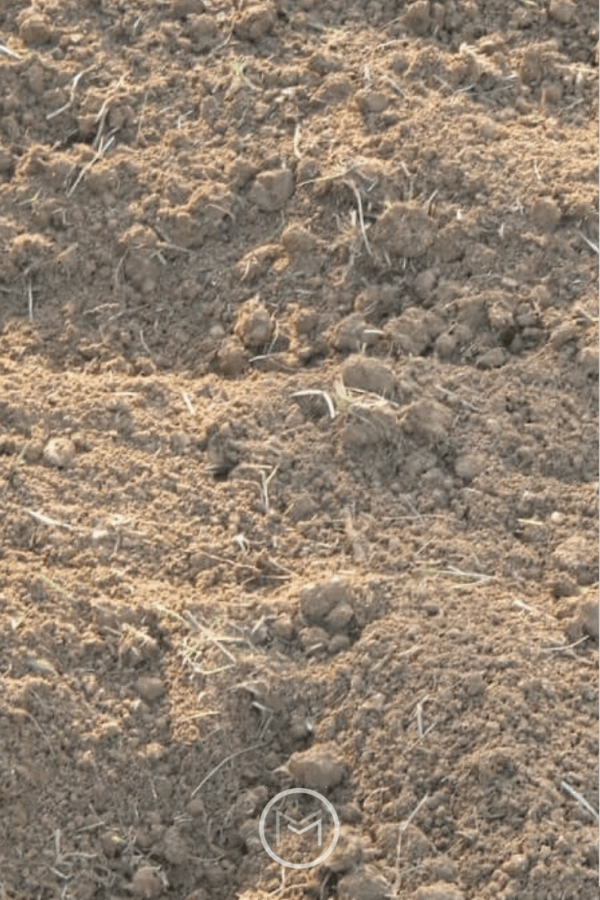
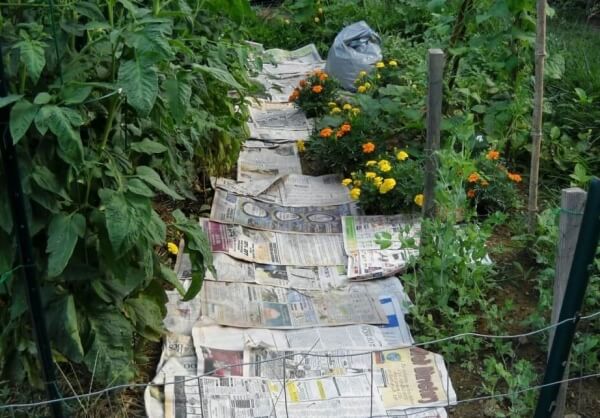
The plants are struggling

In actual fact, the pH of the soil can have serious effects on all the plants.  So, it’s a good idea before you start doing any serious yard work to use one of the home testing kits to check the pH of your soil. This will allow you to neutralize it effectively, without harming your plants. When soil is too acidic or too alkaline, your plants will struggle to grow and could even die.

Gardens are open to the elements, so it’s easy to see why problems arise. As long as you keep your eye out for changes and react to them effectively, you should have a healthy and beautiful garden.  We hope you enjoyed our tips for a healthy garden.

Creating a Family Garden When You Have Little Space

When you have a family, the garden is often one of the most important areas of the property.  After all, it offers a fantastic place for outdoor dining, relaxing, and entertaining.  Furthermore, it offers a place for the kids to play.  You don’t have to worry about your humble abode getting messy when they’re outside.  But all is not lost if you have a small garden.  Today we have gardening tips on how to create a family garden with little space


gardening ideas


Here are some ways for creating a family garden even when you don’t have acres of land:


basil varieties

                                                           Basil Large Leaf Albahabaca Vertical Garden


Grow plants vertically

We all love to grow plants in the garden. After all, they can look beautiful and bring some much-needed color to our yard.  If you do want to grow some flowers, you could always go vertical.   For example, you could grow them up a wall.  Additionally, you could get a vertical structure which you can lean against your wall or use a trellis.  Consider using containers to grow plants.  Growing vertical means you and your family still get to have fantastic plants without having to use a ton of space.  And it can make your garden look unique rather than the traditional flower borders around the yard!


garden furniture


Get furniture which stores away easily

When you have a small garden, it can make it tricky when it comes to your outdoor furniture.  Most families enjoy dining outside, but if space is limited that could be a problem.  However, there are some ways you can still have a good outdoor table and chairs without using a ton of space.  Get a Rattan Cube Set,  It comes as a compact cube for easy storage too.  It actually opens up to be enough seating for six people.  And when you are not using it for eating, it can actually convert to a coffee table with some comfy seats!  Another idea, skip the table and rely on just chairs.  Just put a blanket on the grass and have a lovely picnic!


Make the most of your corners

Make sure you are using the corners.  A lot of people skip this option, but if you have little space, you should make the most of them.  After all, they may be ideal for a small chair or for plant pots.  And you could even put a BBQ there for your outdoor cooking. Therefore, don’t leave them bare.  If possible, ensure you are making the most out of all the areas in your garden.

Finally, consider growing vegetables in containers.  After all, you may not have space for a greenhouse, but that shouldn’t stop you from enjoying fresh vegetables.  Furthermore, check out my tips on container gardening.  We hope that you have found our tips on creating a family garden useful.


You may also like:  Tips for Creating an Herb Garden in Your Kitchen via LawnStarter Pittsburgh


5 Amazing Gifts From Your Garden

Garden gift ideas don’t have to be purchased.  You can make amazing gifts from your flower and/or kitchen garden?  Second, family and friends appreciate homemade and handmade gifts.  Today, I’m sharing gardening tips on gift ideas from your backyard garden. 

Making gifts has become the norm in my house.  I know my family and friends appreciate them and I save money by not having to purchase retail.   Next, when I’m planning my summer and fall gardens, I always add extra flowers and gourds to ensure that I have enough for myself, family and friends.


garden gift ideas, gifts for gardeners


 So, here’s a list of my favorite garden items for gift giving and uses:


Dried Flowers Plant plenty of roses, herbs, Hydrangeas, coneflowers, and wildflowers.  Anything that can be used in crafts, to make potpourri, or sachets bags.

Pressed Flowers Pansies, daisies, violets, ferns, roses, daffodils, cosmos, poppies, gladiolus, and verbenas make great pressed flowers. They are beautiful on cards, bookmarkers and in crafts. Additionally, make sure the colors are bright and vibrant when you pick them.  Most importantly, they should also be dry when you pick them.

Dried and Fresh Herbs – Oregano, Sage, Rosemary, Thyme and Marjoram make the best dried herbs.  Find a cute decorative jar, pint size jelly canning jars, put a decorative label on with the name of the herb, and tie a pretty ribbon.  Grow fresh herbs in Mason Jars, tin buckets, chalk painted clay bowls, tea cups or anything imaginative. Basil, Cilantro, Parsley, and Chives make great gifts.

Gourd Birdhouses Grow bottle gourds and make decorative birdhouses for family and friends. You can paint sunflowers on them, paint them in your family and/or friends favorite colors. Be creative.  These make the perfect house for Purple Martins, Red-headed Woodpecker, Bluebirds, Tufted titmouse, Carolina Chickadee, Downy Woodpecker, and Northern Flicker.

Sunflowers Last, sunflowers make beautiful flower arranges.  Cut a few and place them in a mason jar, tall metal vase, a boot and any other creative container.  You can also dry them for floral arrangements and use the seeds to roast or feed the birds. Squirrels love to eat the sunflower heads.

Finally, get your children involved in planting flowers and gourds. They will love painting and turning them into birdhouses.  Also, they can also remove the seeds from the sunflowers and roast them or save the seed to feed the birds during the winter months.  As a result, make sure you plant plenty of everything.  You’ll want items for garden gift ideas and you will want to keep a few items for yourself.

You may also Holiday Gift Ideas for Bird Lovers.


How To Grow Bigger Tomatoes

Today I’m going to share with you the steps on how to grow bigger tomatoes.  Large, beefy, juicy tomatoes. You know the kind that makes you say, now this is what summer is all about.  Some of my heirloom tomatoes weigh up to 1 – 2 pounds each.  Let’s find out how you can grow them too!
Over the years, I’ve gardened by trial and error. I’ve become successful with growing tomatoes, garlic, onions, beans, peppers, cucumbers, squash, zucchini, cantaloupe, and watermelon over the years.  These items are the staple of my backyard vegetable gardening experience. 
how to grow bigger tomatoes


1.  Healthy Garden Soil –  Growing bigger tomatoes it starts with your soil.  I row garden on a 20 x 40 plot, so I till my garden and I till deeply.  Many gardeners use the lasagna method, turned soil method or raised beds because they don’t require tilling.  I proudly garden as my grandfather did.  Before the garden is tilled,  I recommend having your soil analyzed by your local County Extension Office, Agricultural Center.  They determine what nutrients are needed before planting my garden.  You can also purchase your own kit and analysis the soil yourself.  Different vegetables deplete the soil of nutrients like calcium or iron during the growing season.  Having the soil analyzed will help determine what you need to add to ensure you have a healthy garden.  Also, have the soil analyzed before adding fertilizer.      


Backyard Gardening


2Organic compost – I use organic material to grow bigger tomatoes in my garden.  Many gardeners call it Black Gold I mix the compost into the soil before placing my tomato or peppers in the hole and side dress the plant with a nice helping of the same compost.  If you don’t have organic compost,  use dried crushed eggshells, crushed calcium pills and/or Epsom Salt in the hole before planting along with a dose of manure. The eggshells, calcium pills and Epsom Salt provide calcium to your plants.

gardening


3.  Plant deeply
– Another key to growing bigger tomatoes is to remove the bottom leaves from the tomato plant. Only the top leaves should be exposed as shown above.  You want your plant to have deep roots, so the deeper you plant the better.


Natural Garden Fertilizer


4.  Provide natural fertilizer Coffee grounds are an excellent natural fertilizer for growing tomato and pepper plants. I mix a few tablespoons in with my organic compost, above, and side dress around the entire base of the plant. Coffee grounds attract earthworms.  Earthworms are great for aerating the soil, and keeps away snails and slugs which are detrimental to your plants. If you don’t have organic fertilizer, purchase Miracle Grow tomato fertilizer and spread around the base of your plants.


gardening, tomato gardening


5.  Weed Control – I use straw or leaves as a mulch.  I collect leaves in the fall to keep weeds down and to retain moisture. Keeping the weeds under control is important.  Weeds take energy away from your plant.
backyard garden paths


6.  Companion Plant – I use marigolds between my tomatoes and pepper plants. Marigolds are great for pollination, which your plant needs to produce healthy fruit.
 
backyared vegetable garden tips
7.  Proper Spacing – You will need to reach around your plants for care and harvest.  So, make sure you give each plant adequate space. I create paths between my rows by layering newspaper or flatten cardboard boxes.  There’s a Dollar General near me, and they’re happy to share their boxes.  Once I have the paths made, I cover the newspaper or cardboard boxes with leaves or straw. This also reduces the amount of time that I spend weeding too. The paths should be at least 2 – 3 feet wide.
8.  Water and fertilize regularly – Add 2 teaspoons of Epsom Salt to a gallon of water and give your plants a good drink when you initially plant and regularly thereafter.  Be sure to water at the base of your plant only, you don’t want garden soil splashing on it. You can use a spray bottle to spritz the foliage of your plants with the Epsom Salt mixture too. Also works with peppers.  I found CVS Epsom Salt on sale last season for half price, so I purchased several cartons.  It will make enough spray to last through several growing season.
I hope you find my tips on growing bigger tomatoes helpful. Try them, and you will grow bigger and juicier tomatoes too. Be sure to subscribe to my blog for additional gardening tips and posts and follow me on social media.
 
You may also like:  How To Stake and Cage Tomatoes
                                         Planting and Harvesting Garlic

How To Blanch Tomatoes Before Freezing

Are you wondering how to blanch tomatoes?  Today, I’m sharing gardening tips how you can blanch tomatoes in just a few easy steps. I love harvesting my garden and canning/freezing tomatoes for chili and soup in the winter  Most of the tomatoes that I grow are Heirlooms.  They’re not the best looking tomatoes, but they have a great variety and the best taste.

So, Heirloom tomatoes are at the top of backyard vegetable gardening planning.   My favorites tomatoes are Cherokee Purple and Paul Robeson.  I can’t get enough.  I love slicing them and spreading a little mayo over them with a little pepper or on a BLT.  It just doesn’t get any better than a fresh tomato from a backyard garden.


blanching tomatoes


When I harvest enough tomatoes, I get out the blanching basket and my Ball Canner. The tomatoes taste as good during the winter as they do when I pick them from the vine.  I freeze some of the tomatoes, but can the majority of them.


blanching tomatoes


Here’s a few tips on how to blanch tomatoes:  


Purchase a steamer basket for blanching tomatoes in your stockpot.  I also use it to blanch green beans and corn before freezing.  Blanching tomatoes is easy and a necessary step to remove the skin before freezing or canning.  It locks in the flavor and here’s the steps:

1.  Choose tomatoes that are not bruised or cracked.  If you don’t have a backyard garden, visit your local farmer’s market.

2.  Next, fill your stockpot half-way and bring the water to a roaring boil.  Do not fill completely, immersing the basket will cause the water to rise.

3.  Fill a large bowl with ice water.  This step is important, ice water will stop the tomatoes from cooking and cool them down enough to remove the skin.

4.  While you’re waiting for the water to boil, remove any stems and make an x on the bottom of each tomato.  Making an x on the bottom of the tomato helps loosen the skin during the cooking process.  (This step is optional.  I have blanched tomatoes without the x).

5.  Once your water is boiling, place the basket inside the stockpot for approximately 30 seconds – 1 minute. Do not cook your tomatoes longer than the 1 minute time frame.  Some of the skins on the tomatoes may start slipping off the tomatoes during the boiling process and that’s fine.  You’re going to remove the skin from the tomatoes, this is the goal.

6.  Remember, remove the basket from the stockpot after 1 minute and emerge the tomatoes into the ice water with a slotted spoon for about 5 minutes.  You can see the skin slipping off a few of the tomatoes in the picture below. You can also see that I did not remove the stem from a few tomatoes.  No harm was done.


How to Ice Blanched Tomatoes


7.  Remove the skin from the tomatoes, the skin should easily slip off the tomatoes.  I compost the skin and stems from the tomatoes.

8. At this stage I can my tomatoes.  However, you can freeze them too.  I recommend slicing large tomatoes before placing them in quart or gallon freezer bags.  Smaller tomatoes can be left whole.  If you have a sealer, now is the perfect time to bring it out.  I like to use quart bags for freezer storage.  It’s a sufficient amount for most of my dishes.

9. Write the date on the freezer bag with a permanent marker and freeze until ready to use.

10.  If your bags are sealed properly, your tomatoes should not sustain freezer burn and should be good to use through out the winter.


In the picture above, you can see the pan I use to sterilize my quart jars, lids and tops.  I also have a stockpot that I use to blanch the tomatoes and my Ball Canner.  It is made specifically for glass top stoves, and works like a charm. I’ve been using it for years to can my tomatoes, tomato sauce, salsa, pickled jalapeno peppers and more.

So, stay tuned for my canning session.  I usually put up 15 – 20 quart jars of tomatoes each season.  I use the canned jars of tomatoes in my chili, soup, salsa and other recipes.  What are you harvesting from your garden?


Growing Dill In The Home Garden

One of the herbs on my backyard kitchen gardening list is dill.  It’s very easy to grow, and can be started from seed or direct sowed in your kitchen garden.  If you are a beginning garden purchase a plant from your local nursery.  Be warned, I purchased a plant from the nursery to place in my garden one summer.  The next gardening season, there were volunteers everywhere. 
Unfortunately, I had already purchased a dill plant from a nursery.  I sure wished I had saved my money purchasing the plant.  Lesson learned, check the garden for volunteers before you head to the garden center.  Dill and onions are great companion plants.  Check out my post on companion planting.  


garden dill


Dill from your garden can be used in the following ways:

1.  Homemade dill pickles
2.  Dip for potato chips and veggies
3.  Garnishes
4.  Sauce for salmon cakes


garden dill


I’ve made make spicy dill pickles for the past two seasons and used fresh dill from the garden. This year I will be making bread and butter pickles.  I also dry my dill and store it in an airtight container for dip.  Fresh dill can also be used on fish, not my thing but many people love using it in that manner.

Last, we hope you like our growing dill tips.  It is an easy herb to grow, and has given me lots of volunteers during the growing season.  It loves my garlic plants.  I have to harvest often, so it doesn’t choke out my onions and garlic.  As a result, I should have more than enough to dry and store for dip and to share with family.  If you love veggie dip, this herb will enhance it immensely.  It’s much more flavorful than store brought dill.  I’ll be sure to post my dip recipe the next time make it, which will be soon.


Using Eggshells In The Garden

Stop, don’t throw those eggshells away.  Today, I’m sharing tips on using eggshells in the garden.  Yes, eggshells are beneficial in the backyard garden.  So, add eggshells to your list of backyard vegetable gardening items needed this growing season. Your tomato and pepper plants will thank you.  So, grab a container and start saving them throughout the year.  Ask your family members or neighbors to save them for you too.  Especially, if you don’t consume a large quantity of eggs.  Explain that using eggshells in the garden will benefit the tomatoes they will receive in exchange.  This will give them an incentive to save the shells for you.  


using eggshells in the garden


Before using the eggshells in the garden take these steps:

  • Rinse the eggshells thoroughly
  • Dry the eggshells on low temperature in the oven or microwave them.  (You want the shells to be brittle)


using eggshells in the garden


Once are cool, crush them and put them in a plastic bag or container. You can store them in your refrigerator if you don’t have counter space.  A rolling pin or wooden spoon is a good way to crush the eggshells.  Turn this task over to the kids.

So, when garden season arrives place a generous dose of the crushed eggshells in the hole when you plant your tomatoes.  They are a great source of calcium for the plants.  Furthermore, I also sprinkle the shells around the plant once I get the tomatoes in the ground.  I actually do this throughout the growing season.  The eggshells will help give your tomatoes a calcium boost, and help fight off blossom end rot.


how to use eggshells in the garden


Secondly, I mix the crushed eggshells in with my birdseed.  Bluebirds, Baltimore Orioles, Scarlet Tanagers and Barn Swallows love eggshells too.  You can spread the eggshells on a log or on the ground if you don’t have a platform feeder.  We hope that you enjoyed our tips on using eggshells in the garden, and you will start recycling your eggshells.  You may also like 20 Flowers to Use in a Wildflower Garden.

Selecting Belle Peppers for Home Cooking

Today, I’m sharing gardening tips on selecting belle peppers.  If you want to experience the true flavor of belle peppers, you must have knowledge of how to select belle peppers for home cooking.

So, each year I plant a combination of belle, cayenne, and jalapeno in my backyard vegetable garden.  At the end of the season, I freeze the belle peppers, dry the cayenne, and pickle the jalapenos.

I love planting a variety of belle peppers.  Furthermore, I try to grow a variety of colors that include green, yellow, red and orange.  I even tried a white variety, but was unsuccessful.  All belle peppers start out green.  With patience, they will turn yellow, red and orange depending on what you have planted.
selecting belle peppers
Belle peppers are great in casseroles, omelets, sauces, chili and other dishes.  I also use my belle peppers in veggie trays,  pasta dishes, jambalaya and anything else I can cook up. The red, yellow and orange peppers make an impact in dishes.  They’re really pretty in omelets and vegetable trays too.  They give dishes a little color as well as flavor.  Presentation is everything when it comes to eating.


Selecting Belle Peppers


Know the difference between male and female belle peppers?  Using the right peppers will enhance the flavor of your dishes.  Males should be used in certain dishes and females in others.  That is why selecting male and female peppers is important.


  • Lesson 1 – Male peppers have 3 bumps on the bottom.


selecting belle peppers


  • Lesson 2 – Male peppers are usually a little taller and have less seeds than the female.  Most shoppers go for the biggest peppers; however, they don’t consider the dishes they will be preparing at home.  Male peppers  are better for cooking foods like chili, tomato sauce and other dishes that require heat.


selecting belle peppers


  • Lesson 3 – Female peppers have 4 bumps on the bottom. Females are more round and have a sweeter taste than the males.  I use these for vegetable trays, fresh salads and cold pasta dishes. However, they have more seeds than the male.


Finally, the next time you’re at the grocery store, use your new knowledge on selecting belle peppers.  Simply flip those babies over and check out the bumps.  Most importantly, make your selection according to the dish you’re preparing.


Easy Recipe – Fresh Salsa Recipe

Today, I’m sharing gardening tips on my fresh salsa recipe.  So, I’m sharing my fresh salsa recipe with you.  This recipe is great served fresh with chips. Be warned, you’ll have a hard time stopping once you start.  It’s a great summer dish.  Just chill it for several hours before serving it.  This fresh salsa recipe is one of my favorite backyard vegetable gardening dishes.  


recipes, party recipes, salsa recipe


Next, if you have fresh tomatoes, peppers and onions that you want to use, I urge you to try this recipe.  This recipe is addictive. If you don’t have a backyard garden, this recipe is a good reason to start one.  Until than, head to your local farmer’s market for the ingredients.  I make this recipe for parties or if I have company and want to serve light snacks.

I’ll let you in on a secret.  Ask for seconds at your local farmer’s market when purchasing tomatoes.  They sell them at discounts because of a blemish, discoloration,  or deformity.  Your recipe won’t know the difference, trust me.

Fresh Salsa Recipe Ingredients:

  • 15 – 20 tomatoes, skin removed and chopped (I used a mix of yellow, purple and red tomatoes)
  • 2 large red onions finely diced
  • 5 jalapenos with the seeds if you like spicy.  (If not remove them).
  • 2 green belle peppers
  • 2 cups chopped fresh cilantro
  • 6 – 8 cloves of garlic
  • 1 teaspoon salt
  • 2 teaspoons lime juice


 *NOTE:  Also, see my tips on how to remove the skins from fresh tomatoes.

salsa recipes, fresh salsa

Directions

  1. In a large bowl, stir together tomatoes, onion, chili peppers, cilantro, salt, and lime juice. Chill for one  – two hours in the refrigerator before serving.


If you want a smaller batch, cut the recipe in half.  I recommend Roma, San Marzano or Amish Paste tomatoes for salsa and sauces.  However, whatever is available will work for this recipe.  I used a mixture of San Marzano and slicers this time.  As a result, the salsa was quite watery.

Fortunately, the problem can be solved by placing the salsa in a colander and allowing it to drain for about 30 minutes. You can gradually add the liquid back in until you reach the desire consistency if you would like.  I don’t add any liquid back into mine.  When I’m serving salsa for a party, I like for it to be chunky and to have very little water.  I don’t want my guest having salsa dripping down their clothes.