Archives for January 2016

My Winter Mantel


winter mantel ideas, winter ideas, snow mantel ideas
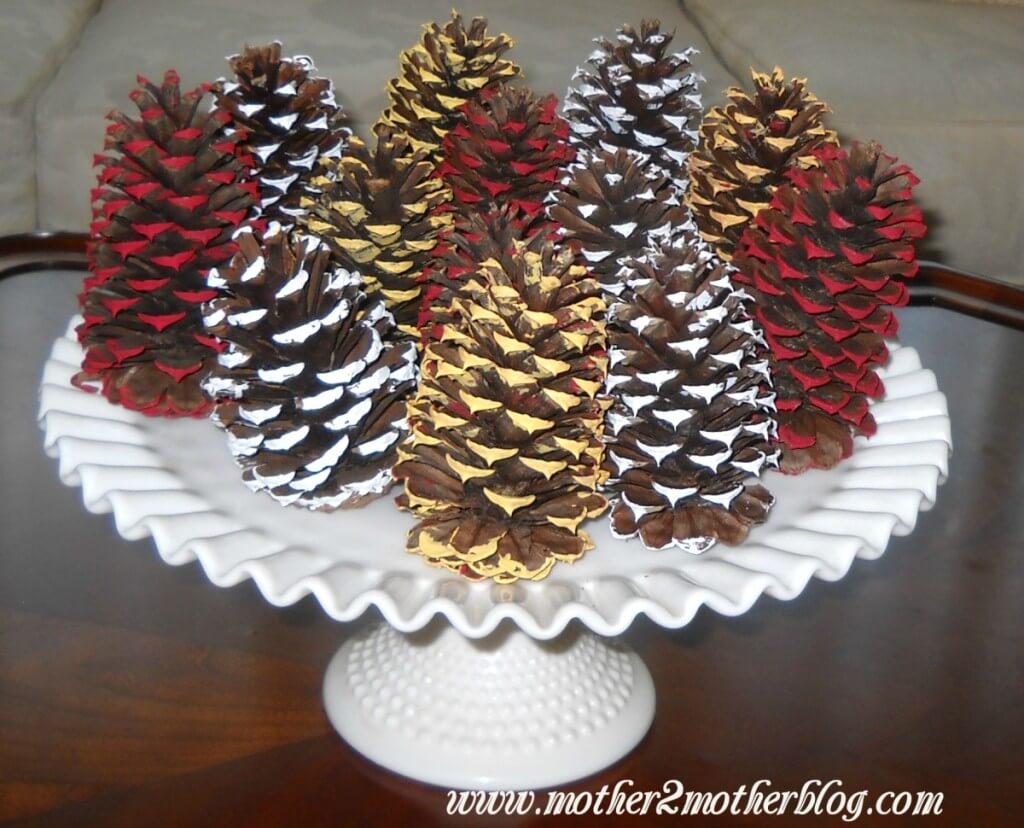
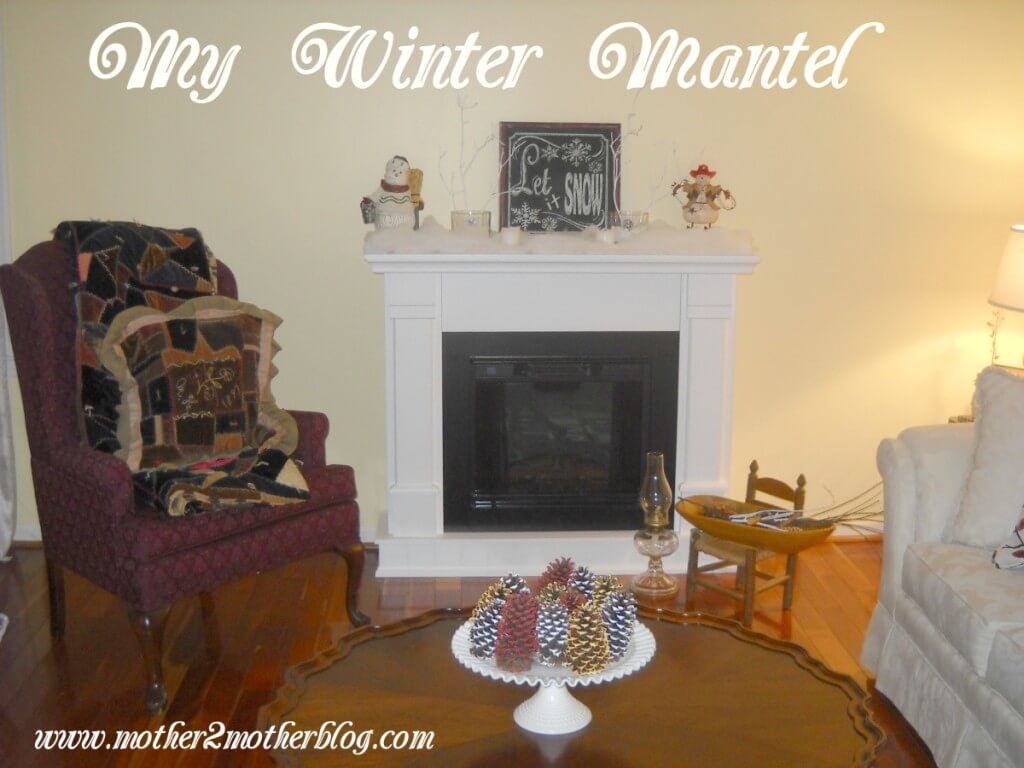
The Christmas Tree is down and all the decorations have been boxed and stored.  That doesn’t mean that I can’t keep a winter theme going.  I love snowmen and snowflakes so I pulled out some of my winter items and went to work on my Let It Snow theme.  I used a bag of cotton/fluff that I purchased from the Dollar Store on clearance last year and created a snowy effect on the mantel. I wanted to add some height to the display so I headed outside and picked a few twigs from my Dogwood tree and painted them white.  I love to display branches in their natural state as well, but I wanted
a snowy feel for the mantel so they received a coat of white craft paint.  I purchased the  vintage pie crust table years ago. It’s housing painted pine cones on an antique milk glass cake stand.  I found the Let it Snow chalkboard sign in the clearance isle at Big Lots for $4.00.


winter decorating, painted branches, snowy branches


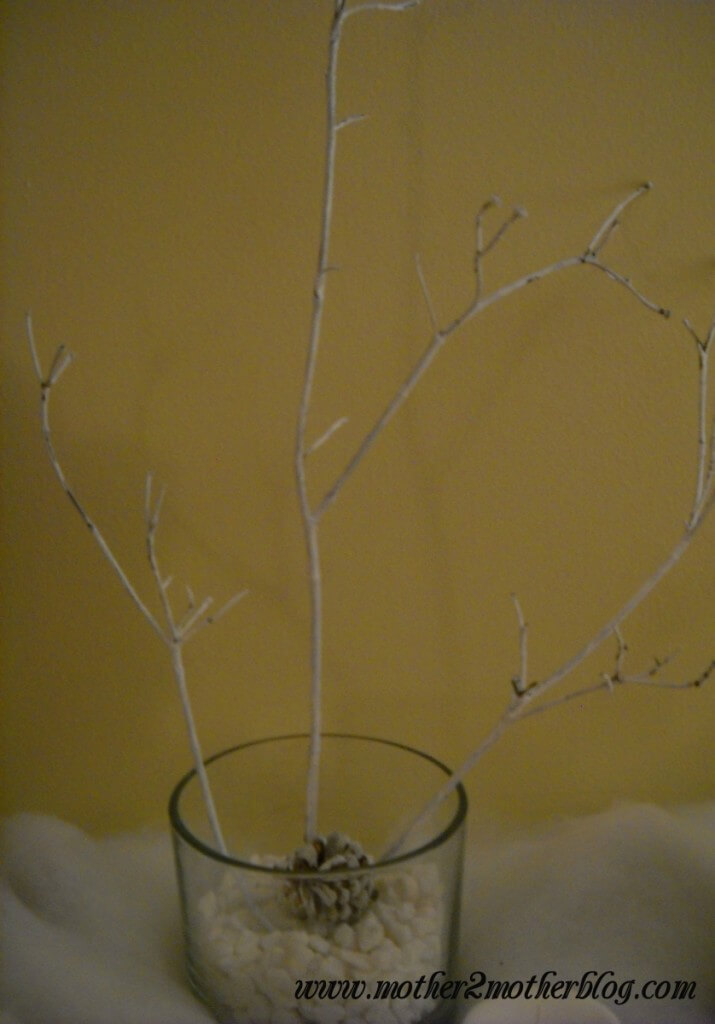
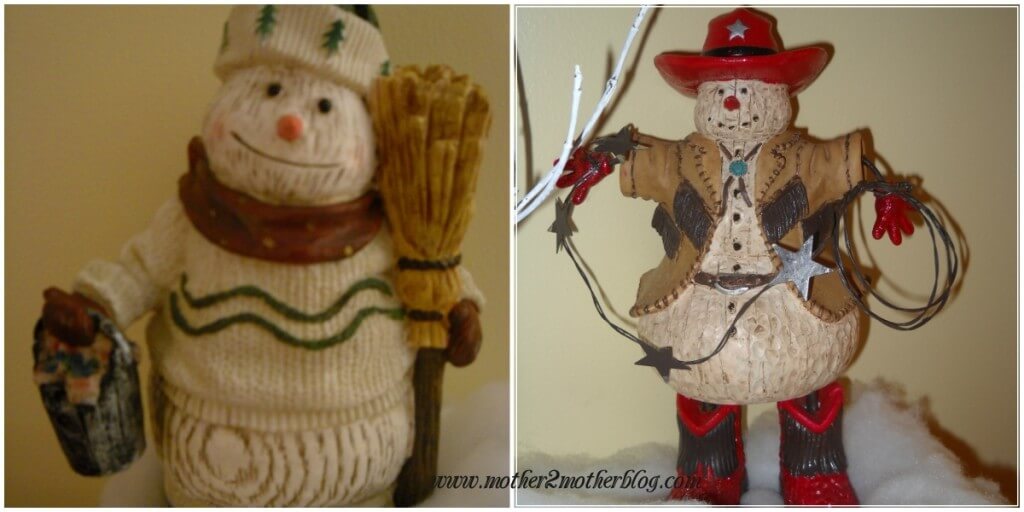
I placed the painted twigs in two glass vases that I purchased from Michaels. I love that store.  I had white gravel that I purchased from the Dollar Tree so I used it to hold the painted branches in place. I added a painted pine cones to each vase for affect.  I’m a collector of snowmen. I purchased the two wooden snowmen years ago at a craft fair. I love those little guys. The reindeer was purchased from the clearance isle at Walgreens. I snatched him up. They had a clear glass reindeer that I passed up, now I’m sorry  I didn’t get it too.


snowmen, winter decorating,

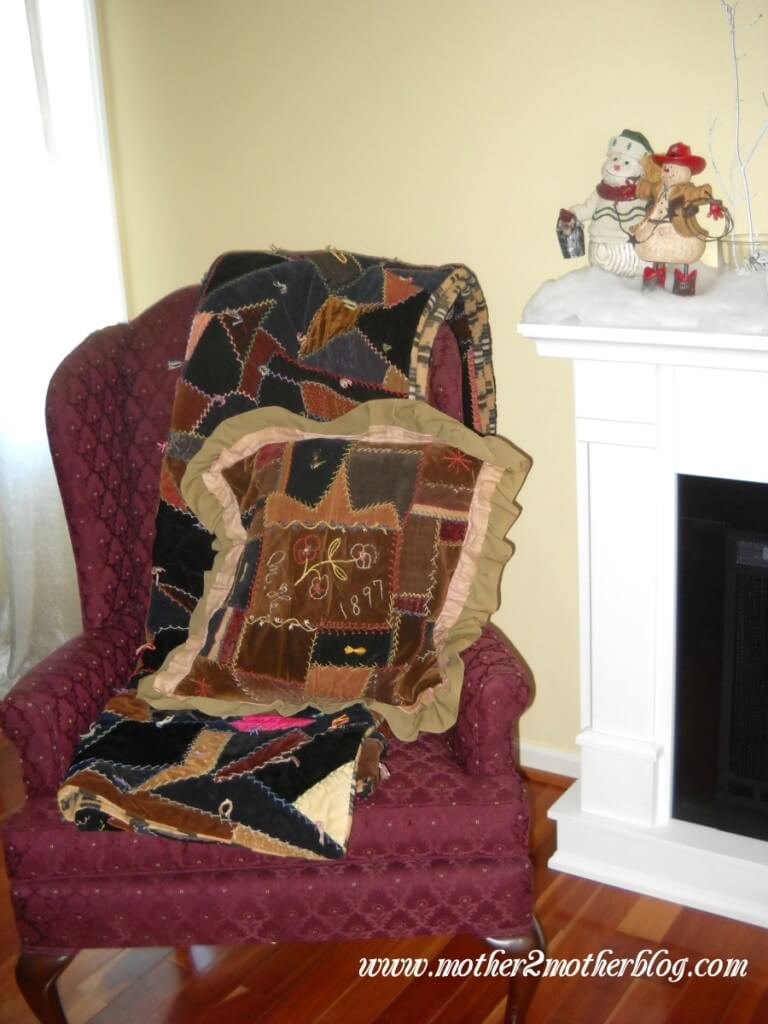
I’m also a collector of quilts. I purchased this antique quilt and pillow at an auction on a Mennonite farm.  I spotted it and my heart skipped a beat. There was history behind, but without the owners I would never know what it was.  I do know that it was made with love and care. It was made in the crazy quilt pattern and has a matching pillow. The pillow is dated 1897, so I’m assuming the quilt was made during the same time period. It is unbelievable how heavy this quilt is and the stitching is impeccable.  I love pulling the quilt out during the winter and sitting by the fire reading a good book.  It is not only heavy, but the backing is made from fleece making it warm and cozy.


antique quilts, quilts Mennonites, crazy quilt


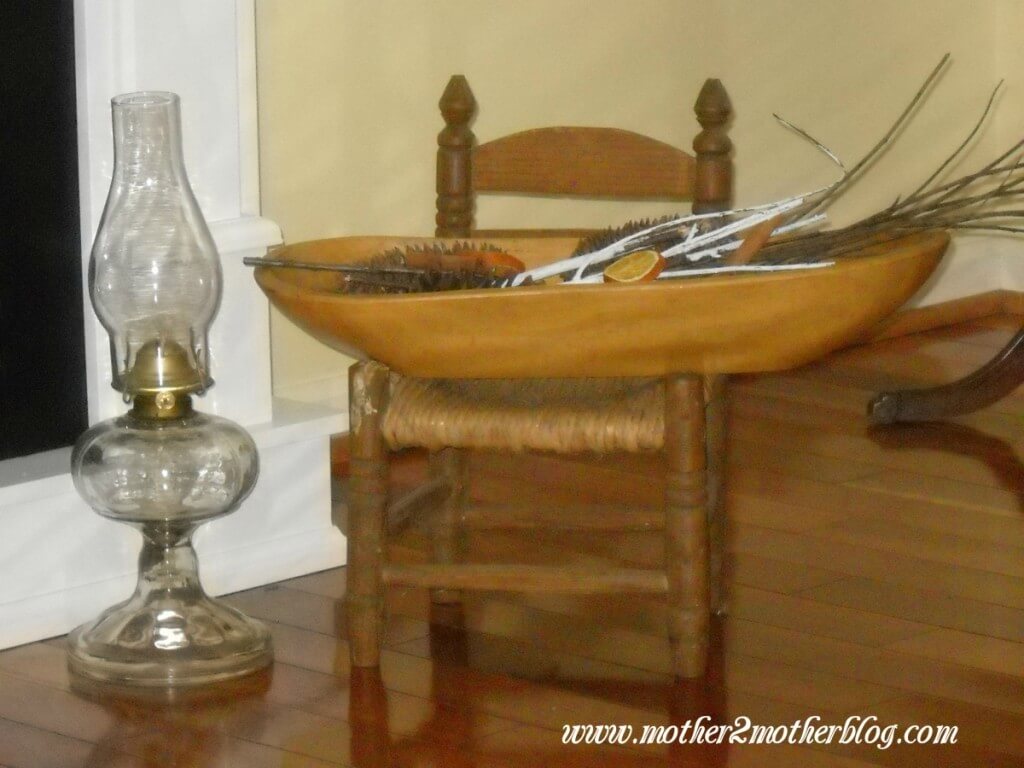
I purchased the oil lamp, dough bowl and miniature chair at various antique auctions years ago.  The lamp has the original wick, it was never used. I love the shape of this dough bowl. I actually have 3, the other 2 are round.


Image-winter-mantel5

I hope my winter mantel has inspired you.  Do you decorate your mantel or accessorize rooms according to the holiday or seasons?  Leave me a comment, I’ll stop by and gather a few ideas.

How To Dry Orange Slices

dried oranges, dried fruit, Christmas displays
I love for my house to smell good all year.  During the holiday season, I love drying oranges and apples.  I love burning candles and making displays in my home with natural materials.  They usually include orange or apple slices and cinnamon sticks.  Today I’ll show you how to dry orange slices.   It’s easy and they look and smell great in display.

You will need the following:

  • oranges (use large or medium oranges, the slices will shrink)
  • cinnamon sticks

The first step is to preheat your oven to its lowest setting.  Mine is 170 degreesSlice your oranges medium to thick,  you don’t want them to be  too thin.  You also don’t want the slices to be too small.  The slices will shrink as they’re drying and will fall through the cracks of your racks.  If you have a large cookie cooling  rack you can layer your slices on the cooking rack.   Otherwise your oven rack will work just as well.   A cookie sheet will also do. 

drying orange slices, dried orange slices


Allow the slices to dry for 2-3 hours. 
I usually dry my slices on a Saturday when I don’t have to rush or run errands. I set the timer for 2 hours and determine if they’re dry enough or if I want them to dry longer.  If so, I set the timer for another 15 – 30 minutes.

Once I’m satisfied with the texture of the slices I add cinnamon and or cloves.  You can also add fresh greenery.  Spruce, Pine or Cyprus will work great.  You can also add cinnamon pine cones.  Be creative and enjoy this wonderful smell.  The slices will darken as time goes on.  Also the longer you leave them in the oven, the darker they will get.


dried fruits, Christmas greenery, dried orange slices

Sunday’s Best Linkup – #53

snowflakes, winter, sugar cookies

Welcome to Week 53 of Mother 2 Mother’s Sunday’s Best Linkup. It’s hard to believe that we have entered into a New Year. I hope everyone had a safe New Year and I wish each of you a year filled with love, laughter and blessings.  We’re also starting our Snow Flakes Are Falling theme this week. We’re looking for crafts, recipes, party ideas, decorating inspiration, gift ideas, sharing goals and anything else you would like to share surrounding snow and snowmen.

We also welcome other recipes, crafts, DIY, home makeover, gardening tips, SEO & blogging information, sewing projects, patio and deck makeovers, front porch makeover ideas, organization tips, ideas for backyard parties and  makeovers and more. Blow the dust off your old posts and link those too. They’re great for inspiration.
Don’t have posts that fit into the theme, link up whatever post you would like to share. We would love to have parenting tips, DIY projects, homesteading, homeschooling, makeovers, cocktails, and your posts on family and life. Your linkups and giveaways are welcome here too. Anything goes, as long as it’s family friendly and you may linkup as many posts as you would like. Be sure to tell your friends they will want to join the festivities too.

Each week your hosts will select their favorite post and it will be featured the following week. An image from your post will be used on my blog the following week with a link back to your blog. Be sure to check back to see if you’re a Sunday’s Best featured blogger. All Featured Bloggers will have their posts Pinned to the Sunday’s Best Pinterest Board.

We would like readers to select their favorite posts. Voting will start at noon every Friday until mid-night. We will be adding the post with the most votes from our readers to our Sunday’s Best featured bloggers. Be sure to have your blog readers and social media followers head over to vote for your post on Fridays.

All posts linking to Sunday’s Best will be promoted on Twitter.

In addition to the reader’s and hosts selections, a post for our monthly themes will be selected and featured each week as well.

If you are interested in becoming a Sunday’s Best host, please contact me for details at rhonda@mother2motherblog.com or email one of our other hosts.

Your Hosts Are:

Rhonda – Mother 2 Mother Kim U. – Pinterested Parent Kim M. – Life In A House of Testosterone


Here’s the rules, please connect with us on social media before you leave or subscribe to/follow our blogs:

Mother 2 Mother: Please like my
Facebook Page, follow me on Twitter, Google+, Pinterest, BlogLovin or subscribe/join my blog on the right before you leave.

The Pinterested Parent: Please like Kim’s Facebook Page, follow her on Twitter, Google+, Pinterest, Bloglovin before you leave.

Life In A House of Testosterone: Please like Kim’s Facebook Page, follow her on Twitter, Google+, Pinterest, Bloglovin, or Instagram before you leave.


Mother 2 Mother Blog


Last, please help us grow by placing our button on your sidebar. If you are selected as a Featured Blogger please let your readers and followers know. They may want to join the party too! For those who have a Link Party list/directory, please add us. I appreciate your help in promoting the linkup with Re-tweets and shares. Now lets party!

The Sunday’s Best Posts are:

My beautiful co-hosts Kim U. and Kim M. are taking some much needed time with family and friends. They will rejoin us soon.

I selected Winter Skin from Grammie Time

skin care, beauty, winter


The Readers Selected:

Healthy Lifestyle Through Self-Love from Penn and Quill

self esteem, self respect, self-love


The Favorite Theme Posts

Happy New Year

10 Best Christmas Dessert Recipes from Mother n Daughter Savings


desserts, holiday desserts


Congratulations to our featured bloggers! All of the posts were great, and I appreciate each of you linking up. We have so many great posts that it gets difficult to choose a featured blogger. I would like to invite all of you back to linkup your post(s) again, it could be selected next week. While you’re here take a minute to visit these great blogs. It’s a great way to meet and connect with new bloggers. Be sure to PIN or share any posts that you like, we all appreciate a little love. Be sure to connect on social media.


Painted Pine Cones Crafts

painted pine cones


First, I love using pinecones for crafts and decorating.  I think they make the room festive during the holidays.  Most importantly, they bring a touch of nature into your décor.  I’m laughing as I’m writing this post, I’m remembering my grandson seeing the pine cone one day.  He opened the back door and threw them out.  In his mind, pine cones belonged outside.  I think he may have been 3 or 4 at the time.

However, if you have pine trees on your property, gather a few to add your Christmas décor or to use them in other  crafts. I love free, and I love recycling items.

So, I decided to paint a few of the pine cones to use as a center piece during the holidays.  I needed to give my table a pop of color,  and I thought they would be fun.  And, I really love how the painted pine cones turned out.  I displayed them on an antique milk glass cake plate.  But, the possibilities are endless.  So, find some inspiration and get creative.  For example, you can fill a basket or glass container with the painted pine cones.  Paint them in your favorite colors, and display them on the mantel for a fall or winter display.  Or paint them in spring colors for Easter.

You will need the following items:

  • craft paint brushes
  • craft paints in your favorite colors
  • paper plate
  • newspaper to paint on
  • container for display

Next, I found it easier to just pour a dab of paint onto a paper plate.  I painted the edges of the pine cone with a small paint brush.  Use your favorite colors or you can paint the entire pine cone.  Afterwards, allow the painted pine cones to dry. Drying time is quick for this project.  Around 30 minutes should definitely be sufficient.  Once dry, display in your favorite place.

Last, this is a fun project to do with the kids.  You can expose them to nature by gathering the pine cones on a nature trip.  Afterwards you can paint them as a family project.


Happy New Year 2016

New Year, Happy New Year, New Year's Day

Happy New Year.  Can you believe we have entered another year.  Personally, I welcome 2016. It’s not that 2015 was a bad year, but I’m expecting 2016 to be awesome both personally and on the blog.

I will be adding more posts on family, crafts, kitchen gardening and traveling. I will also be adding an exclusive 2016 fillable calendar for new email blog subscribers.

I’ll be striving to get healthier in the New Year and planning several vacation trips. If everything goes as planned, I will be spending the 2016 Christmas holidays at Disney with the grandchildren.  Stay tuned, I’ll be doing lots of planning and researching for deals and thrills. 

I plan to be more active in my kitchen garden.  I’ll be making jams, sauce, pickling peppers, drying peppers and herbs, and preparing fresh corn, green beans, and zucchini for the freezer.  There will also be sessions on canning fruit for pies and cobblers.

I hope you had a Merry Christmas and a Blessed New Year.  May it be filled with love, laughter and blessings.